Drive Thru Awning Repair
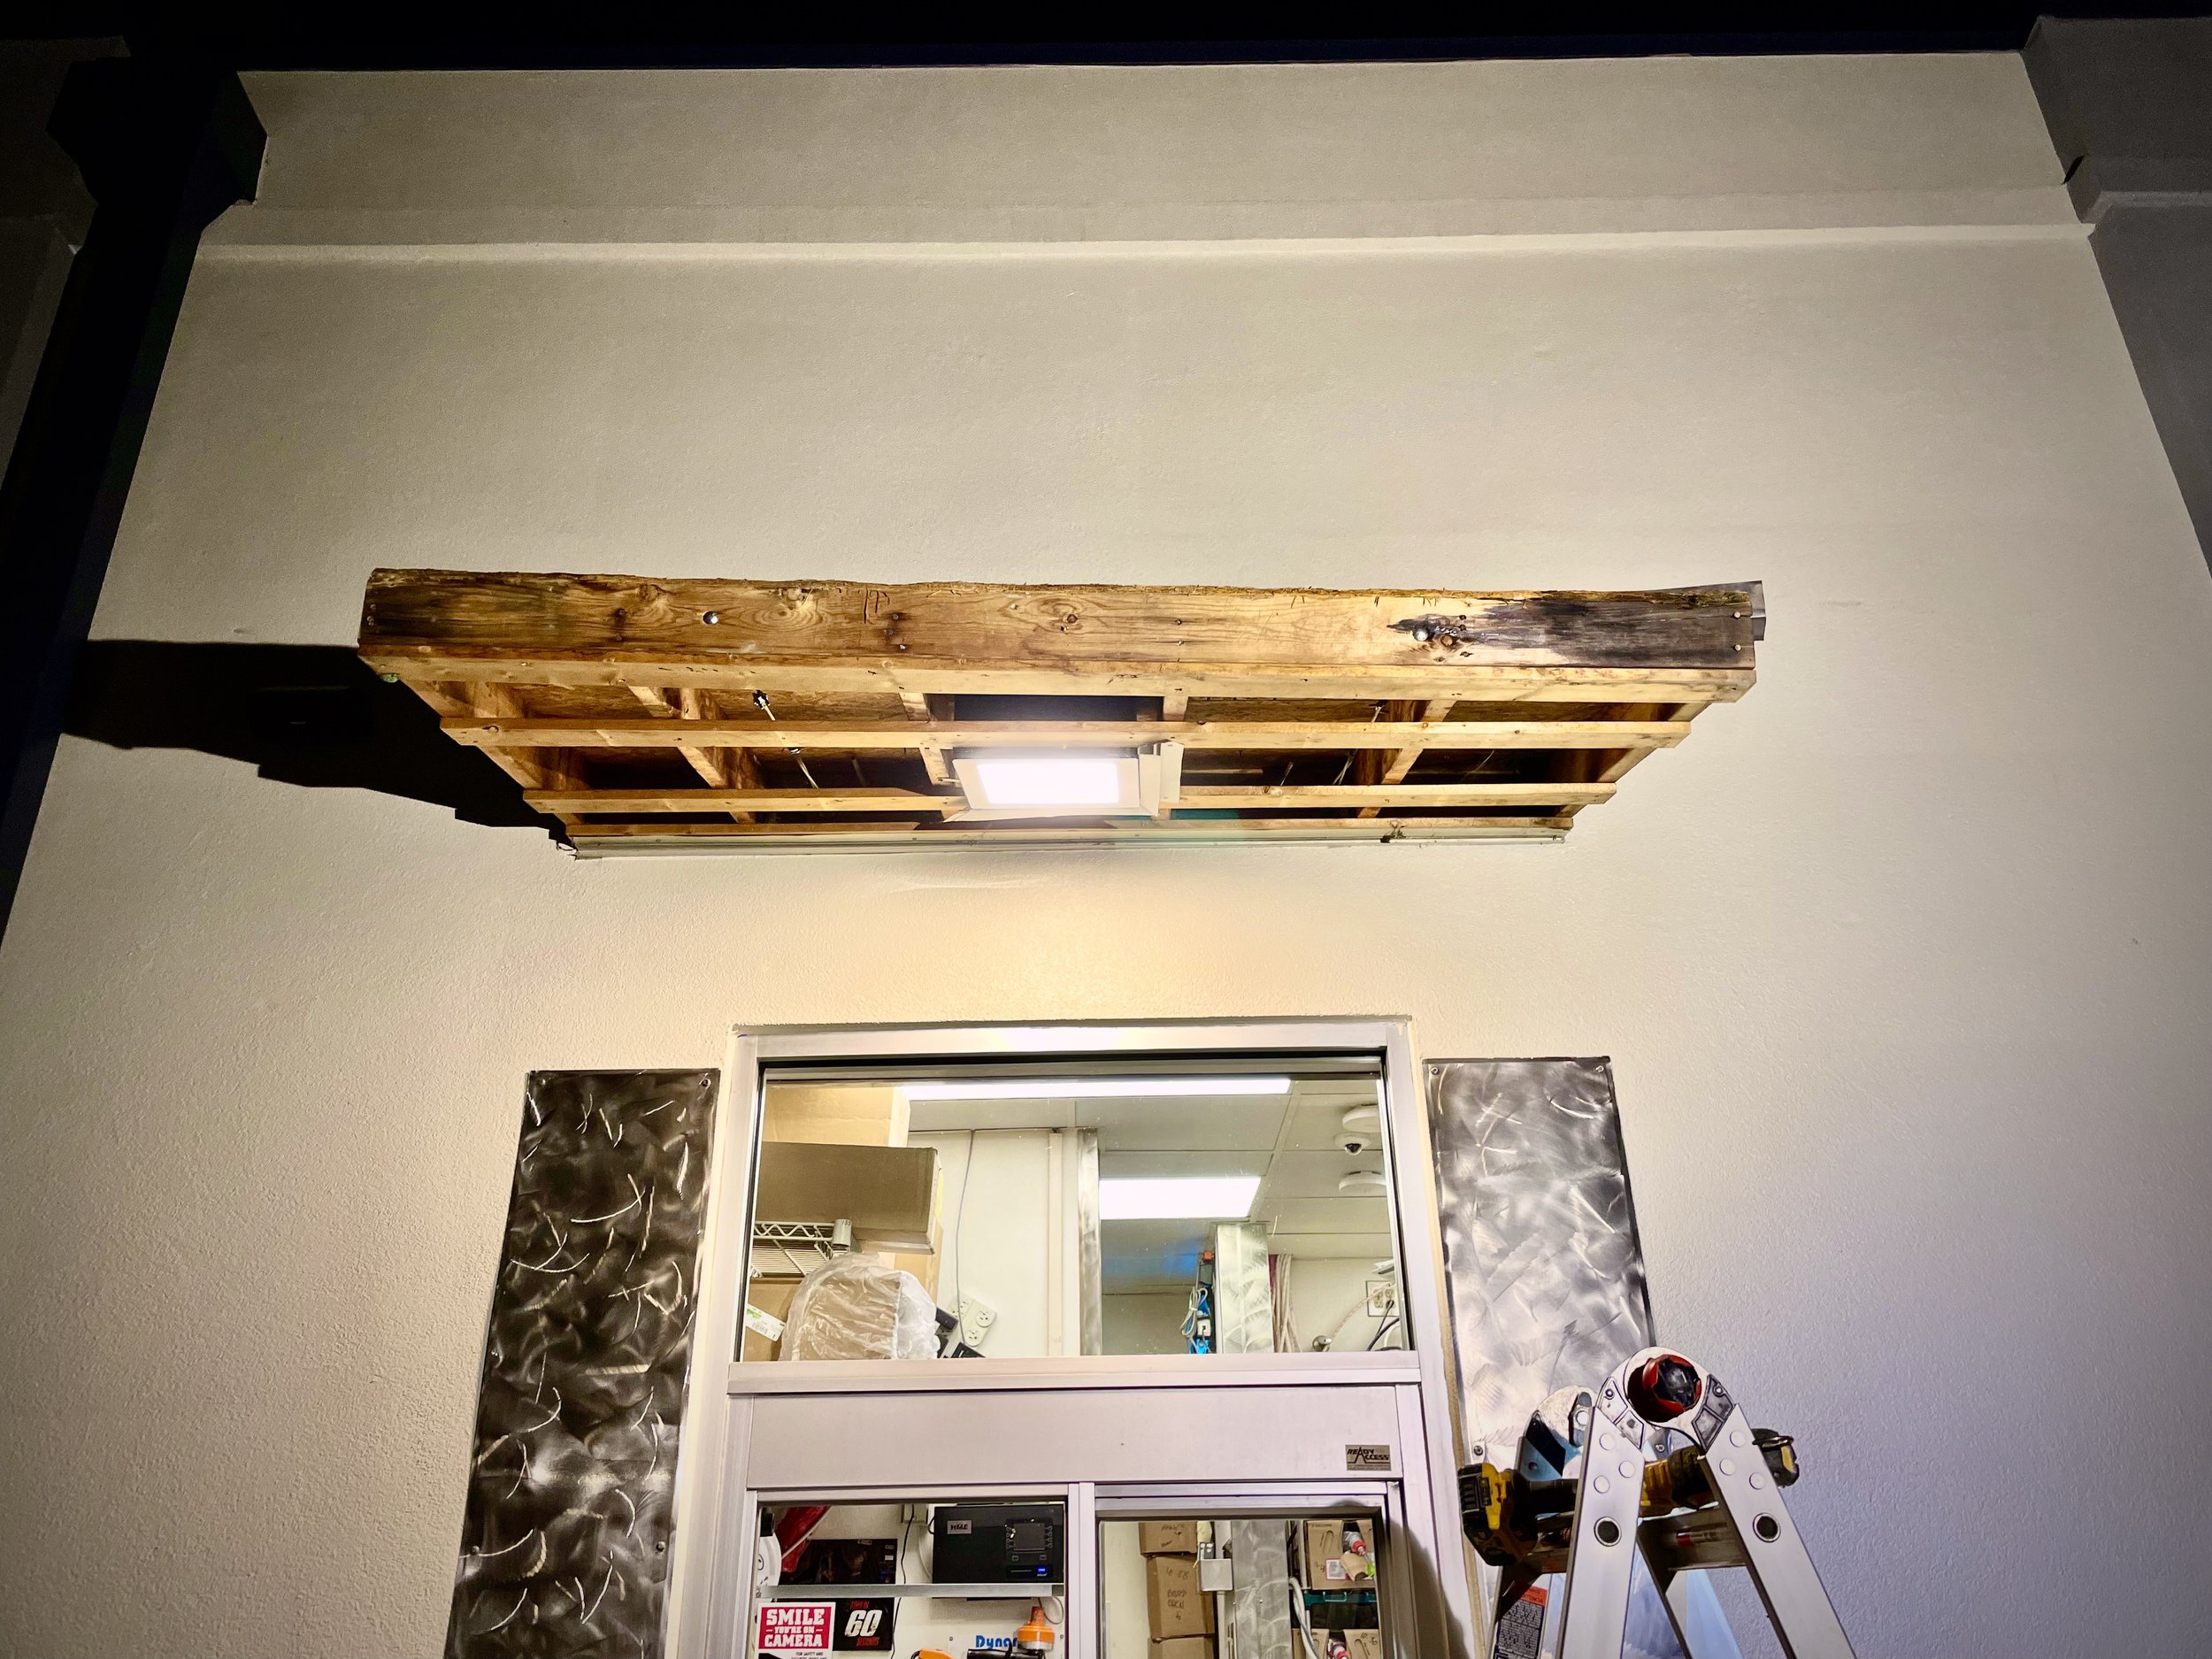
The drive thru awning was beginning to sag noticeably to the other side. This prompted the management to have an inspection performed, which lead to a repair of the structure.
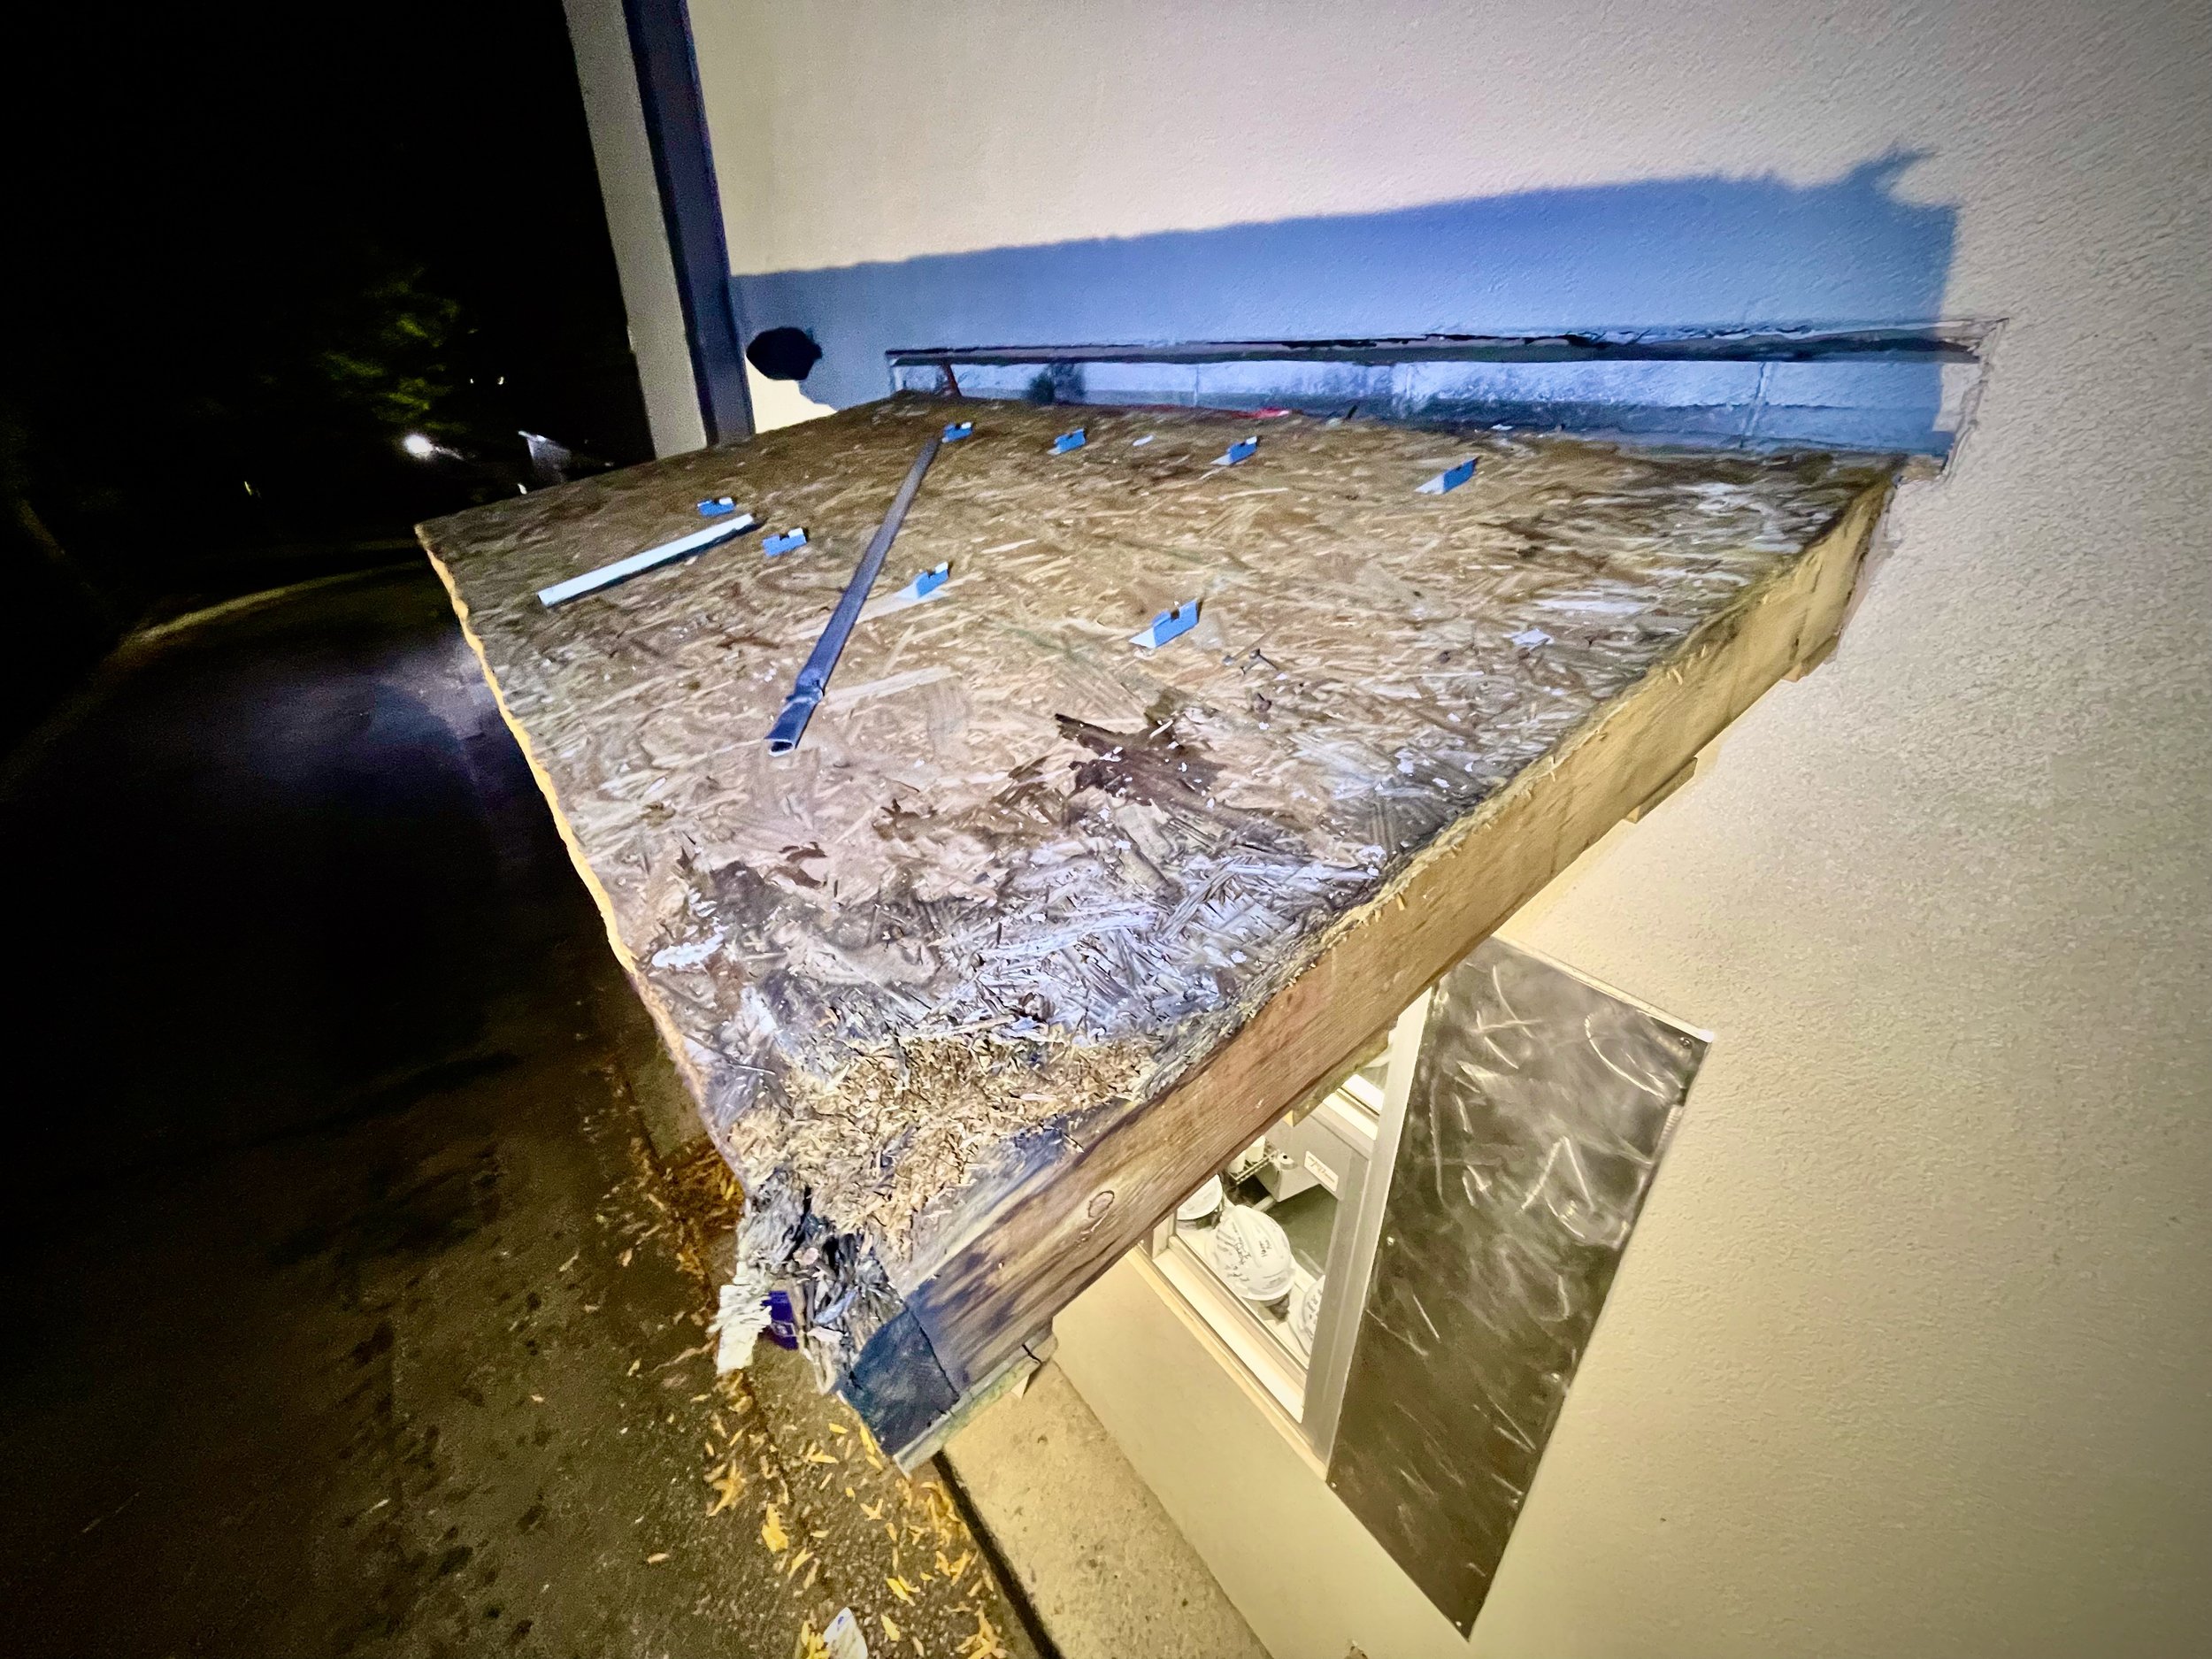
Due to a couple cut corners in the structures components and application of flashing and metal roof, rot had begun to form. While this was not the main cause for the sagging, the rotted material needed to be handled with the cosmetics removed.
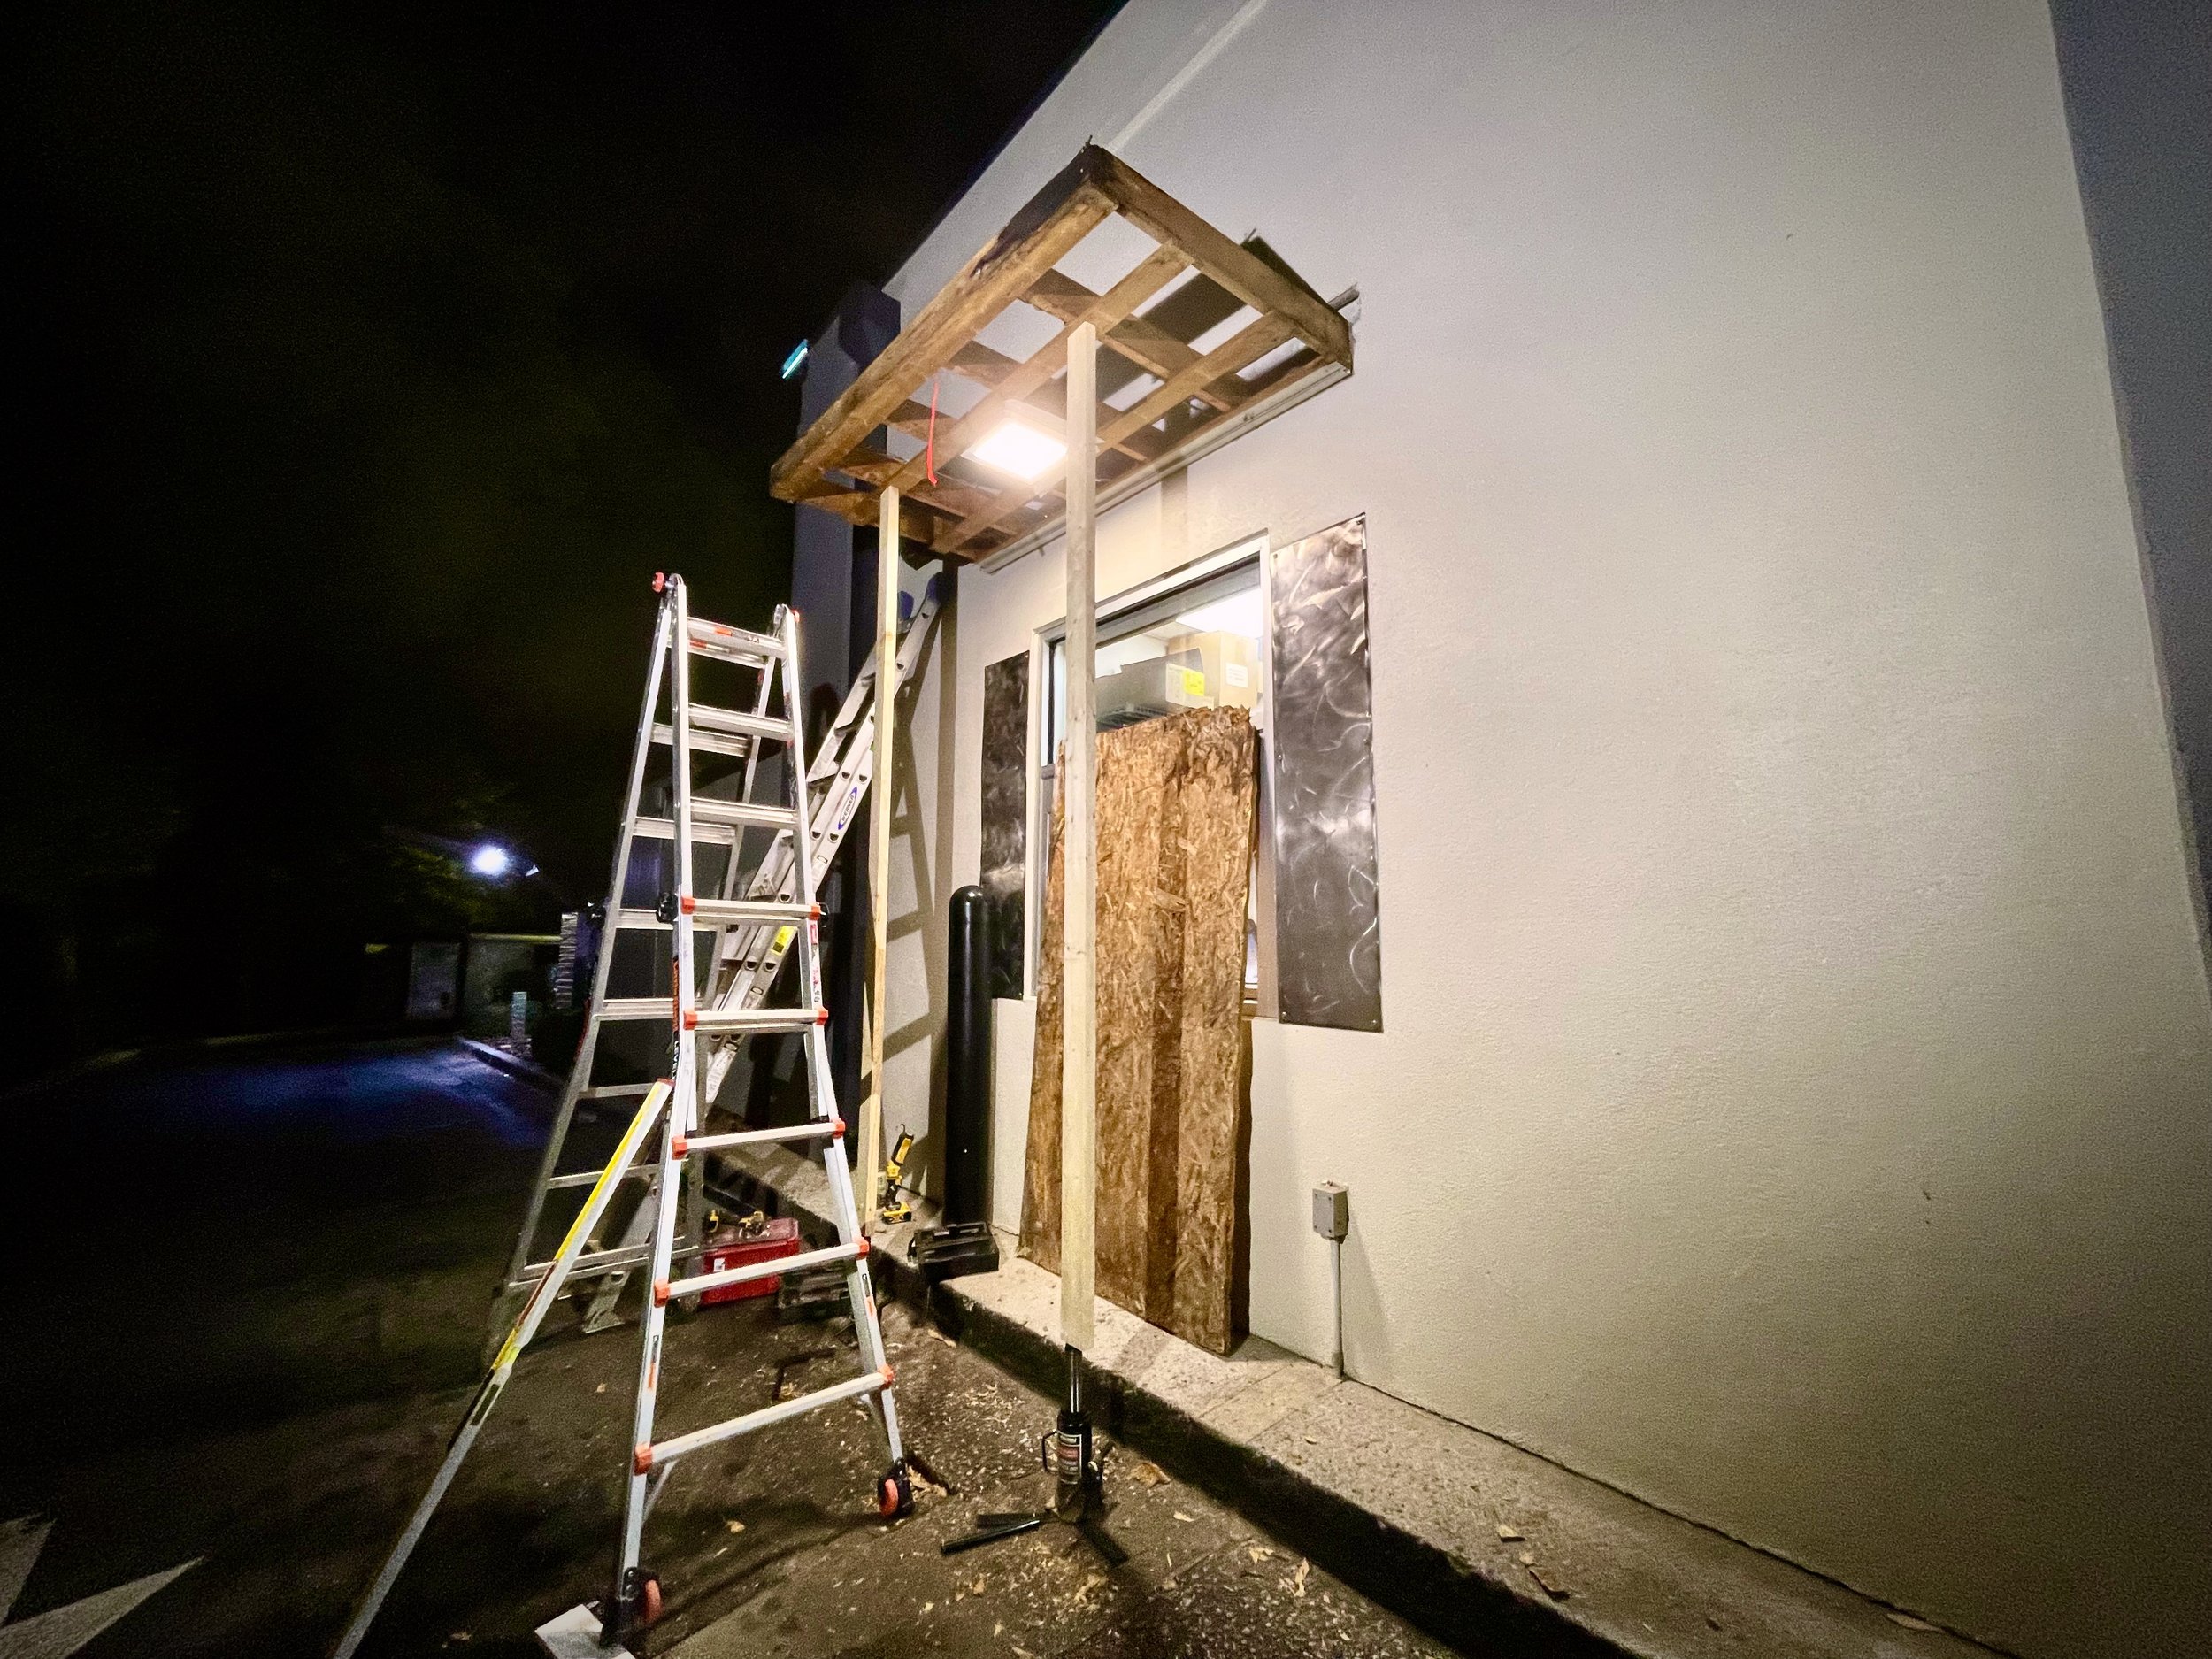
One of the structural components needing to be removed was the sub-fascia. This area anchored the awning to the exterior wall of the building, through tension from a steel cable and turnbuckle system. This required lifting the structure and bracing to prevent detachment.
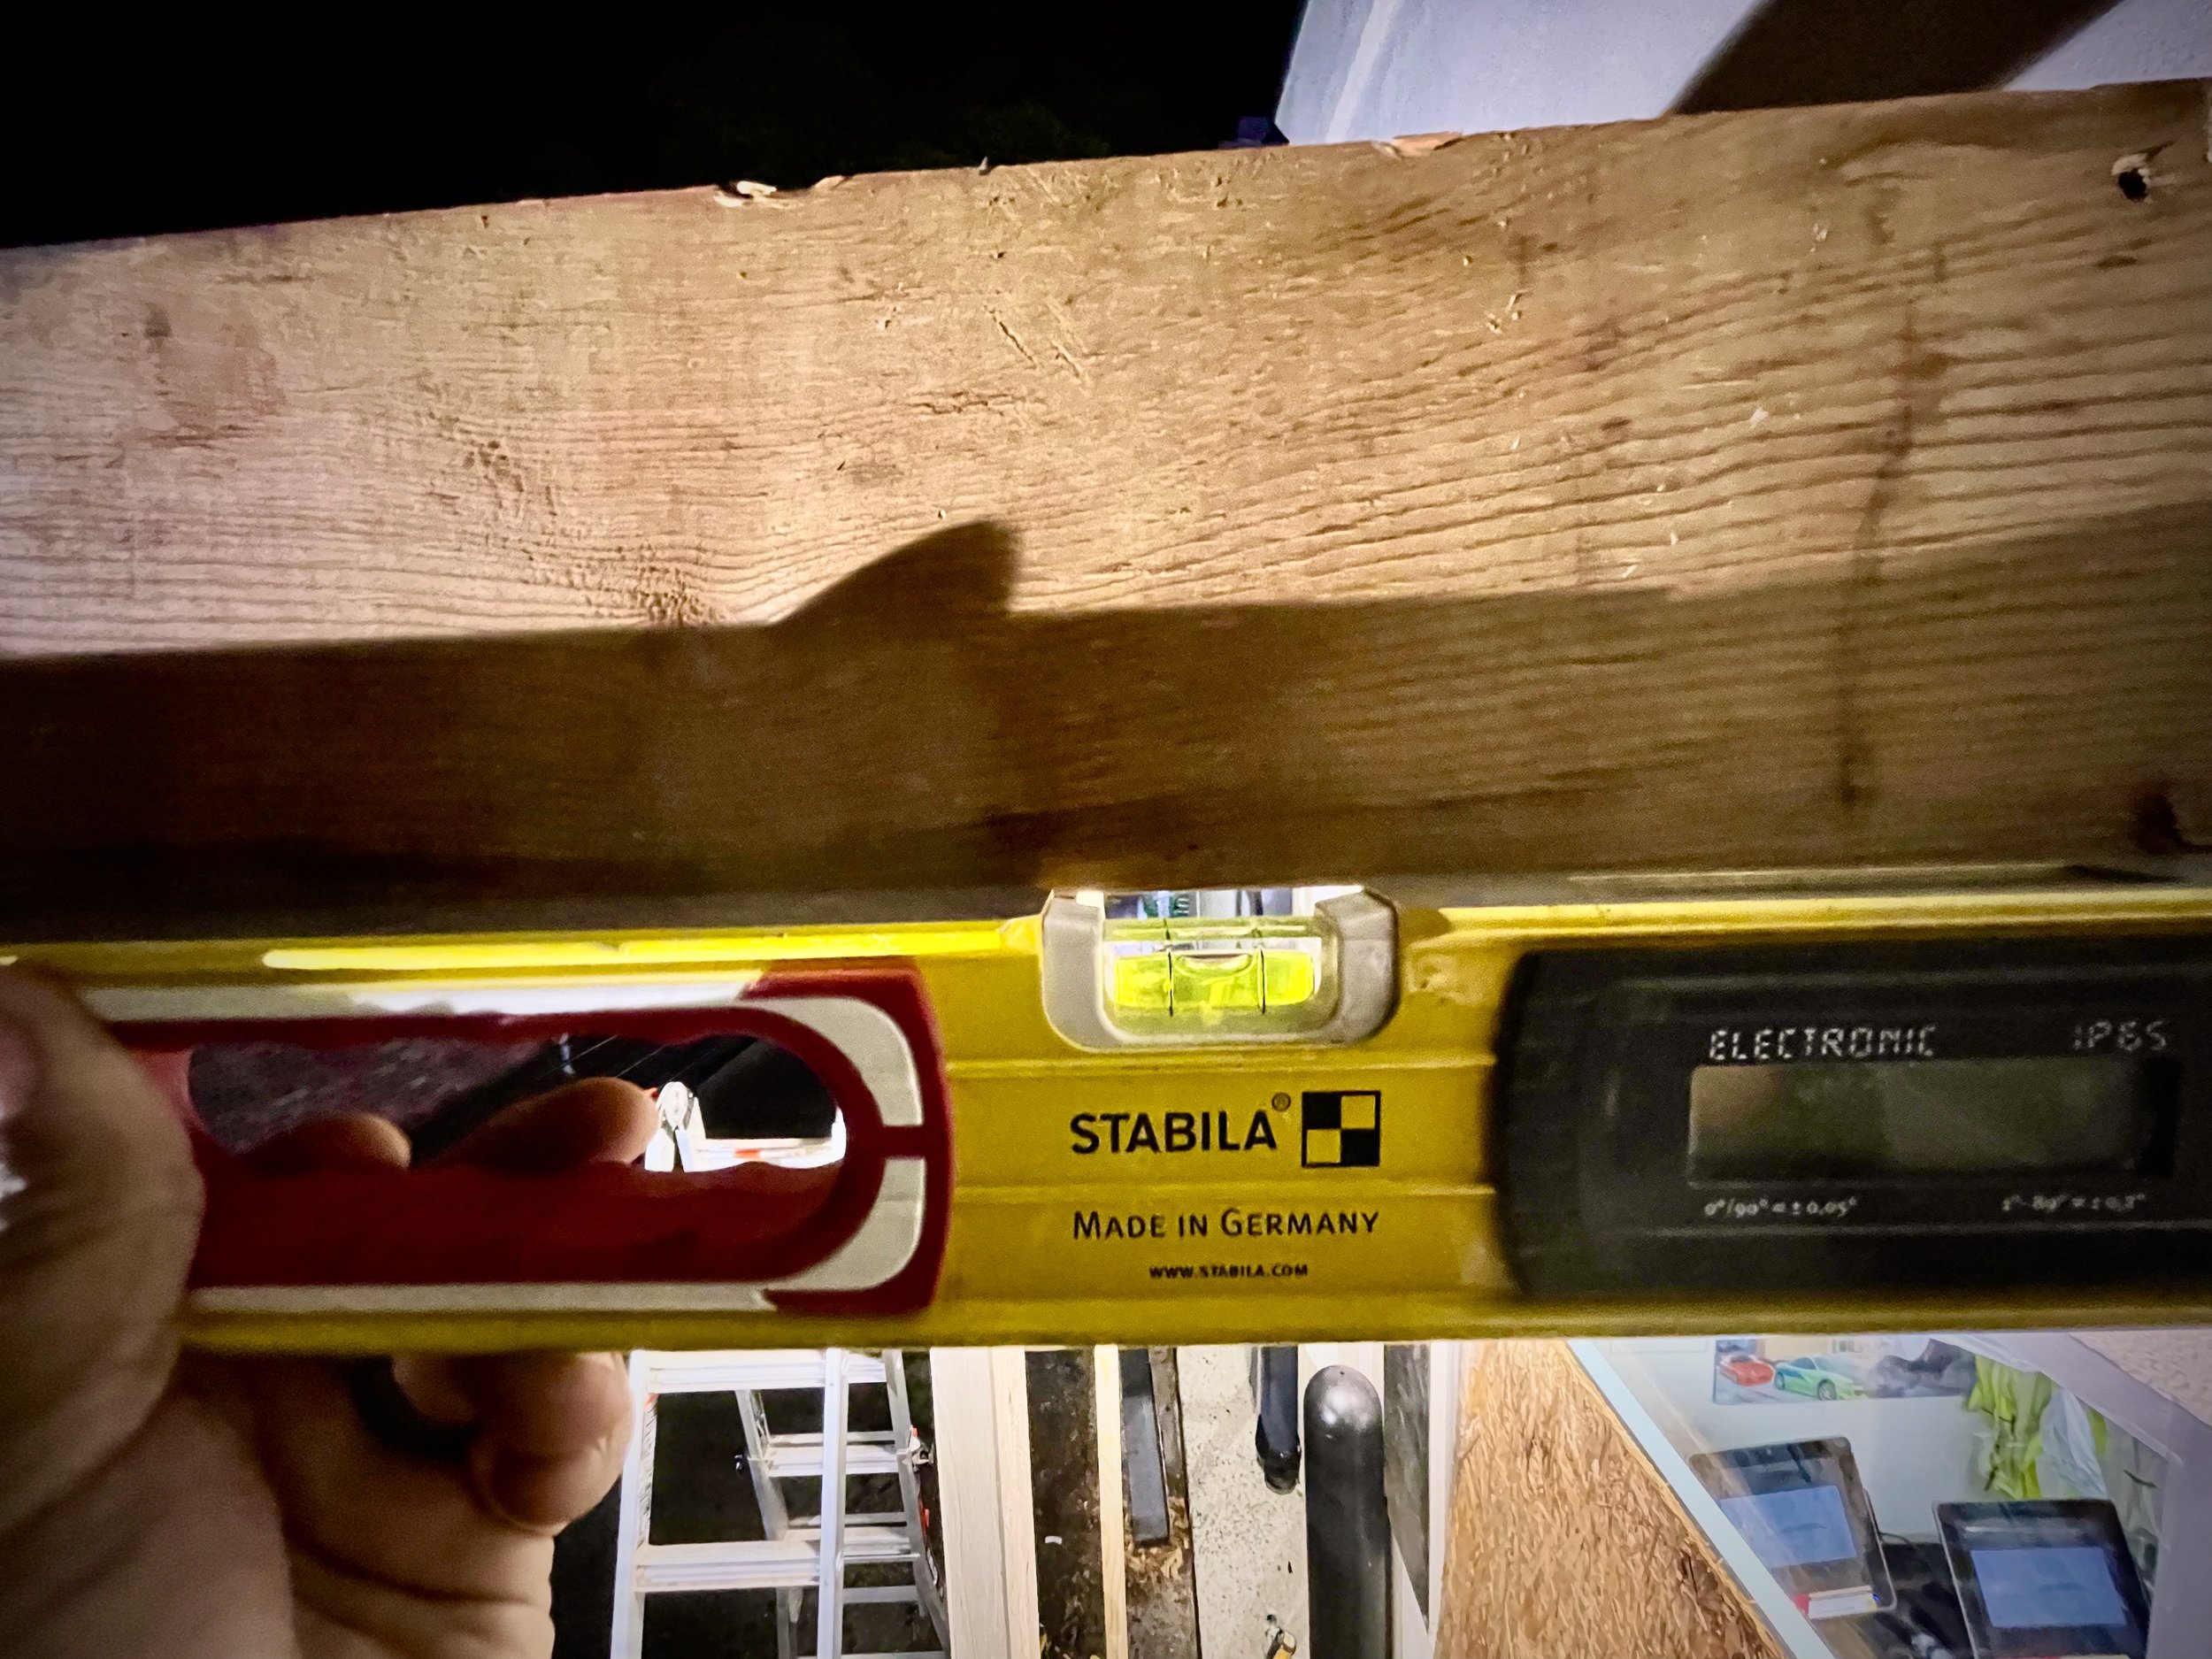
While the tensioning cables will give a slight drop, the right corner of the awning was 10" out of level compared to the left side 2" out of level. In lifting the awning, it was insured that the bottoms of the rafters/joist were level before reattaching the cables.

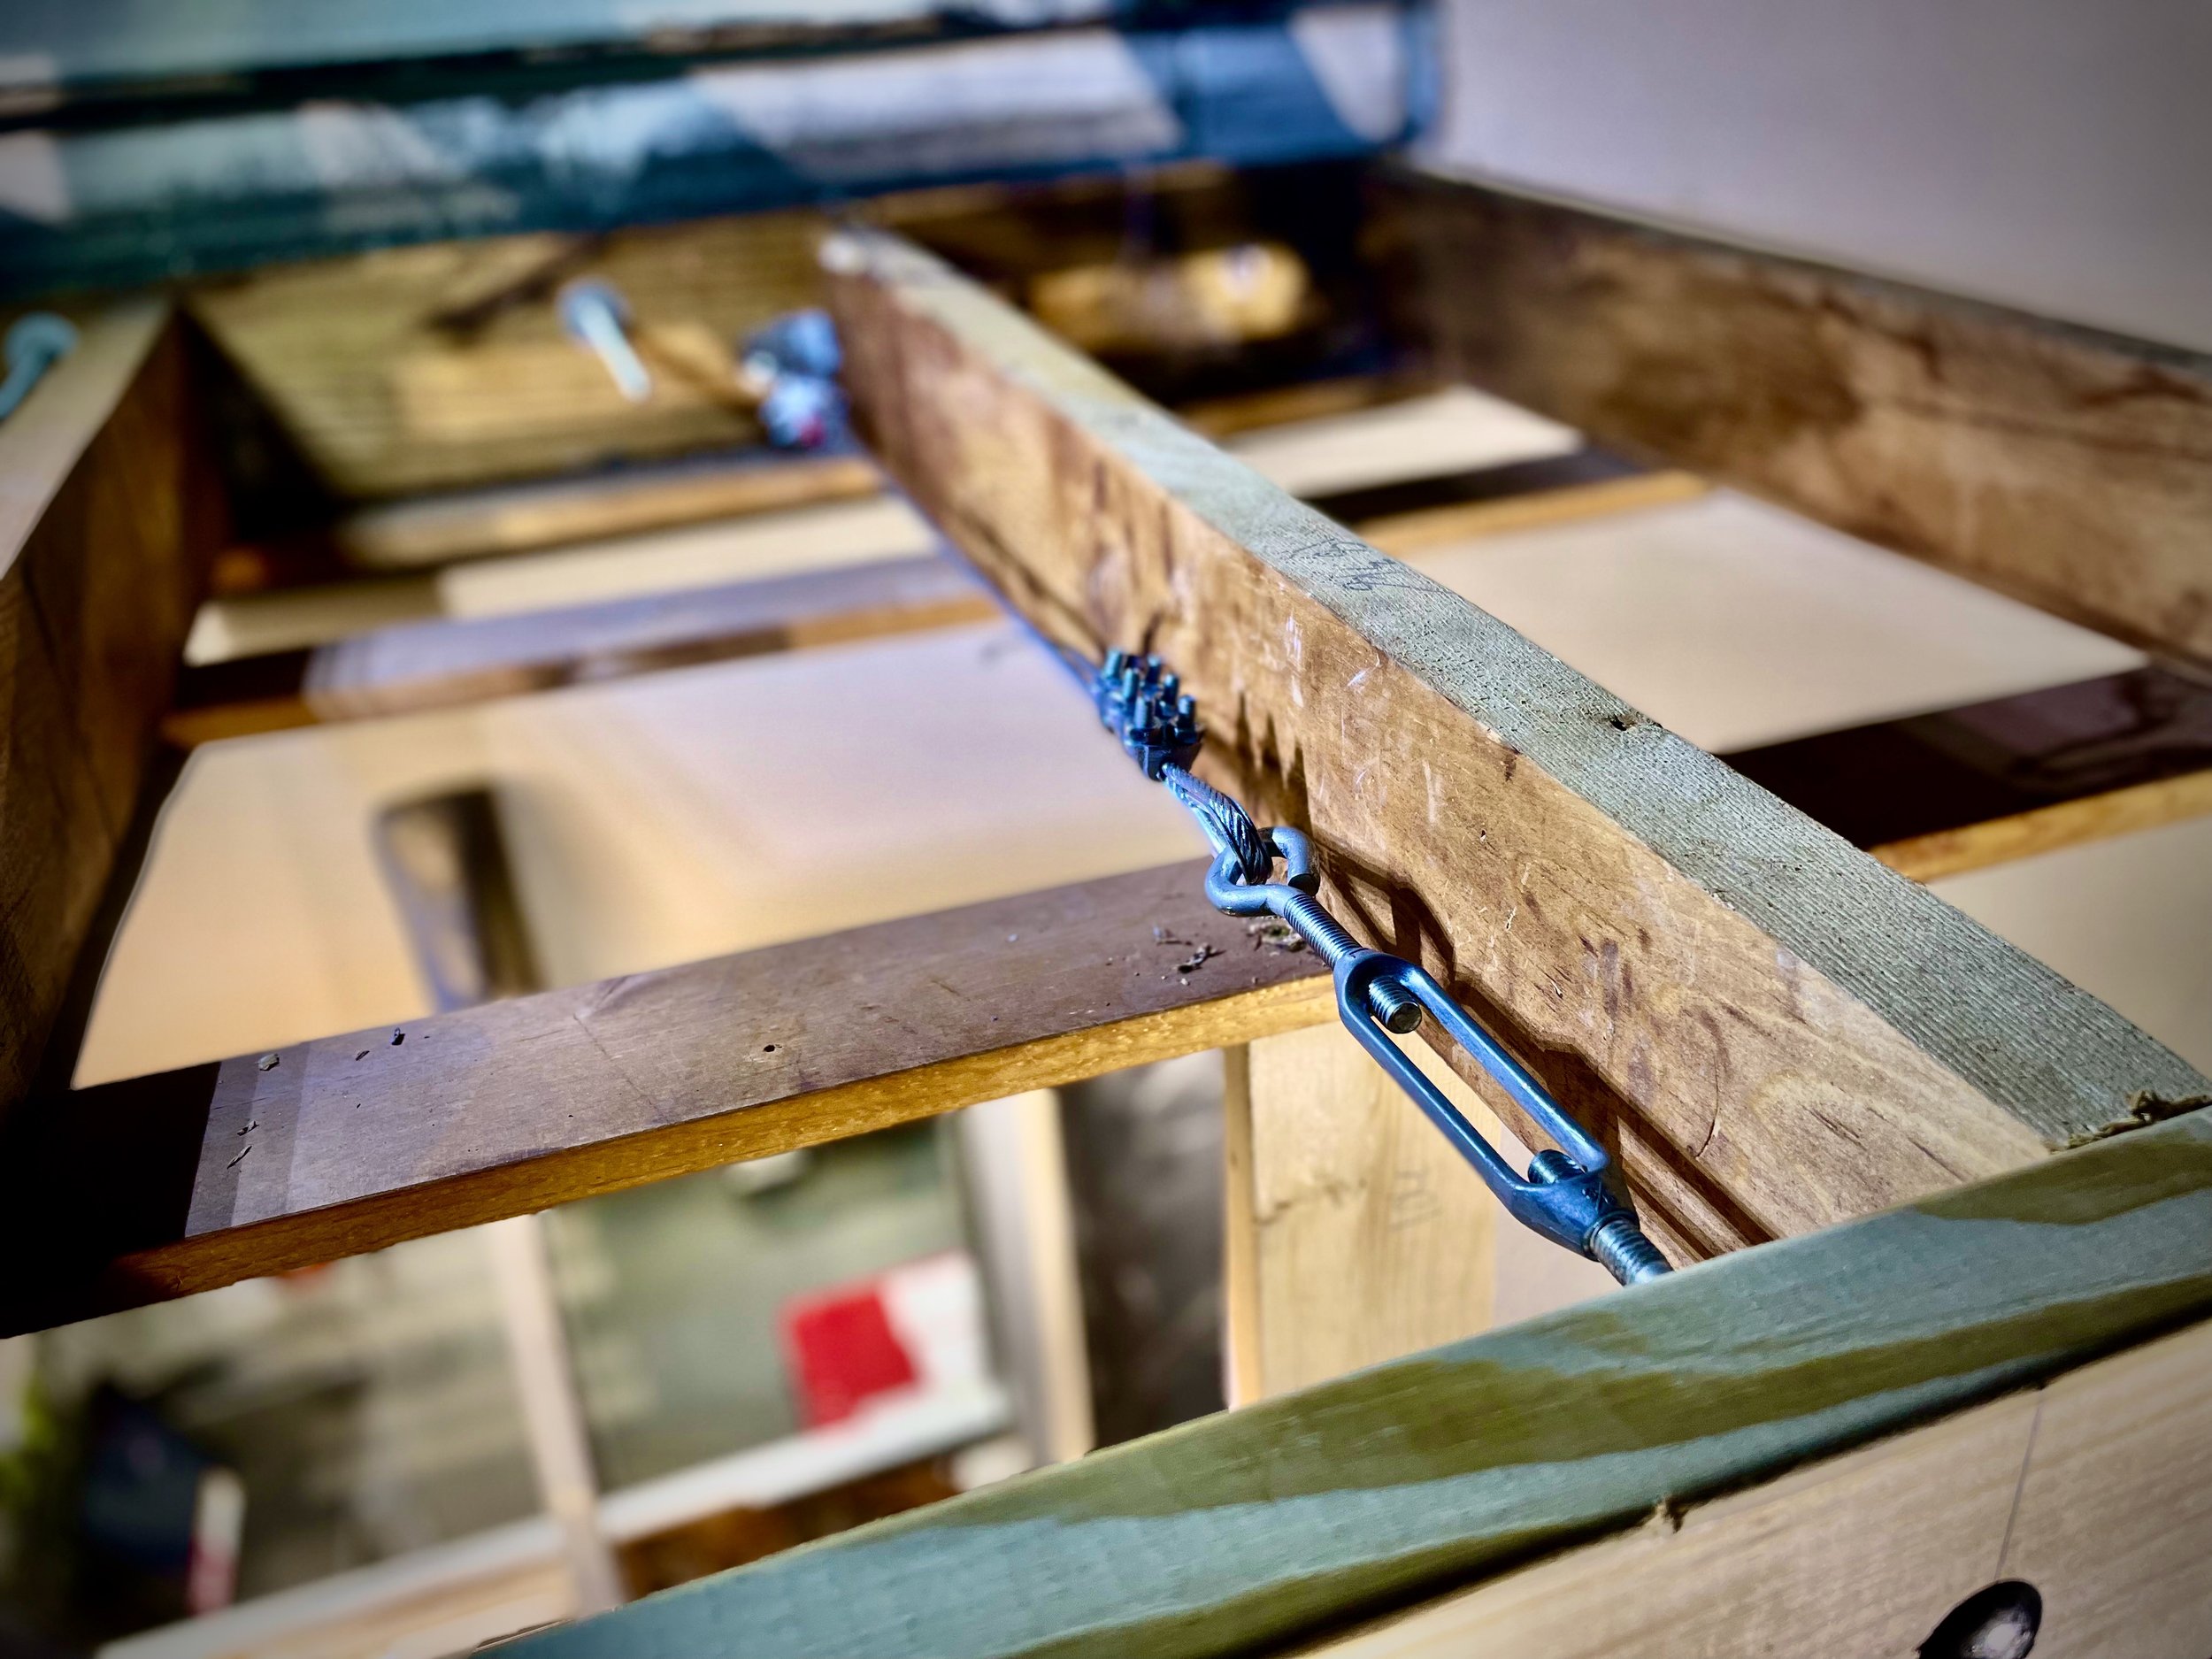
When resetting the turnbuckles to zero (to allow tightening), three wire clamps are added to either side. The clamps ensure that the wire is being held in multiple locations. Where the previous install only included one clamp. Additionally., wire chases were added through the eyelets of the turnbuckles to help assist in a perfect turn of the cable and help prevent stretching.
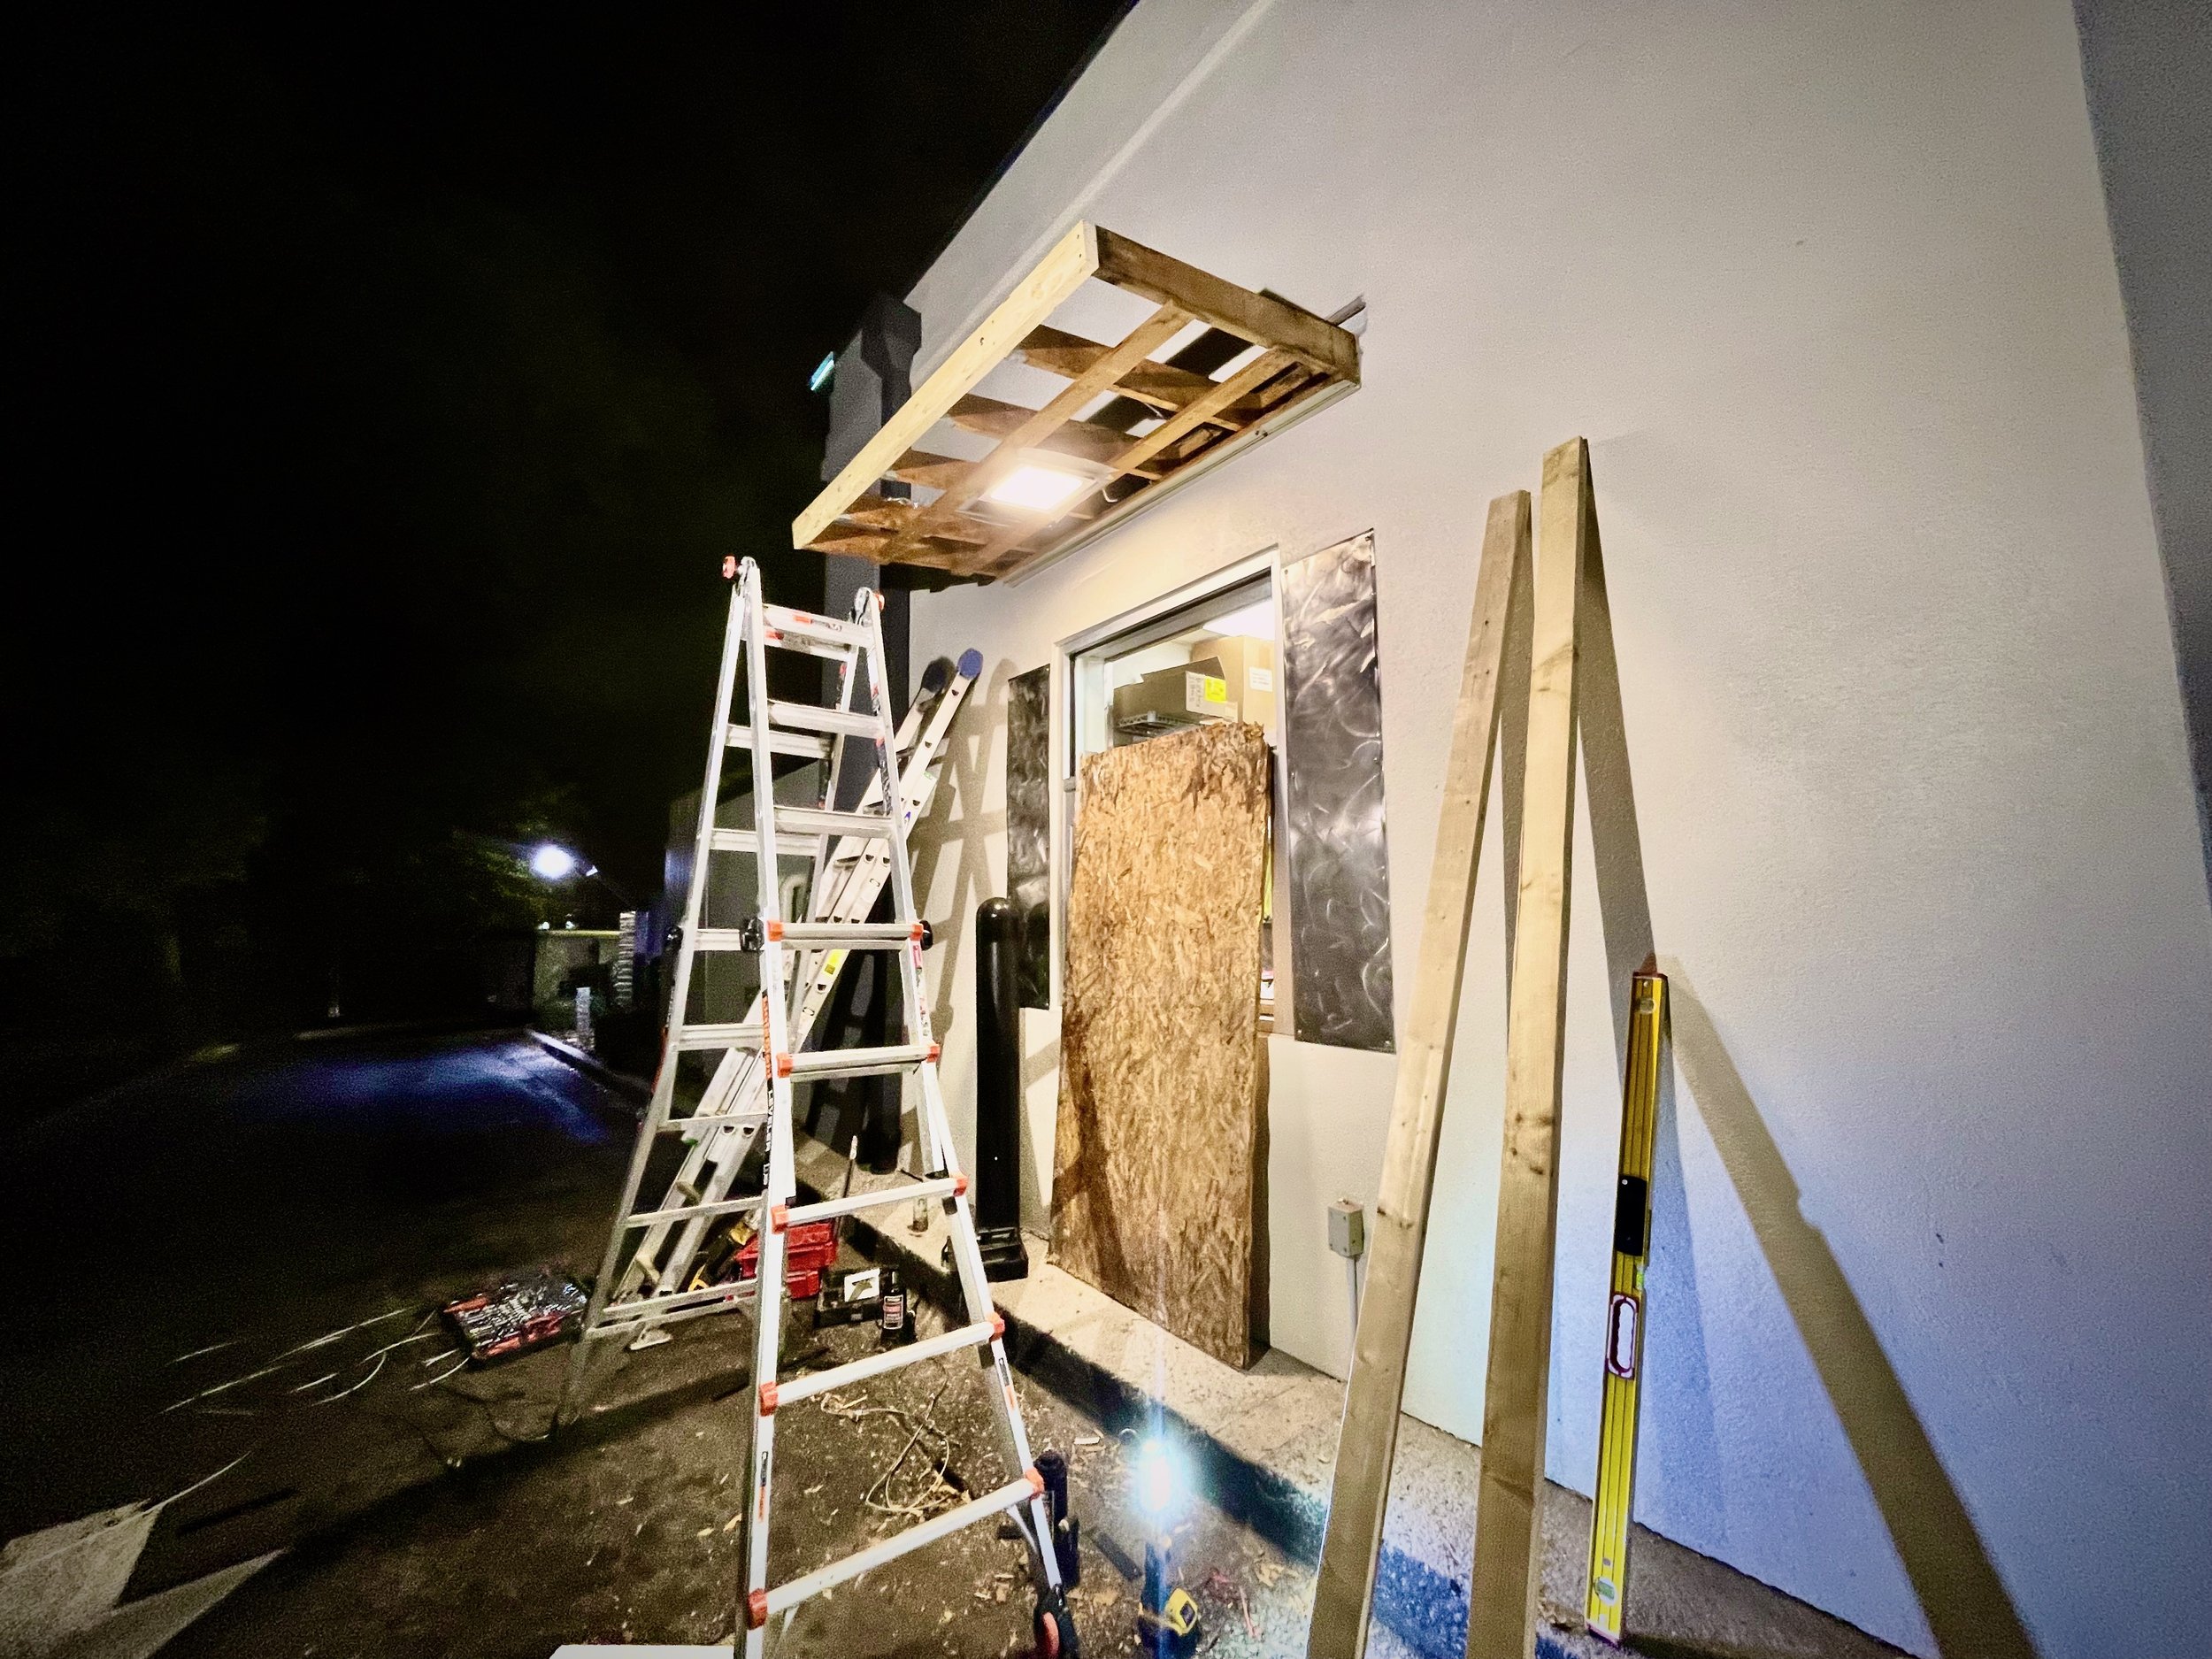
Once everything is tighten and in place, the jacks are removed.
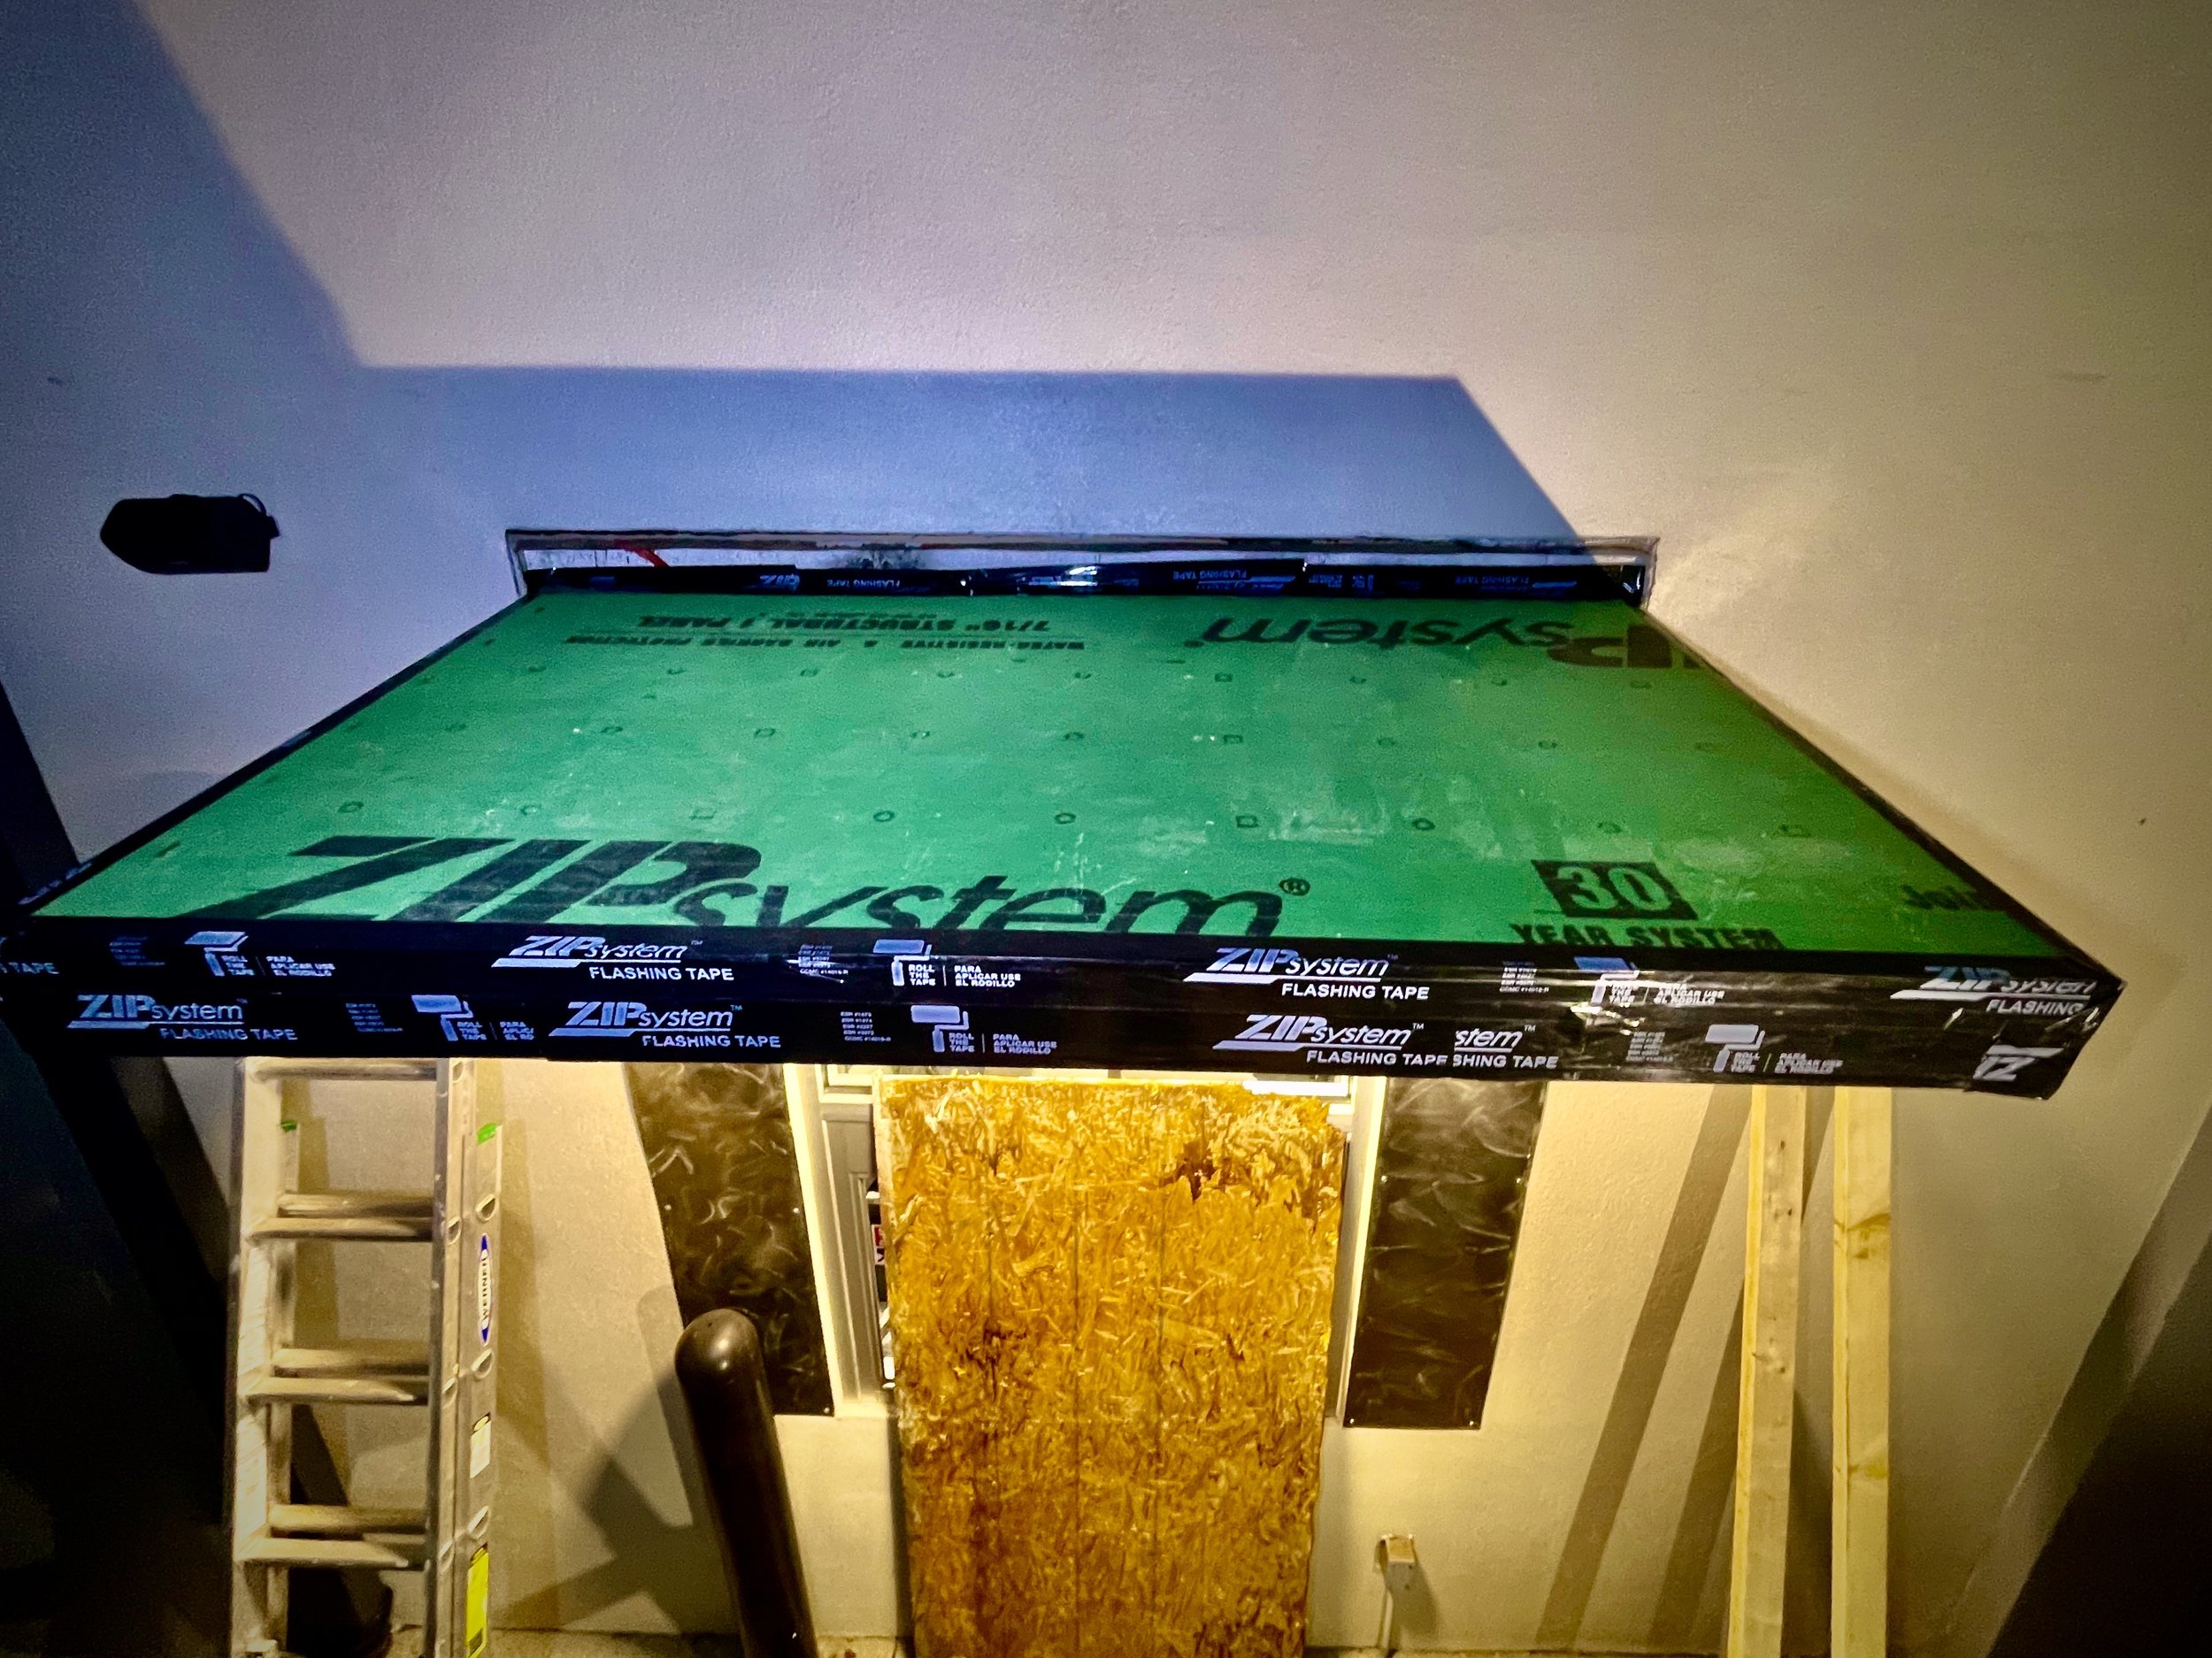
Instead of going back with standard OSB, Zip system was used instead. This is a sheathing that includes a weather protective barrier already applied on one side that may see water. Additionally, zips flashing tape was applied along all of the perimeter members of the roof, as well as along the buildings exterior wall and ledger, to help in mitigating water from finding its way to the point of connection.
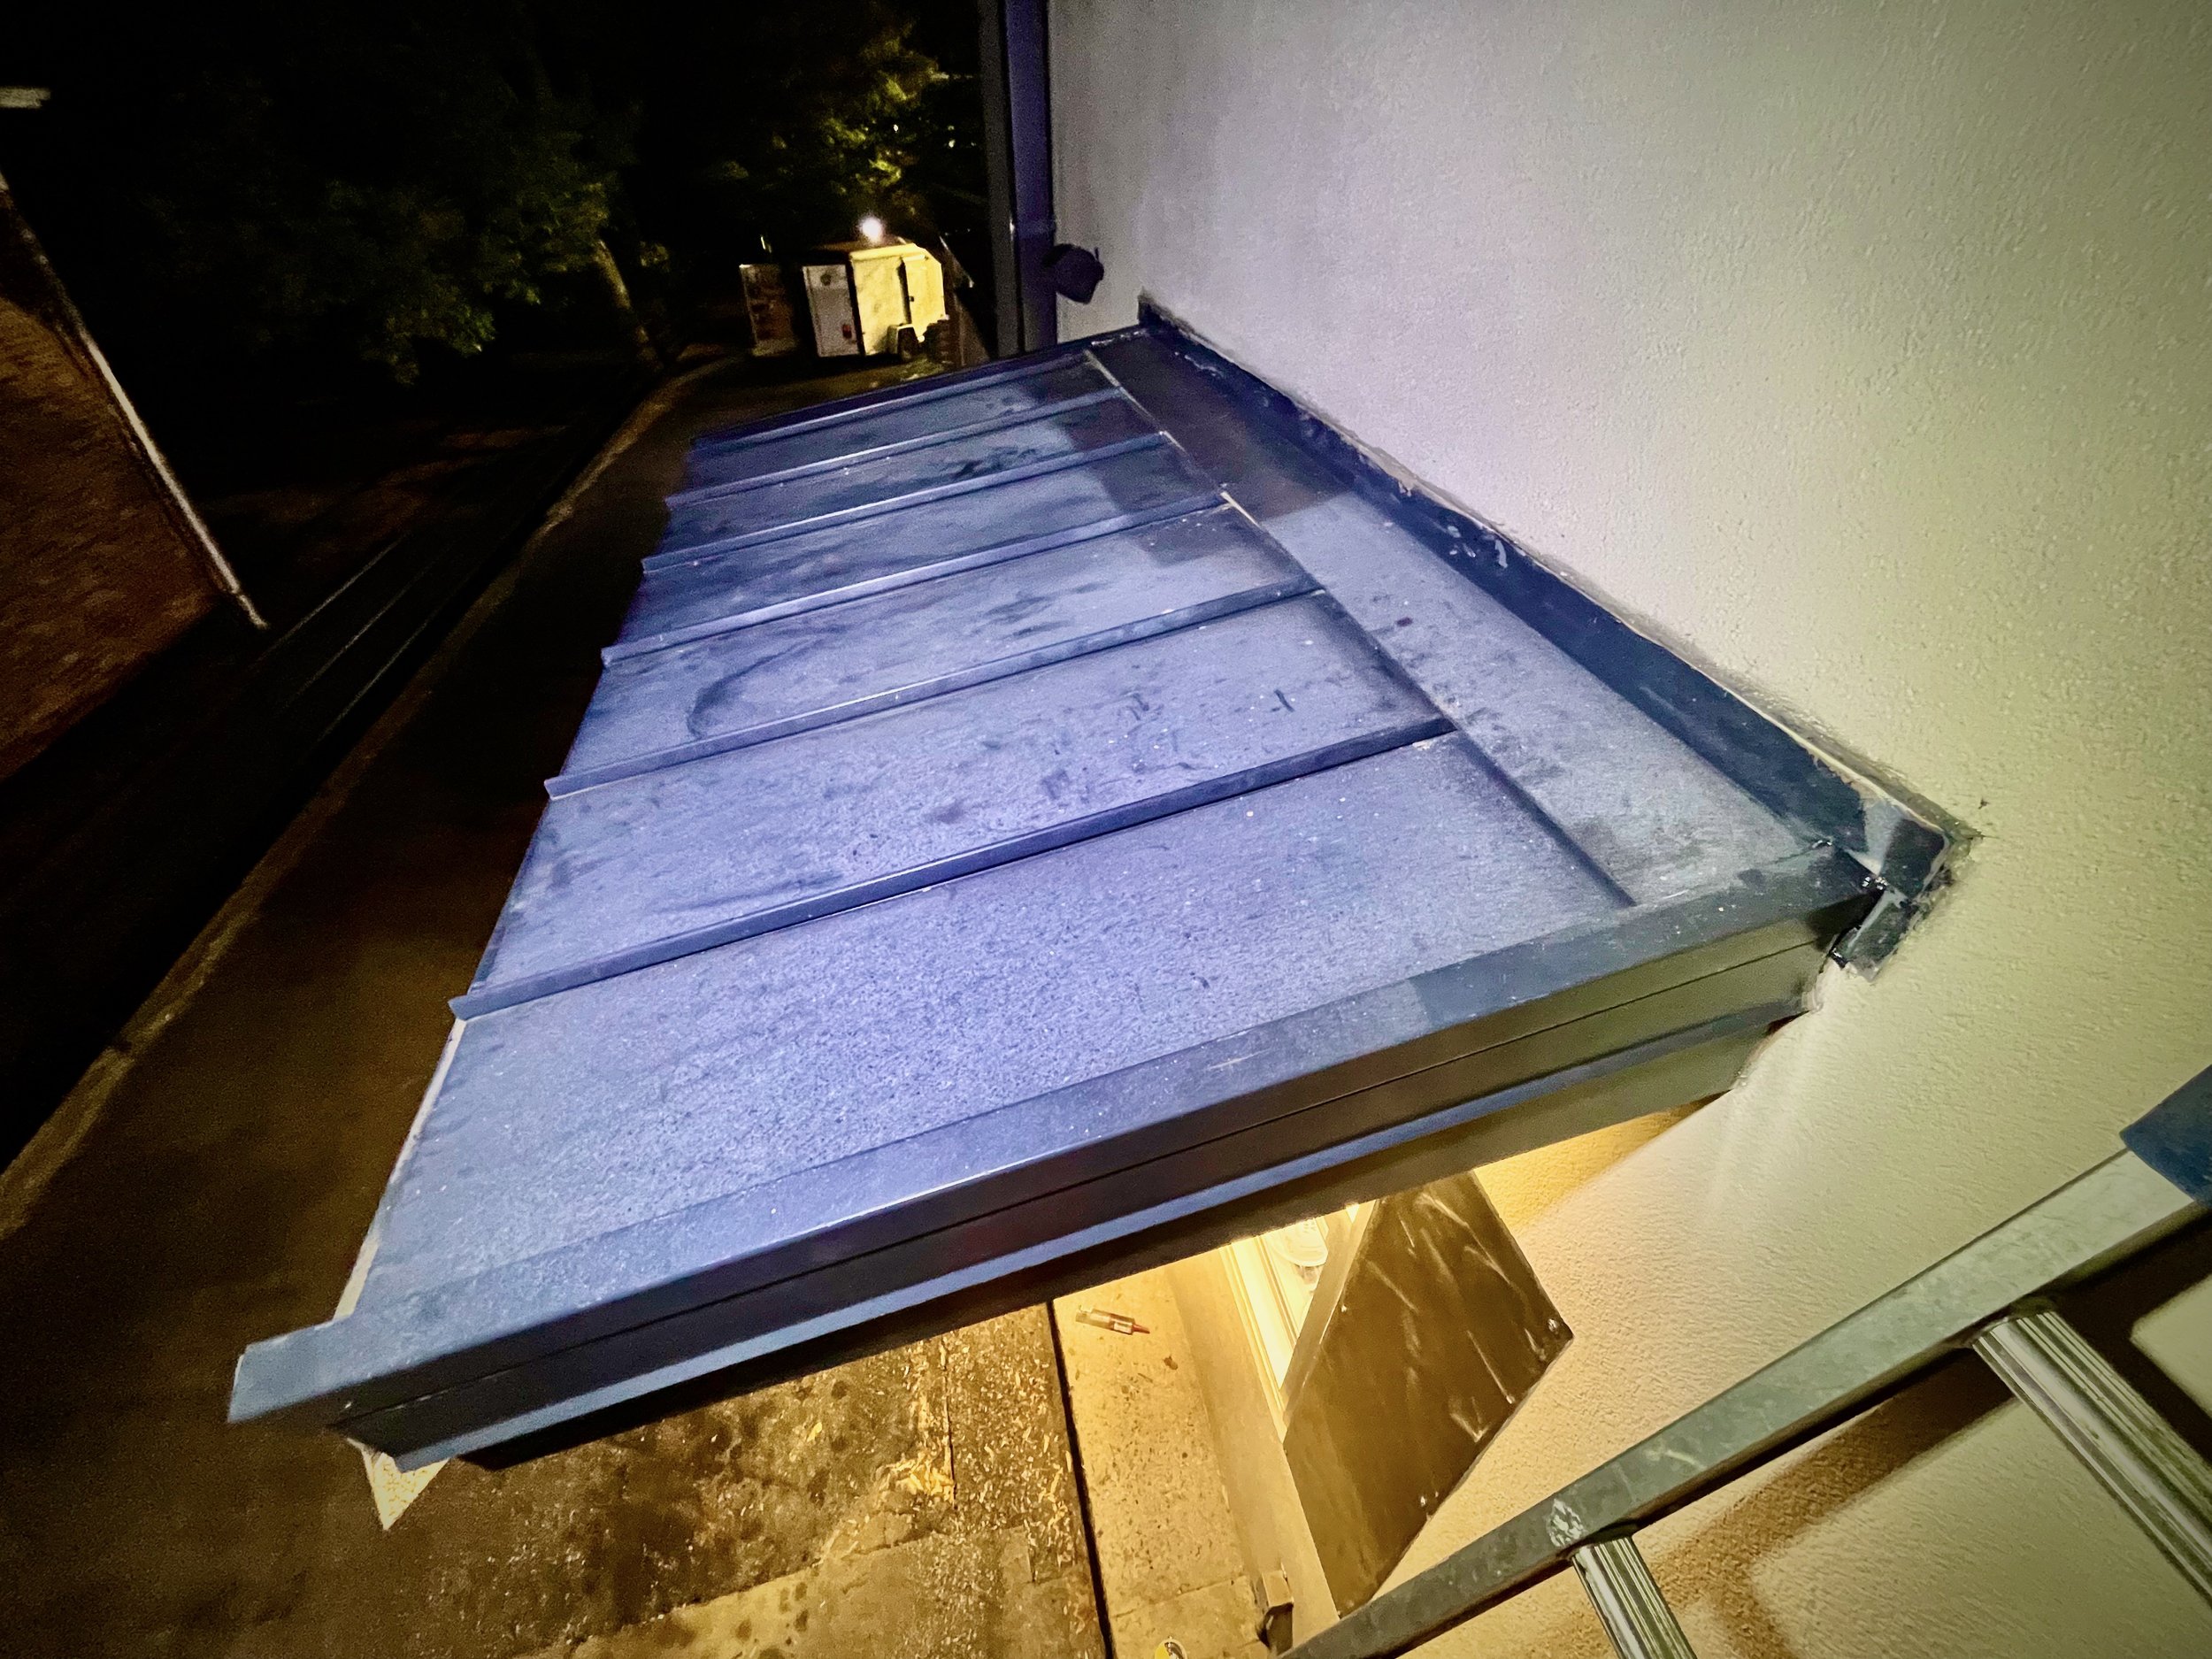
Finished awning repair
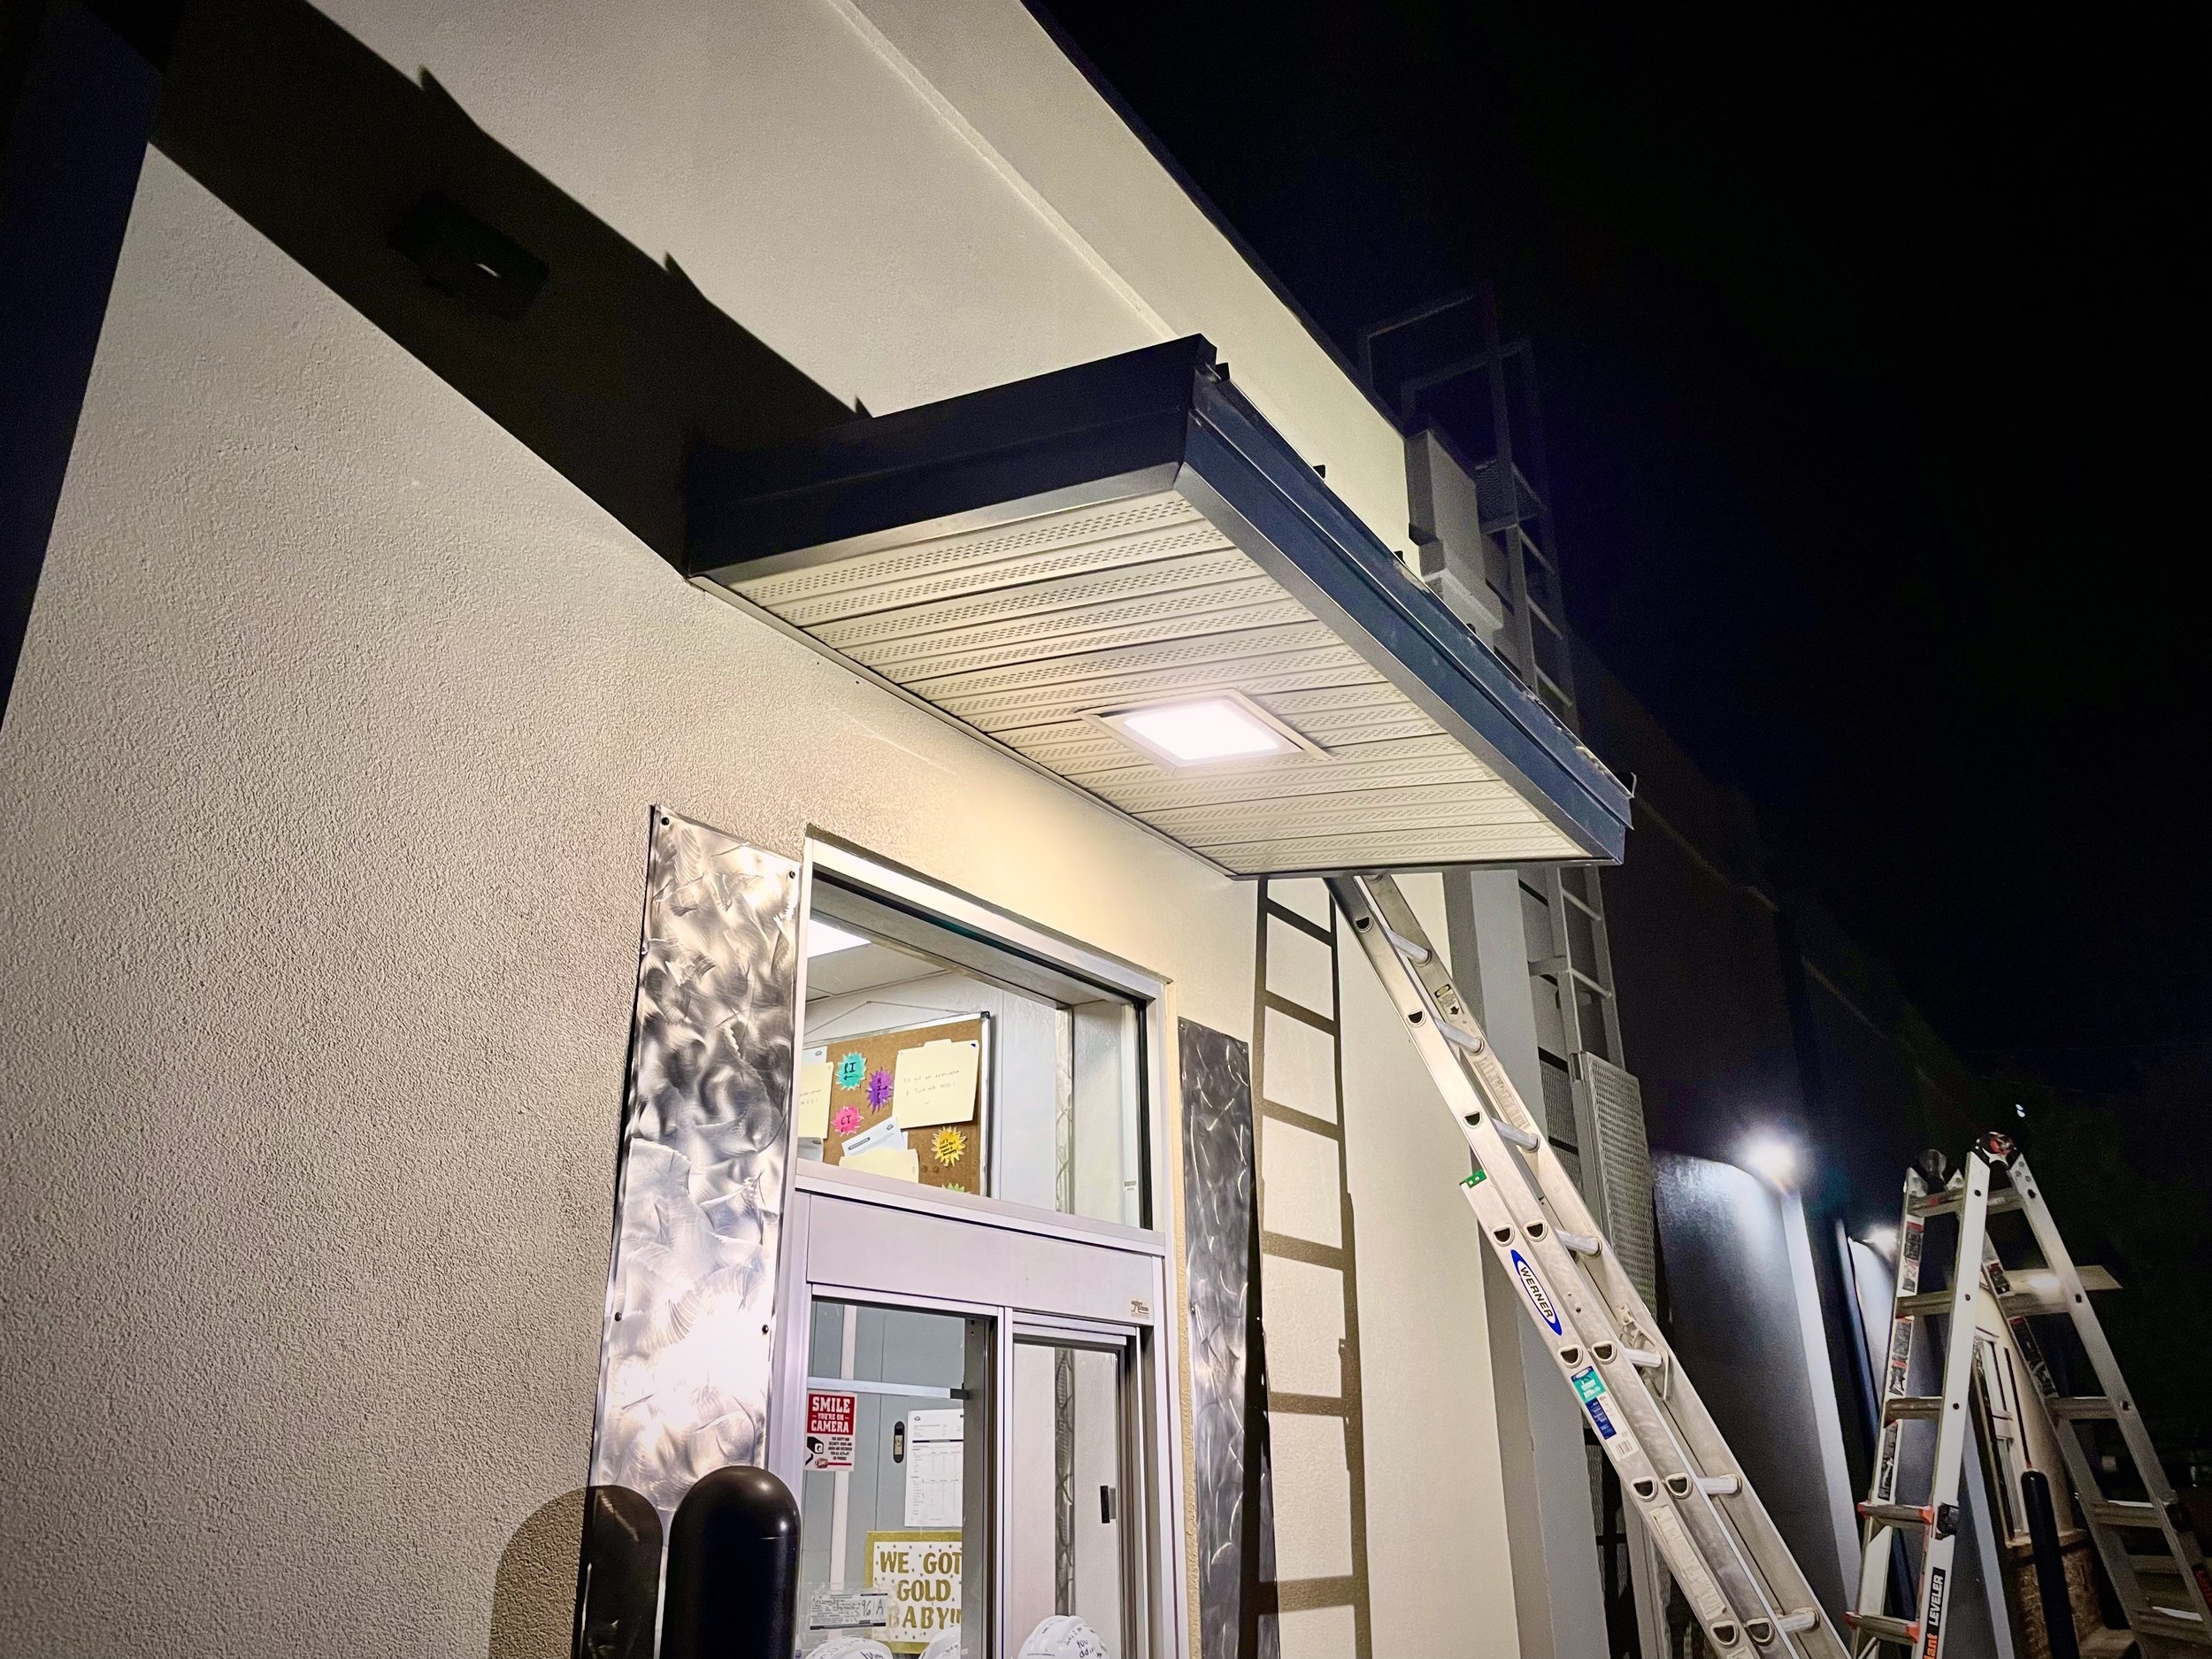
Finished awning repair
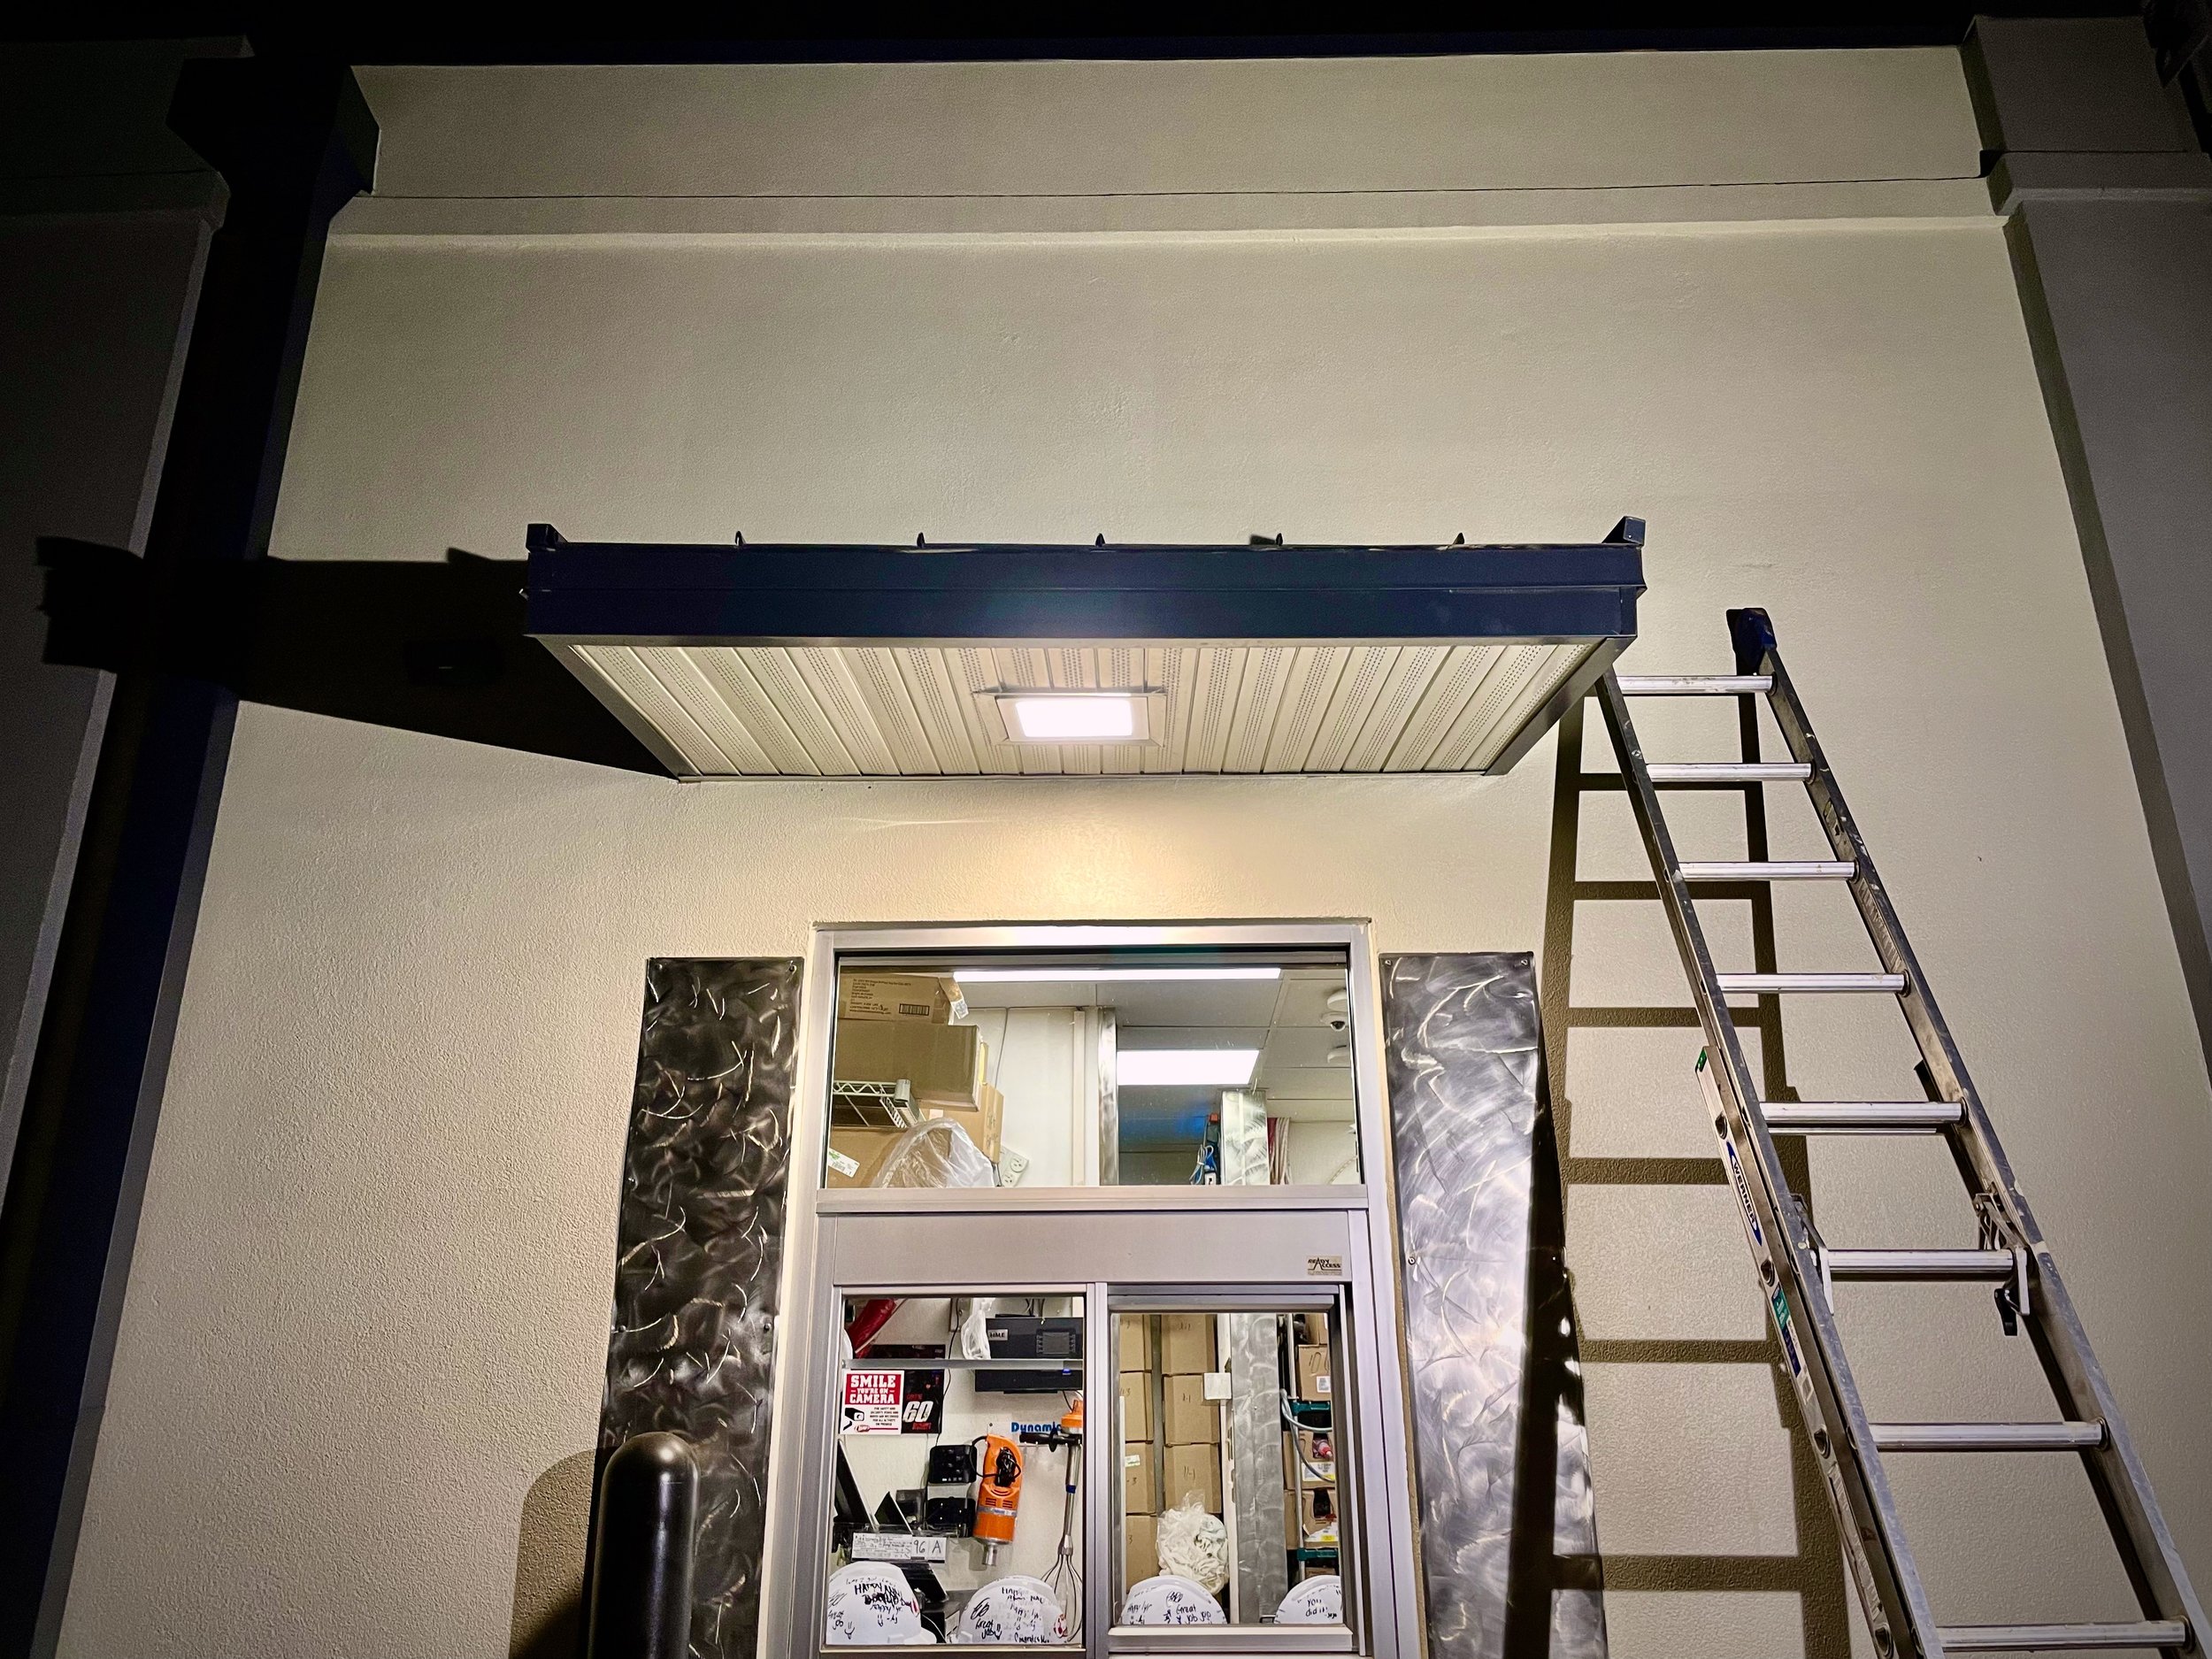
Finished awning repair, showing removed dip in structure.
