Smooth Is Good
Creating smooth surfaces through sanding for a better paint finishes
A good carpenter, has an even better painter.
Often I have heard other trades say ‘I hope you have a good painter’.
Translation: ‘My work is not going to be that good, so I’ll leave that work for the painter’.
You wouldn’t believe how much corrective work is thrown onto the shoulders of a painter. Correcting drywall and carpentry, so everything is one seamless project. This involves knowing the substrates you’re working with, but also the tricks necessary for when corrections are needed.
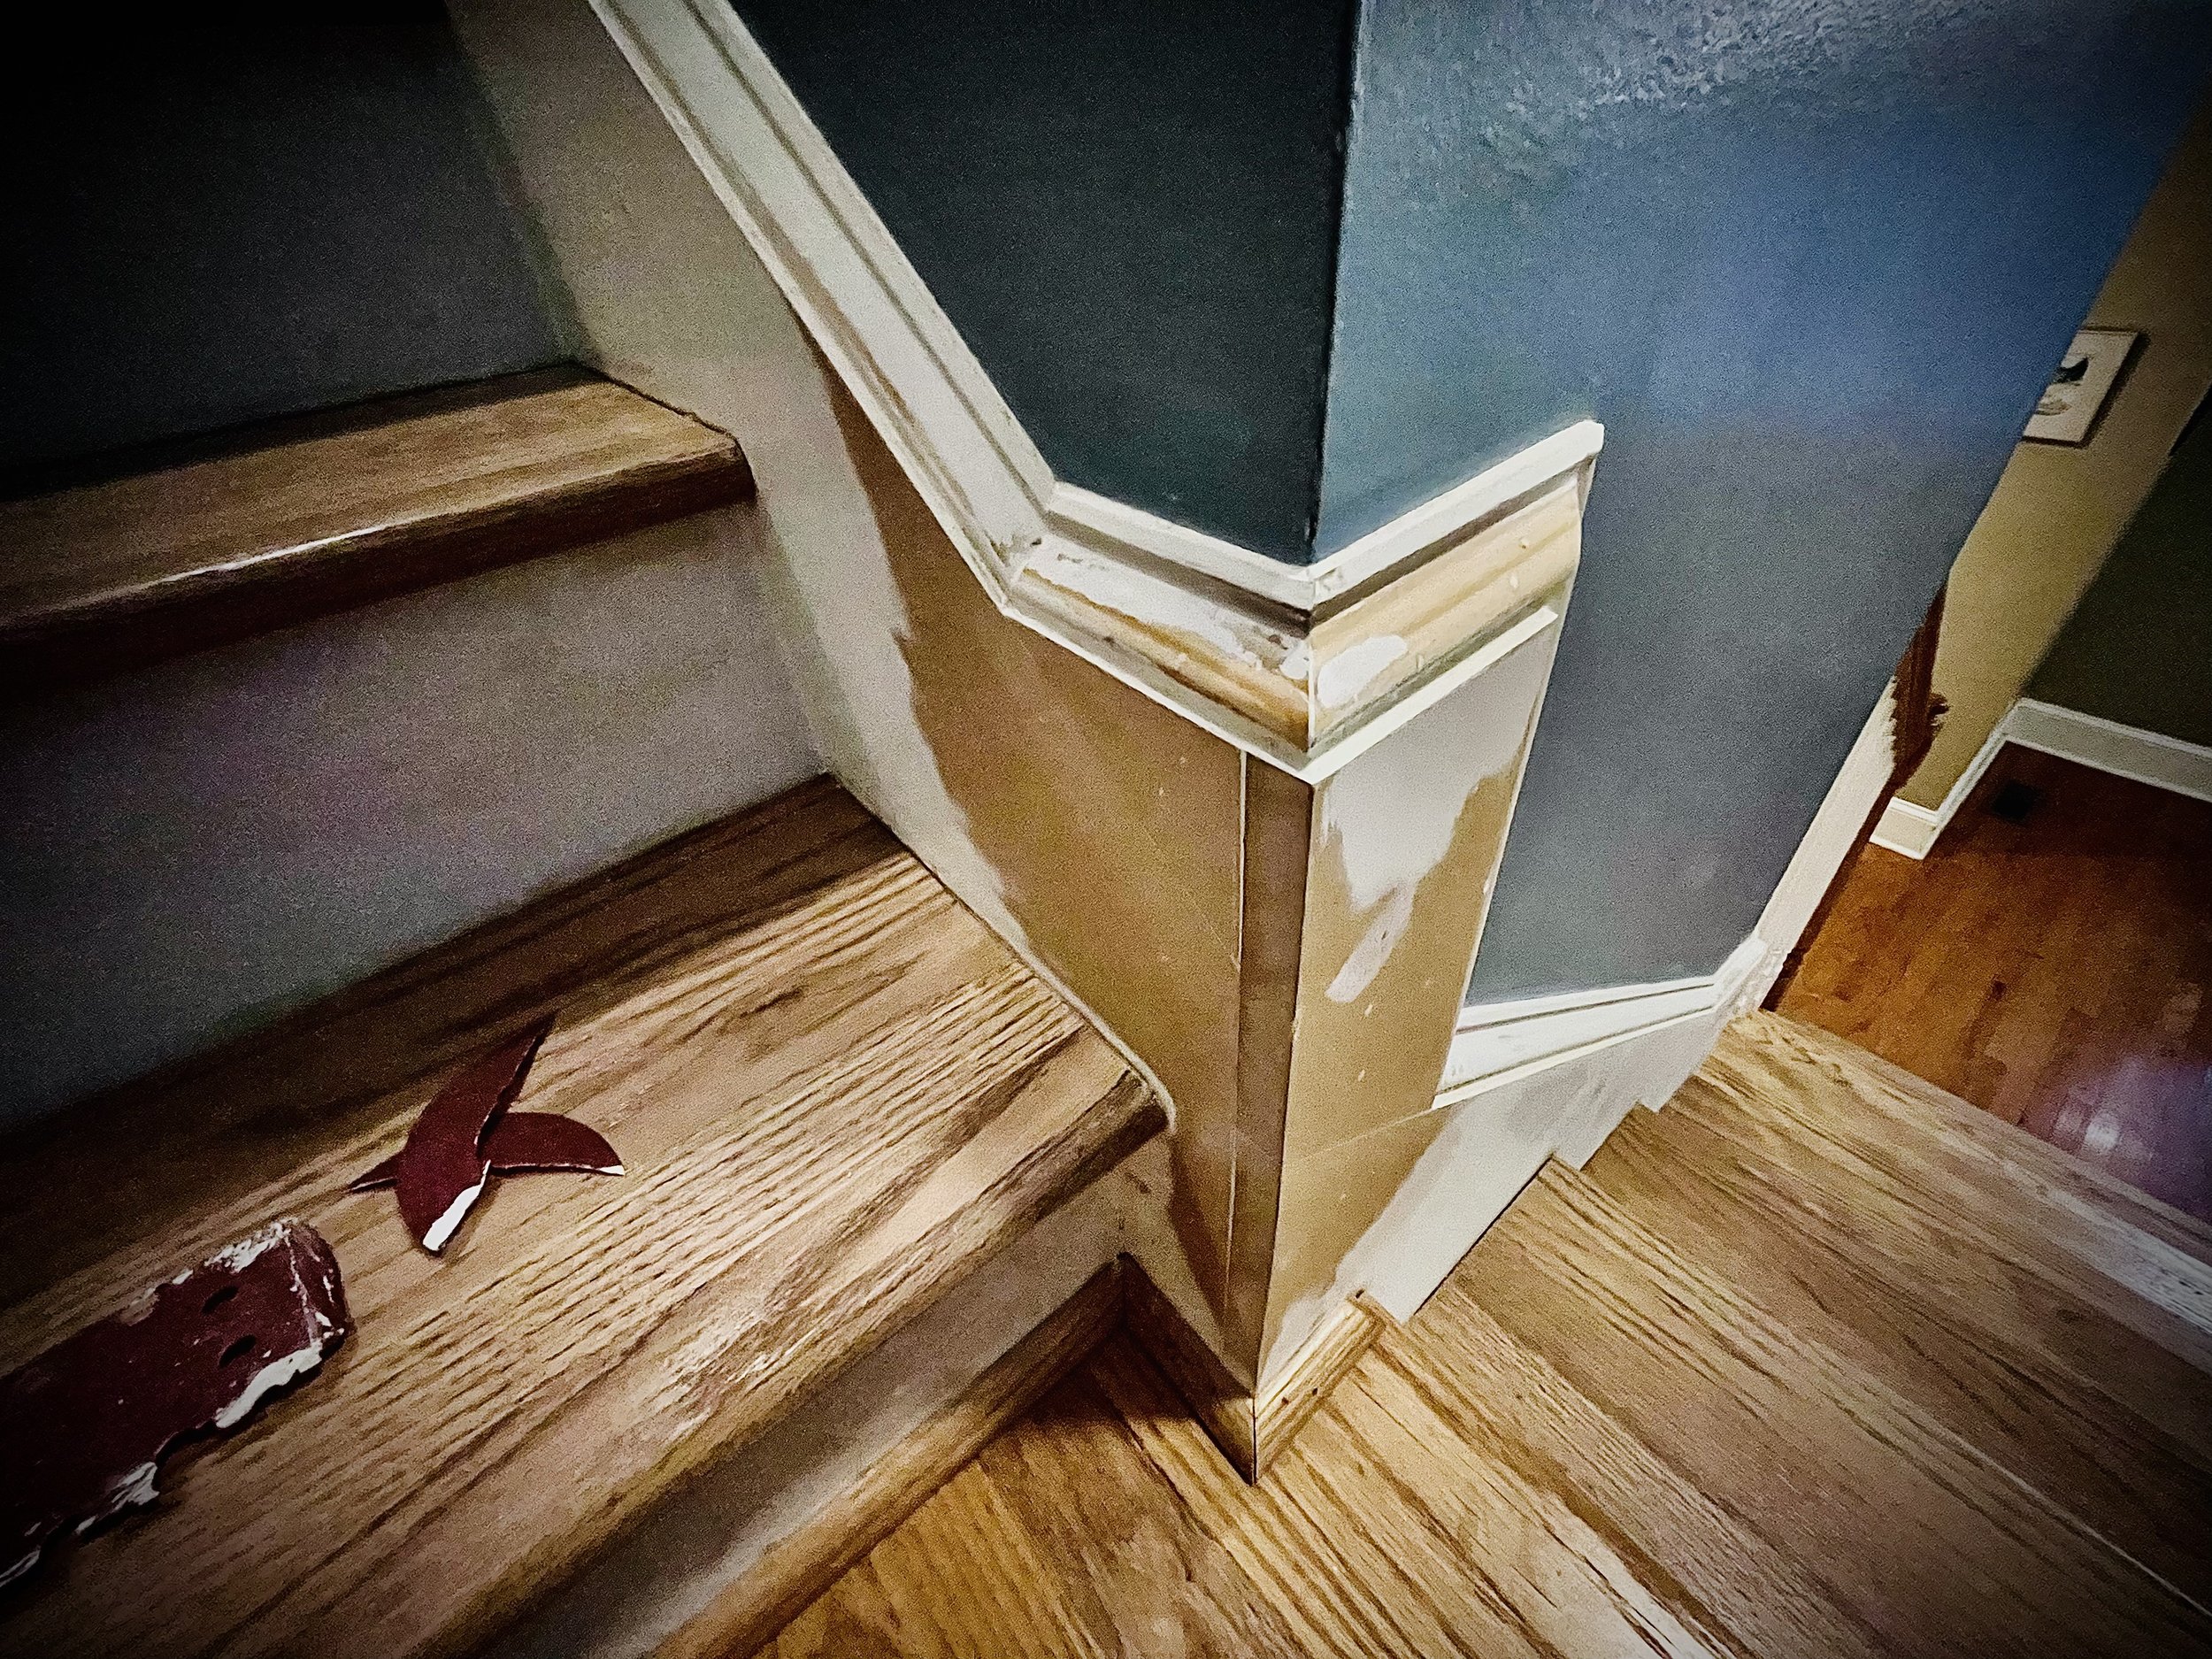
For this project, a flooring contractor had added new treads to this staircase. Where carpet use to be on the risers, were holes from the tack strip and staples. The risers were made of MDF, as well as skirt boards and other various finish pieces. The holes created from the fasteners stood out to the customer, but what was more apparent to me, was the uneven surfaces.
One thing about giving a great finish, is to blend everything so that you are unaware of where one piece of trim starts and ends. If the carpenters do not shim or join the boards through means of loose joinery and glue, then the odds of two boards being uneven increases. In my opinion, these techniques are the fastest, but if they are skipped, then the next means of creating a smooth transition, is through sanding.
Sanding is something that jumps back and forth between who’s responsibility this falls on. Ideally, the builder decides or a trades person takes on the duty. But every job involves some amount of sanding, and most often it falls on the painter.
The trick to getting smooth surfaces doesn’t involve the grit of the sandpaper, but how light creates shadows and glares.
Using a high lumen light at sharp angles (with a cooler light temperature preferably), is what accomplishes this task.
Because most houses have lower lumen lights with a warm color temperature, shadows and glares are softened and less noticeable. By increasing the brightness and creating harsh shadows, you can tell how the sanding is being accomplished.
Once you can create a surface that does not show defects, then you can be reassured that the soft light created in most houses will assist in making the work stand out seamlessly.
Along with the lighting, here are a few other tips to go along with the sanding:
Work through the grits
- Start at a lower grit (40 or 60) to remove the bulk of the unevenness. You can work it all the way til the shadows and glares disappear, and then move to higher grits in quicker passes to the point of what grit you want to finish on.
Sand til its bare
- No. Don’t sand the entire piece. But sand the seams until you get a smooth transition with no primers or paints. Or til the underlying colors match. The idea, is that if there is any paint left over within your sanding area, then that spot is not perfectly flat or giving a smooth transition.
Wide sweeps
- Continuing on the sanding, don’t hold the sander in one spot. But keep the sander moving over a wider area. You do not want to create a dip or ‘pit’ where you are sanding. While you will remove more material than when you started, if you can extend the removal over a longer distance, then you will avoid a visual or physical dip.
Natural light is brighter
- Pay attention to windows and exterior doors for your lighting. Overhead light is soft, but outdoor light is harsh. The issue with natural light, is it is constantly changing. So moving the light source over different angles, will help catch any spots you missed.


