Window Sill Repairs. A Guide to My Process and Protection.
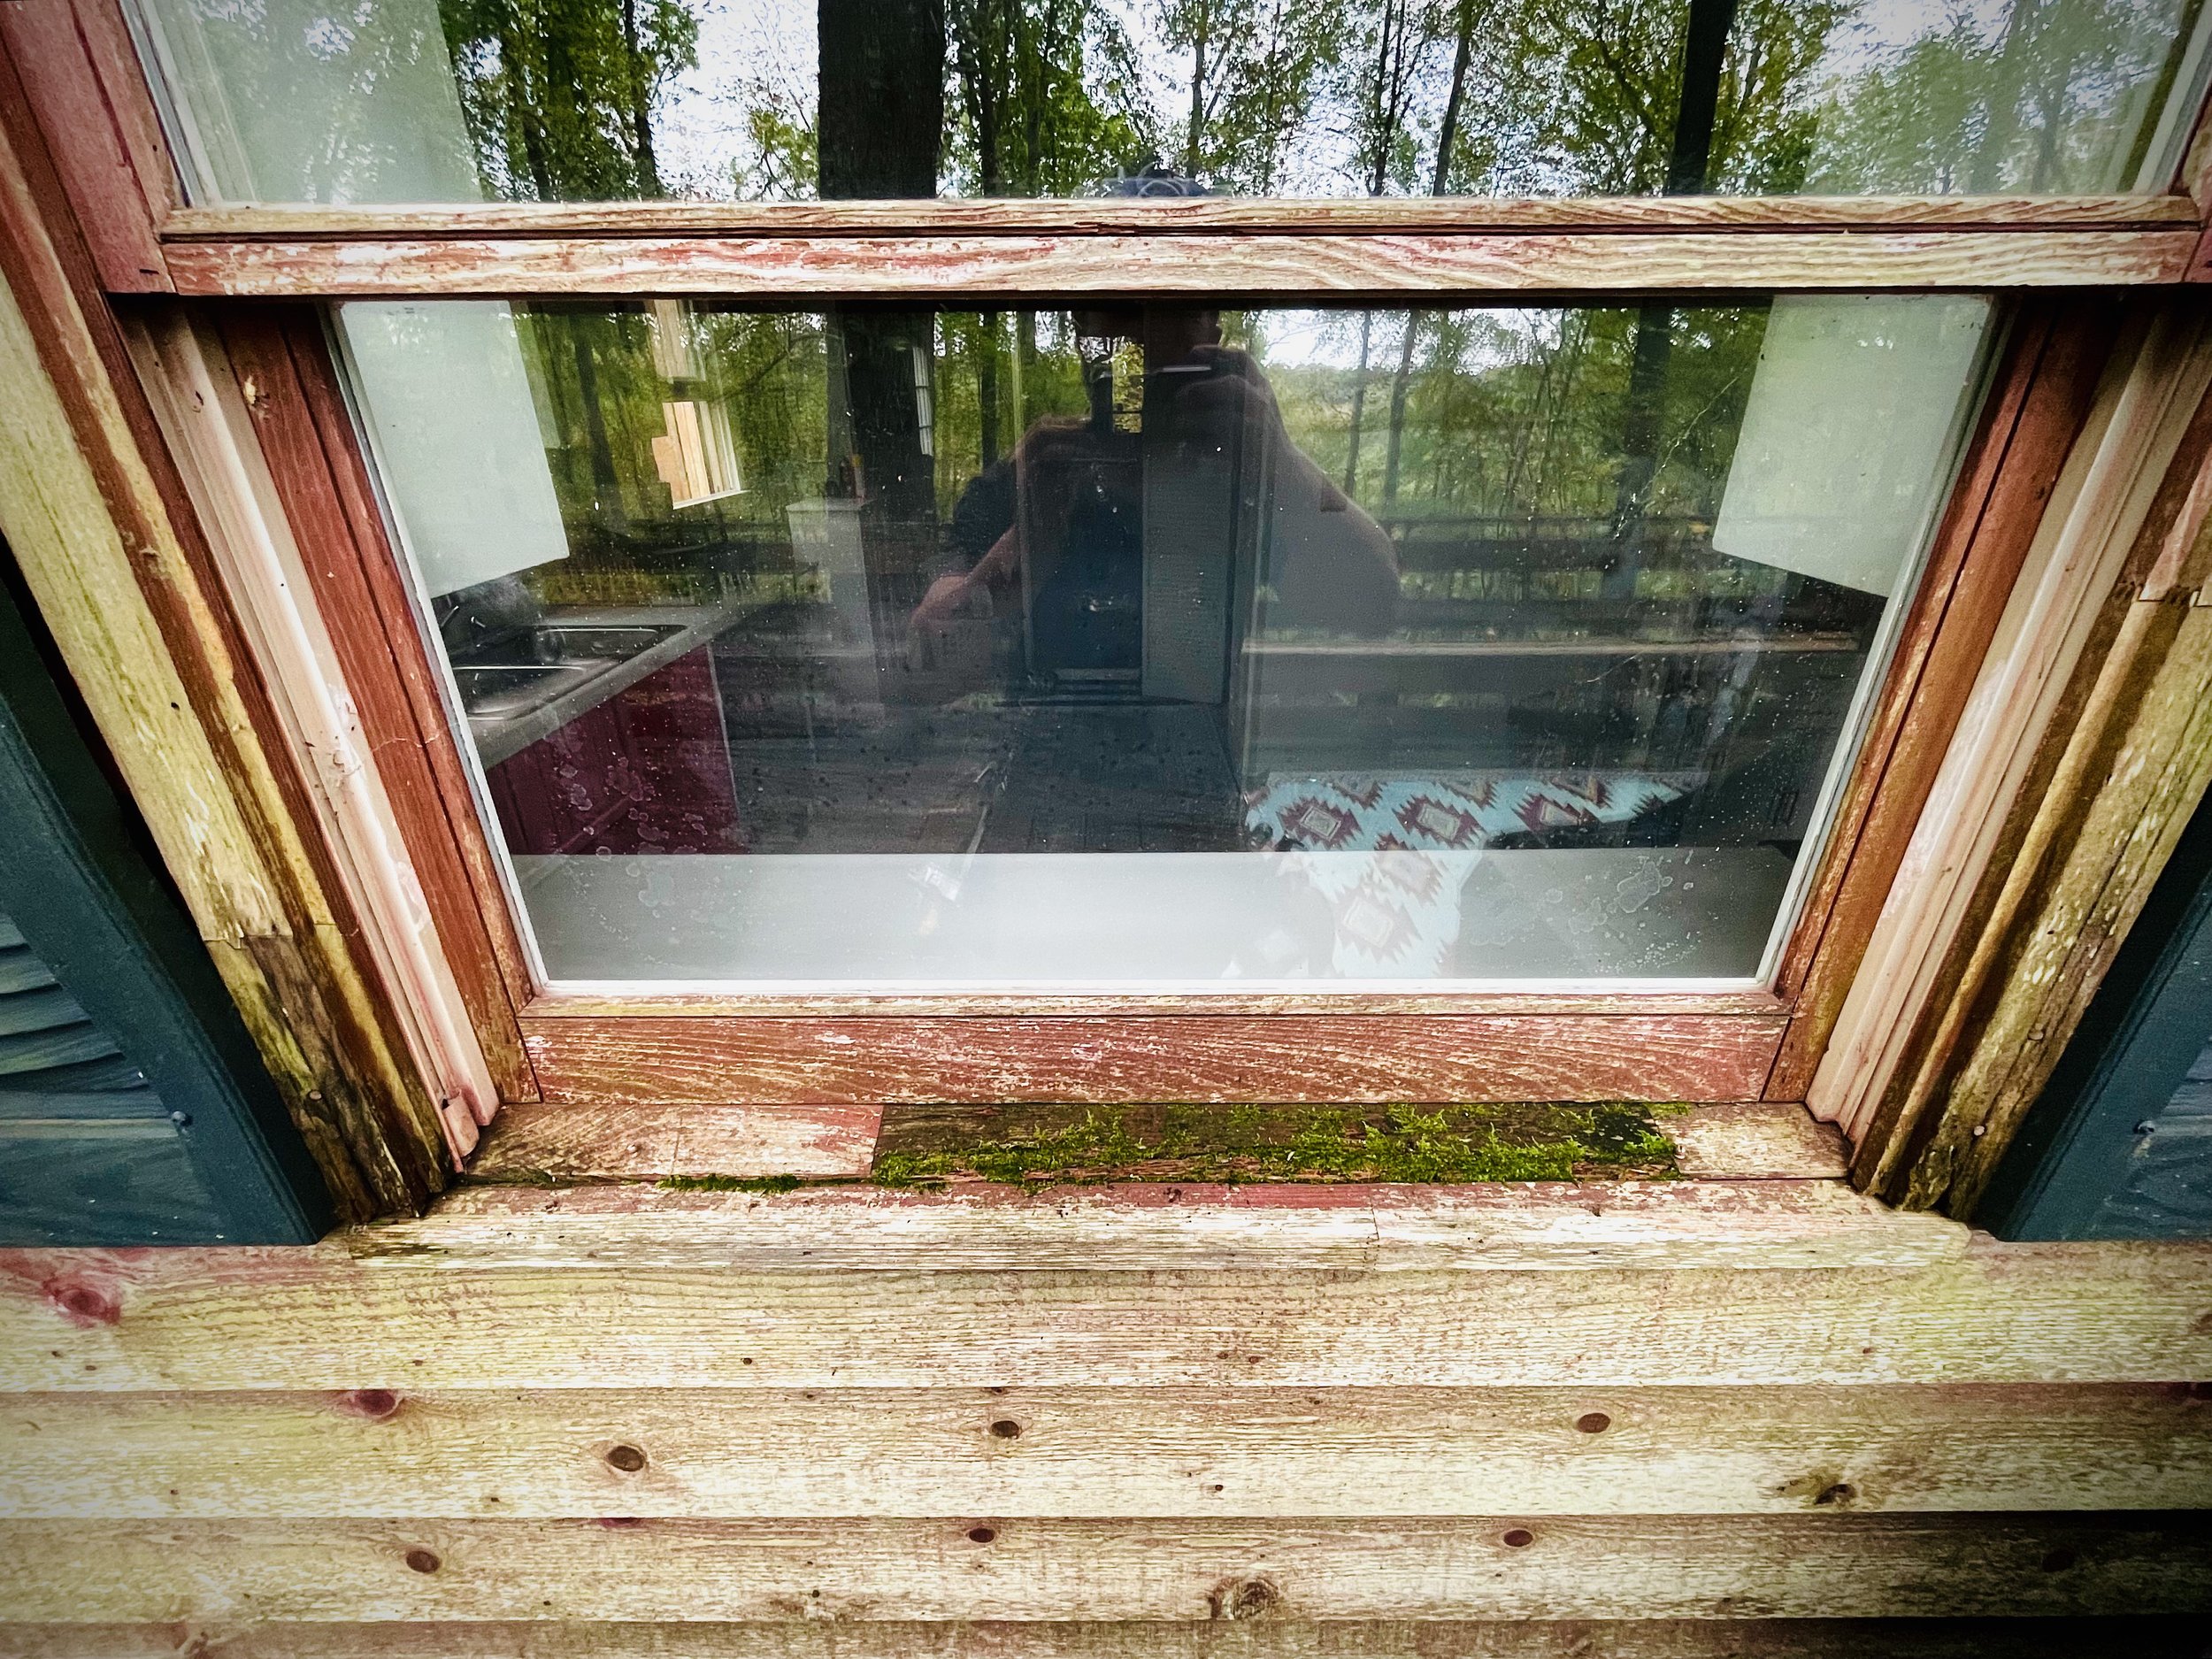
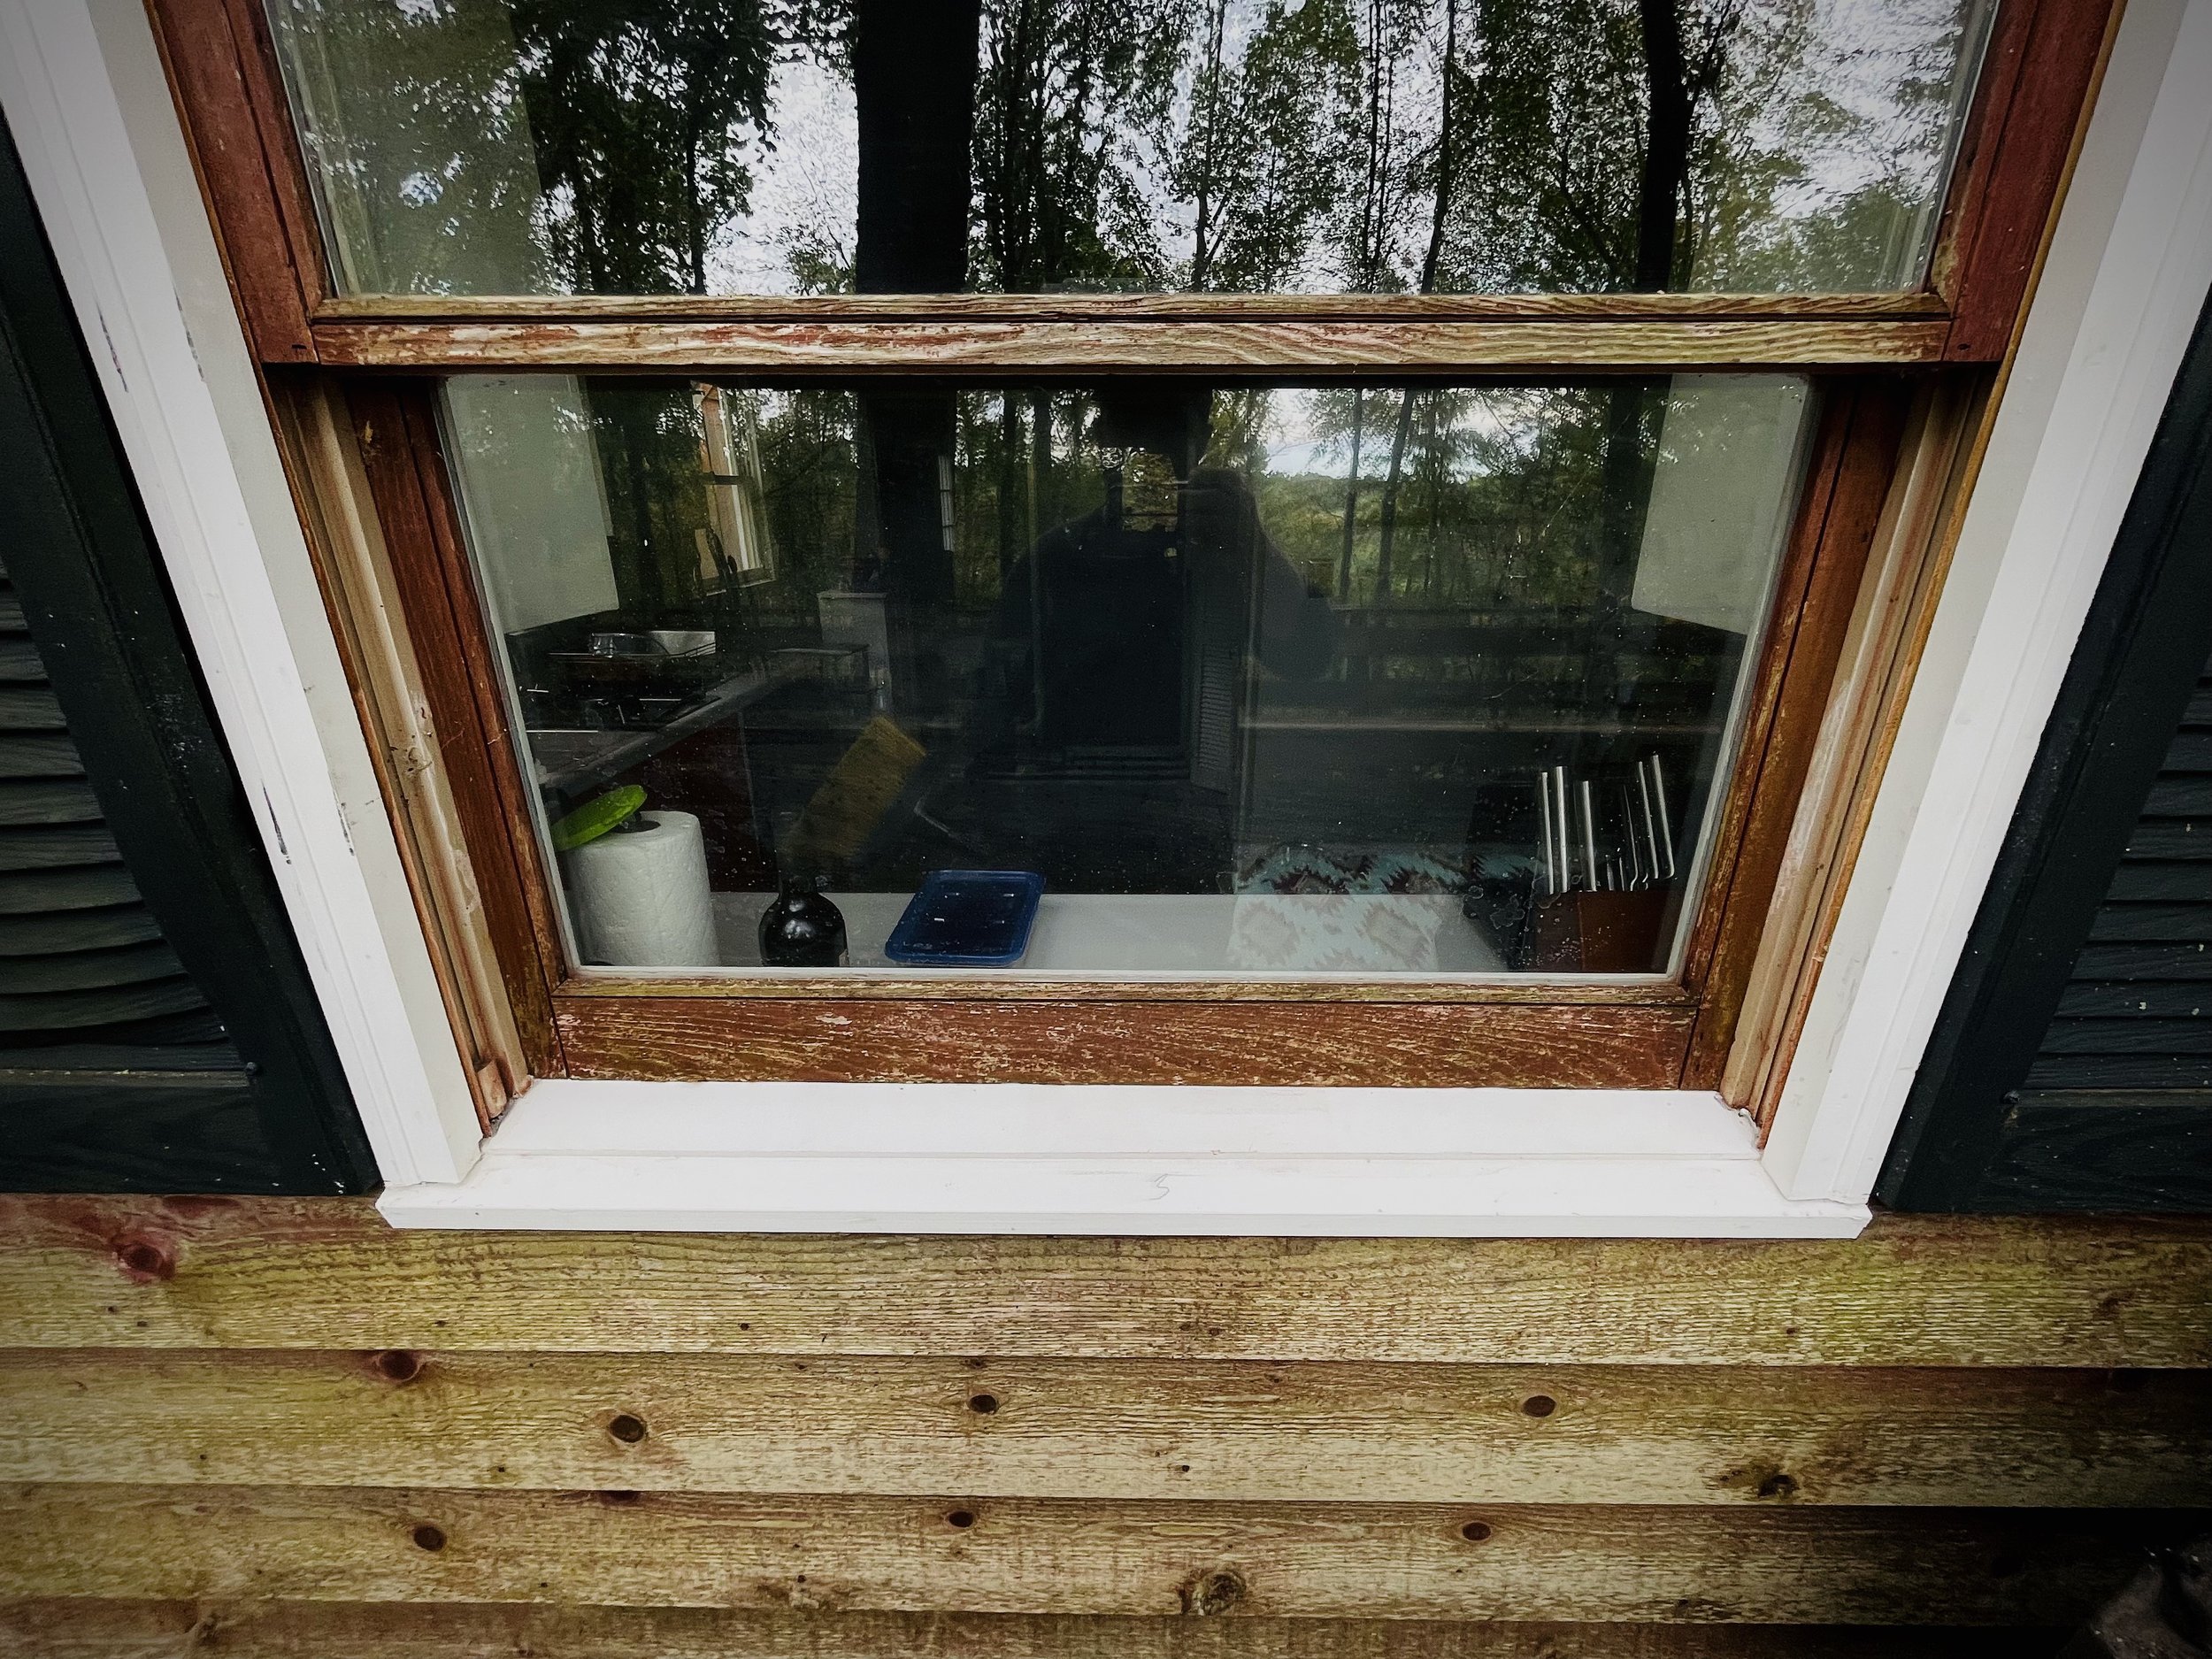
A window sill that has been rotting. Moss has begun to grow on the window sill, due to the endgrain of the finger joints, absorbing and retaining enough water to promote growth. Both brick moulds on either side, have also begun to rot at the bottoms, due to endgrain absorption.
Windows bring the world around us into our spaces.
Allowing us to know that the structures we reside in, are more than just a box. A view that shows who is coming and going. The time keeper, that gives us an idea of our position in the day. The meteorologist, confirming the weather.
But it also provides protection. Giving us needed comfort to feel sound within the walls we reside.
Most windows will perform their jobs effortlessly over their life. Yet it is only time before our surrounding environment takes it toll. This can be blamed on poor craftsmenship, the material used, or the missed maintenance. But overall can be an easy fix, knowing the necessary approach to repair.
For this, I will be going over one of the biggest repairs I perform on windows. That being wooden window sill. And my approach to providing the protection needed to maintain these units.
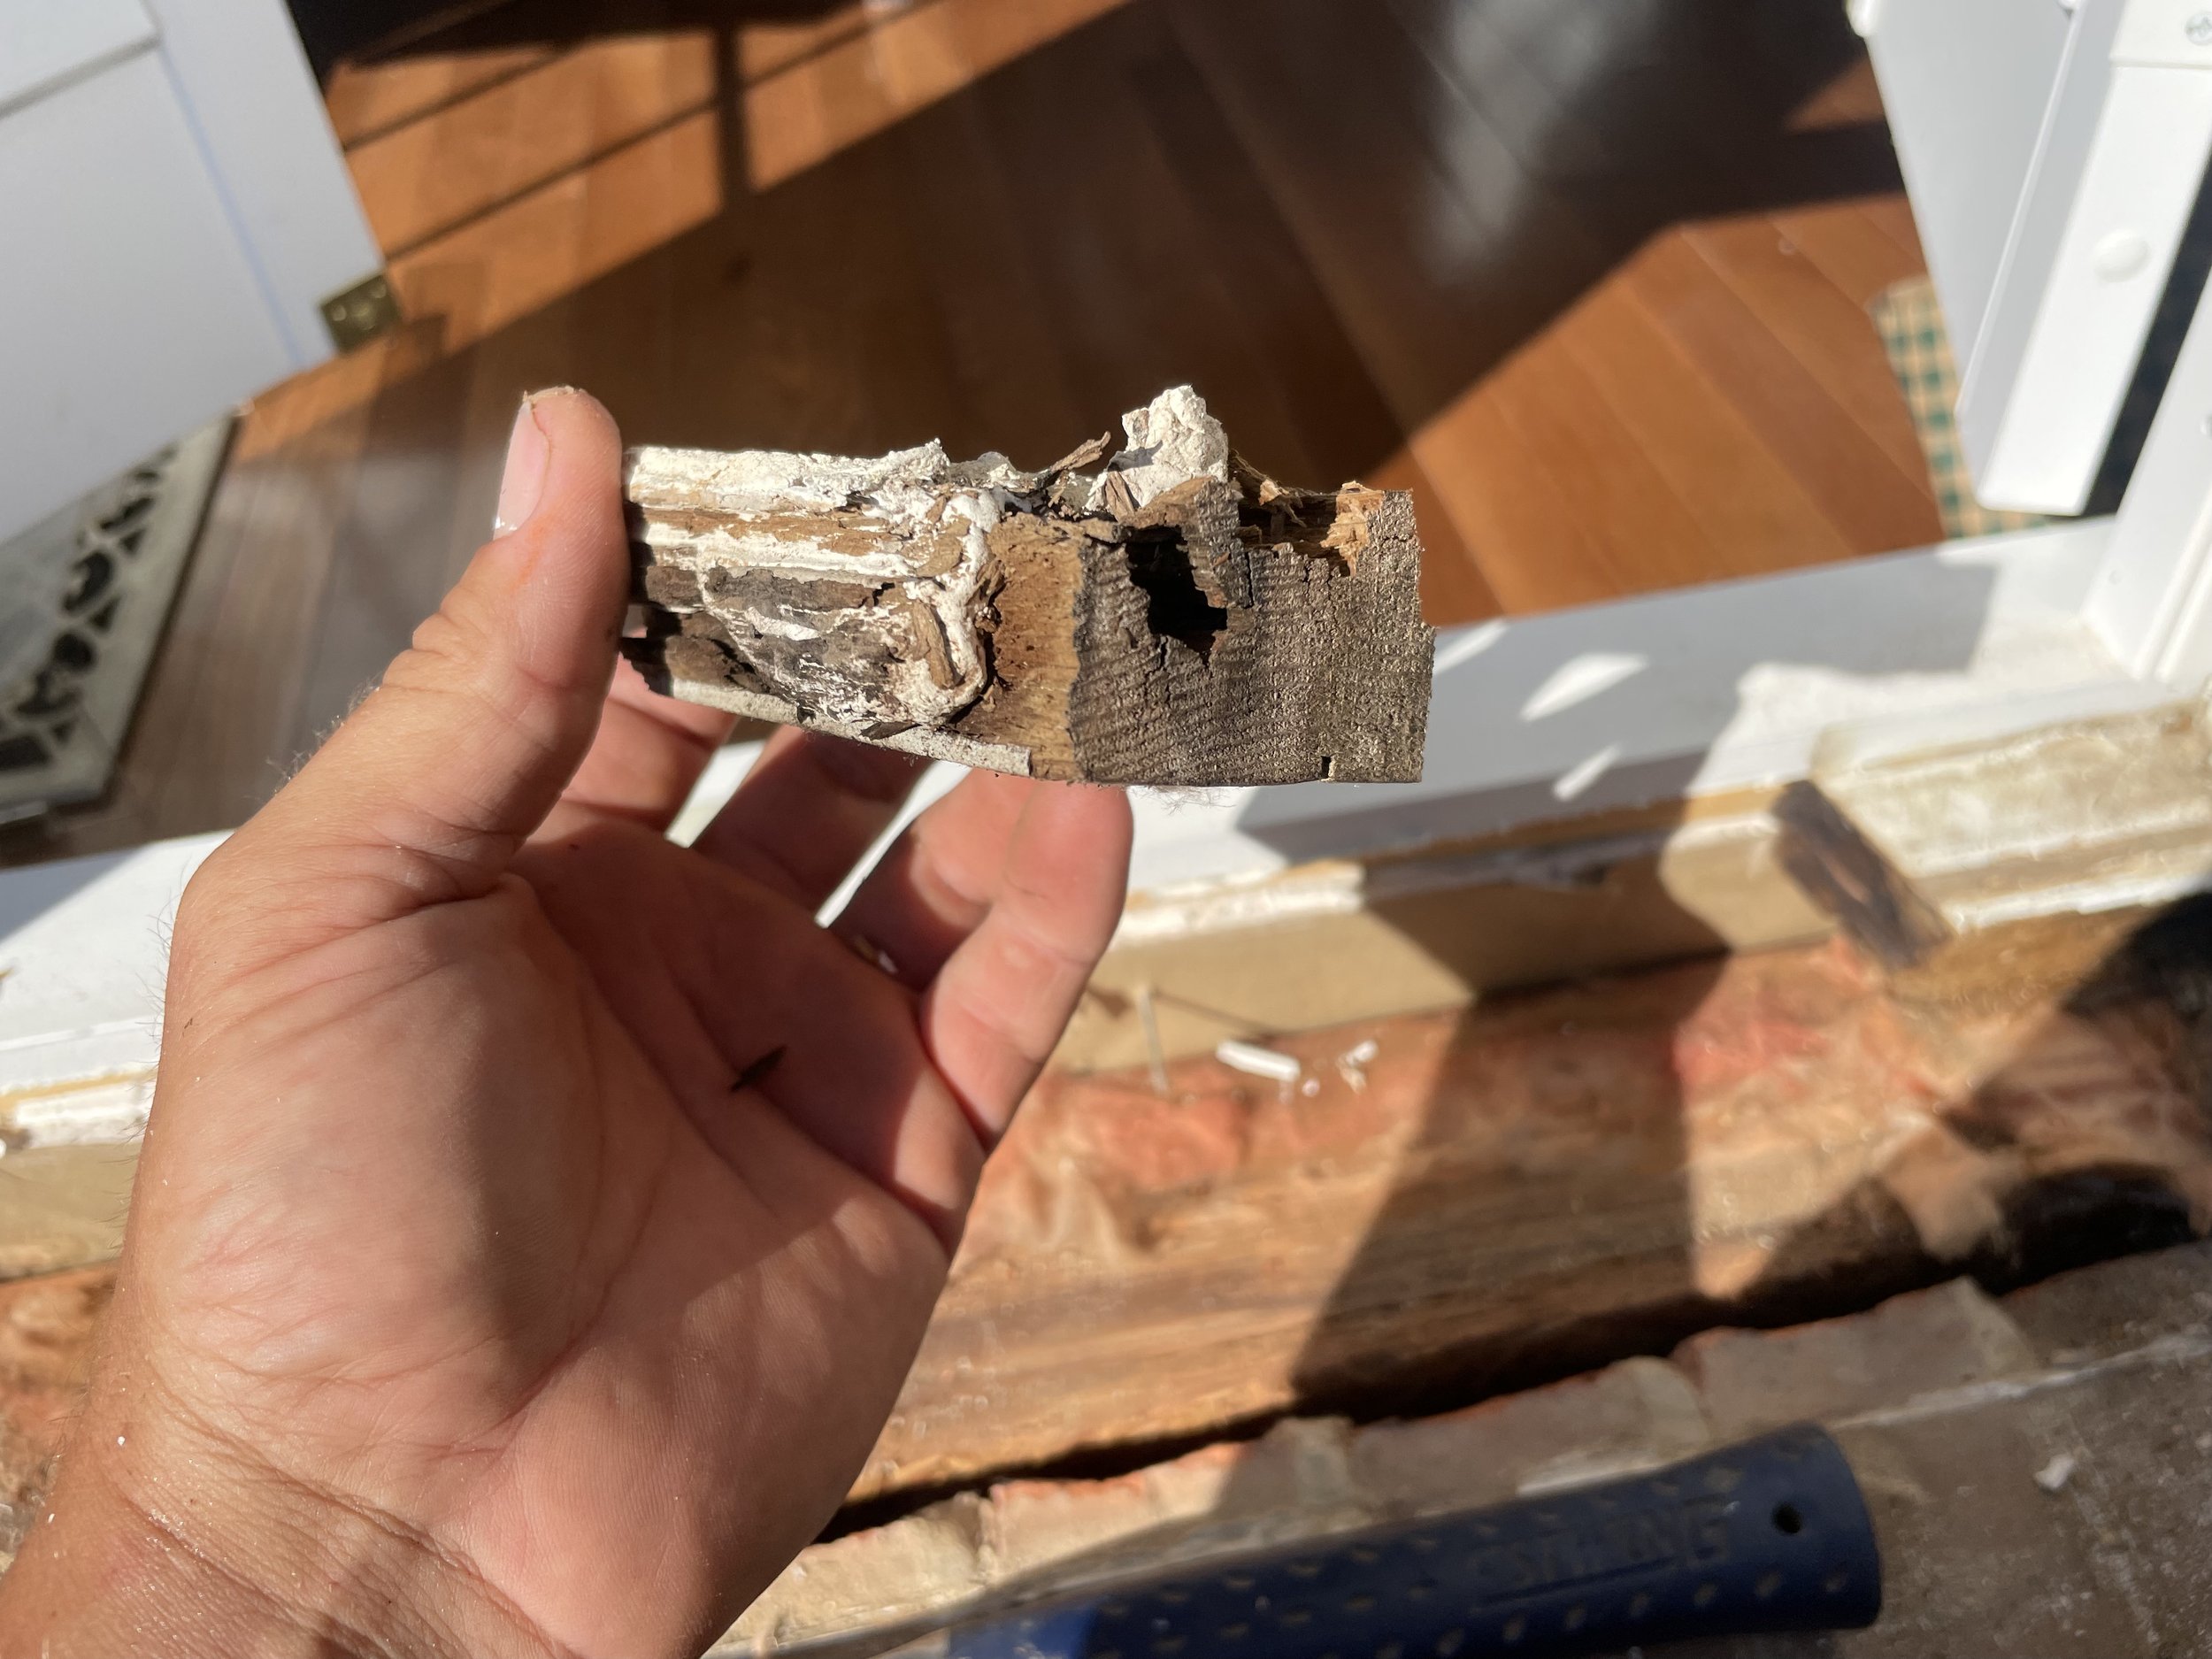
The endgrain on this window nosing has begun to rot. Without any protection, this will accelerate the degradation.
The biggest enemy of any structure, is water. Water leads to many things that accelerate degradation. In terms of wood, the issue always starts at the end grain. Located at the end of every piece. While long grain can degrade with prolonged water exspoure, most of these areas tend to result from ‘finger jointed’ materials. Where water can enter an end grain.
To start, we need to remove the window nosing.
This is the part of the window, the generally protrudes the furtherest out from the structure. It is an entirely separate piece, that allows water to fall away from the house. It also an entirely separate piece, allowing for easier repair. But it sandwiches the sill between the interior and exterior of the house.
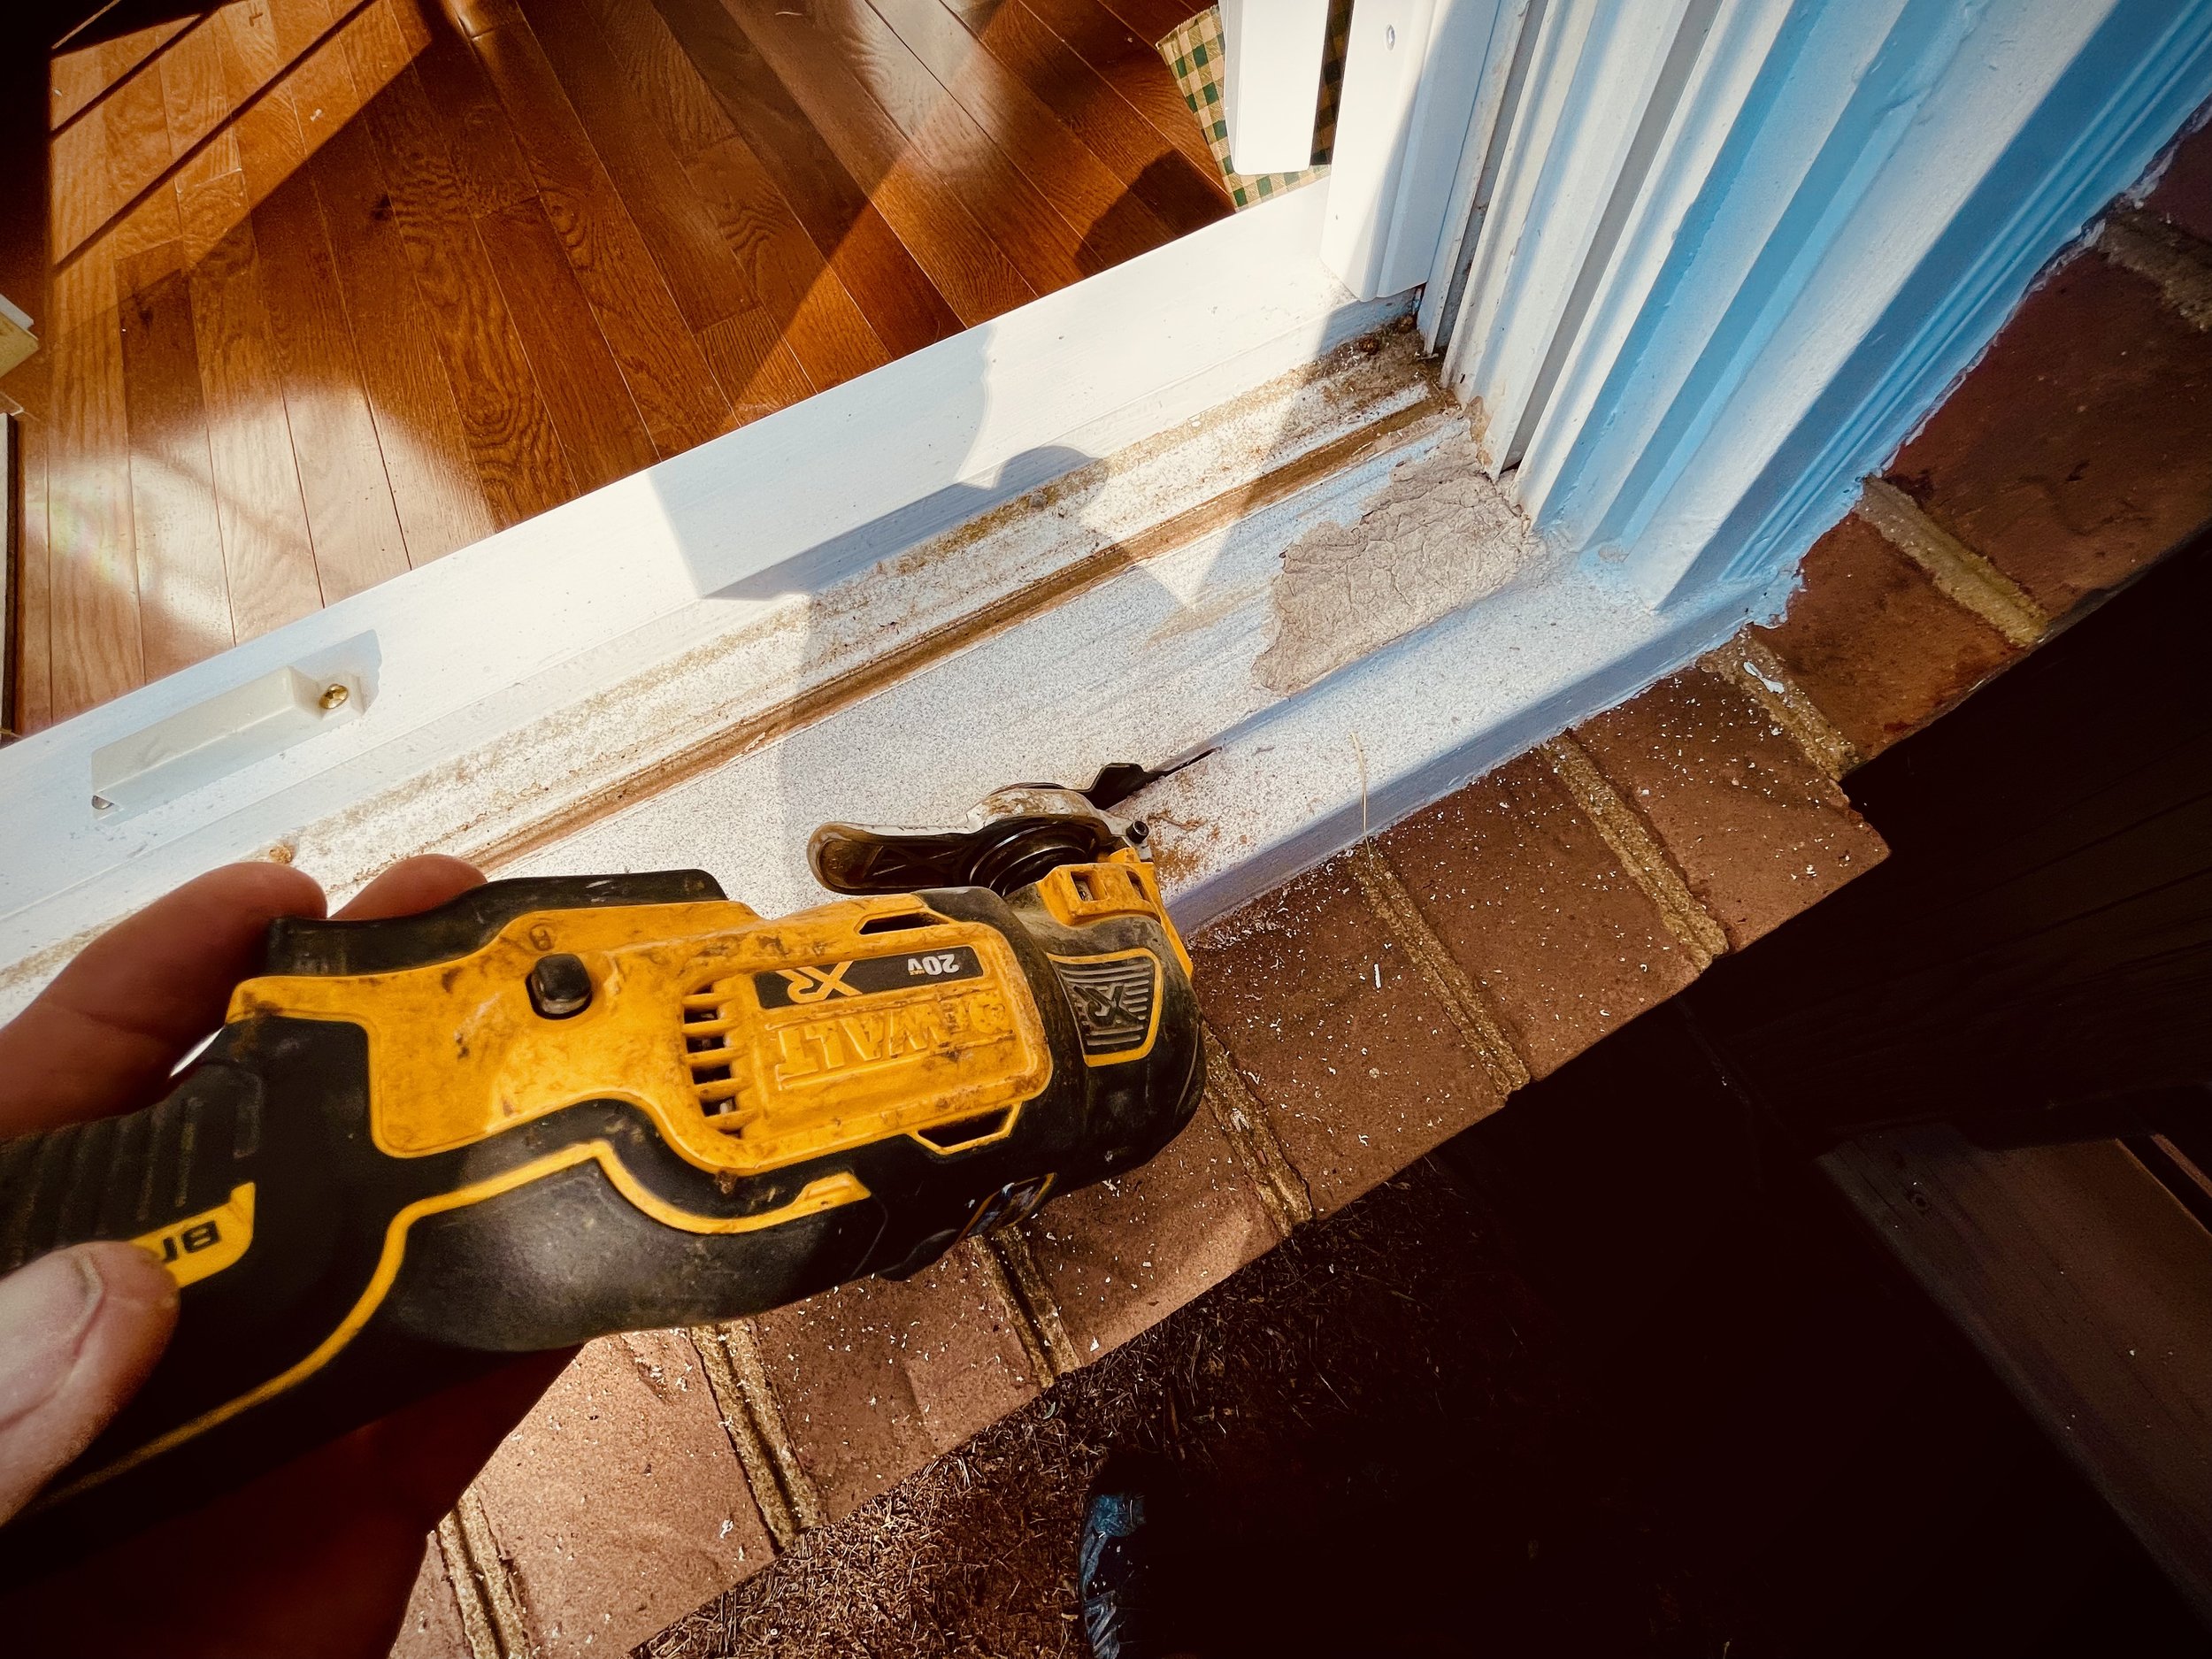
Cutting the window nosing loose from the sill. Using an Oscillating Multi Tool with a nail embedded wood blade, I run the tool down the seam cutting the nails holding the piece in place.
Every window has a slightly different assembly processes, but for the majority, there are some form of fasteners running through the nosing, and into the sill. Taking an Oscillating Multi Tool (OMT or Multi-Tool), with a ‘General Use’ or ‘Multi-Use’ blade for nail embedded wood, I will cut along the seam of the sill and nosing. Cutting each fastener that I come in contact with.
As a whole unit, the size of the window casing needs to be an exact fit. This is for the hole the entire unit sits inside the structure, and for the sashes (the parts that hold the glass). With nosing removed, and before attempting to remove the sill, I will grab the exact measurement of it. This ensures, that I am cutting the new piece to be what was originally manufactured.
Following, I will then cut the window stool loose.
This is on the interior side of the house. It’s important to note, to not plunge the Multi-Tool too deep, as to not damage the window apron. If you can spot the nail heads, only plunge as deep as needed.
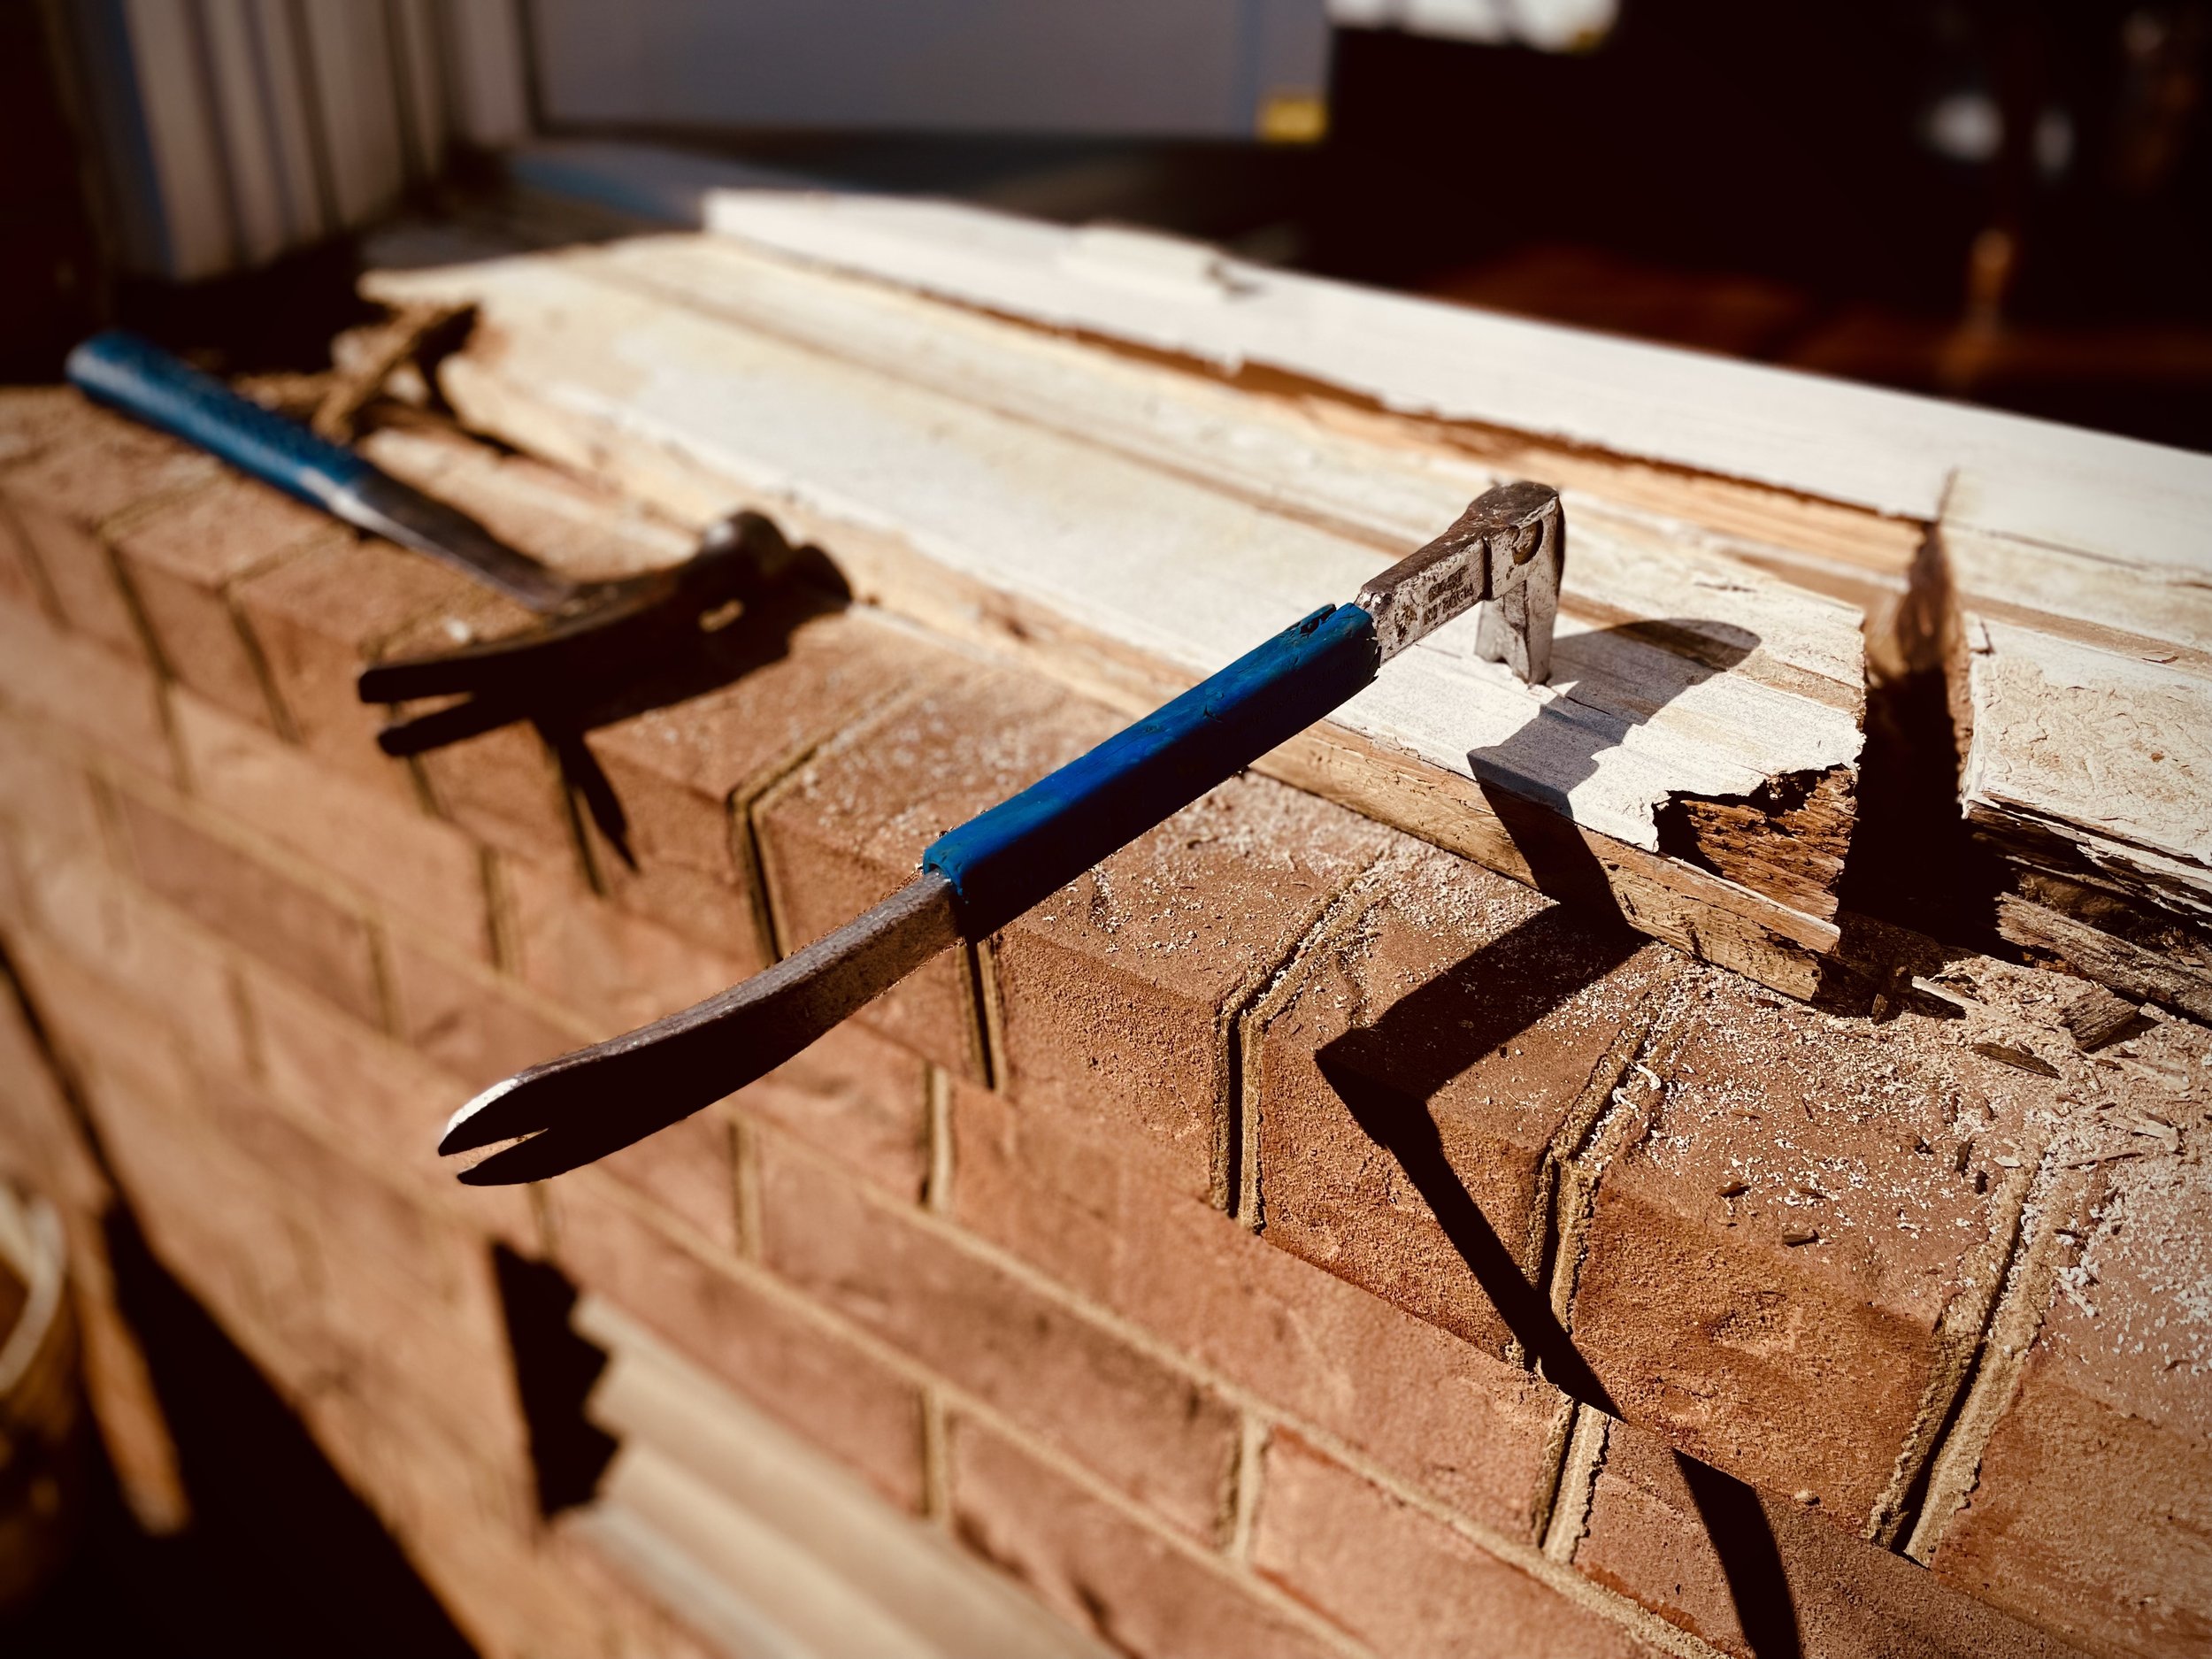
A cats paw can be used as a wedge to assist with splitting the window sill. For this, I will start near the endgrain, and work my way down the piece, breaking the sill into smaller pieces. Additionally a chisel can be used for this process.
There are now two more locations of fasteners. A set of fasteners running through the window jambs and into the end grain of the sill. As well as nails running from the interior apron. .
The easiest solution for the sill, is to split it into smaller pieces.
A circular saw or multi-tool can help, but I’ve always substituted this process for either a cats paw or chisel. Splitting the wood along the grain. Once the sill is removed, you can use a multi-tool to clip back the protruding nails from the jambs and apron.
The dado made for the window sill to rest on. Make sure to use a multi tool to remove any nails protruding from this area.
Use this opportunity to clean the sub sill. Any additional protection to the exposed structure, such as adding oil primer or a flashing tape, needs to be taken.
From here, we can add the sill back. Using the measurements we took from the original sill.
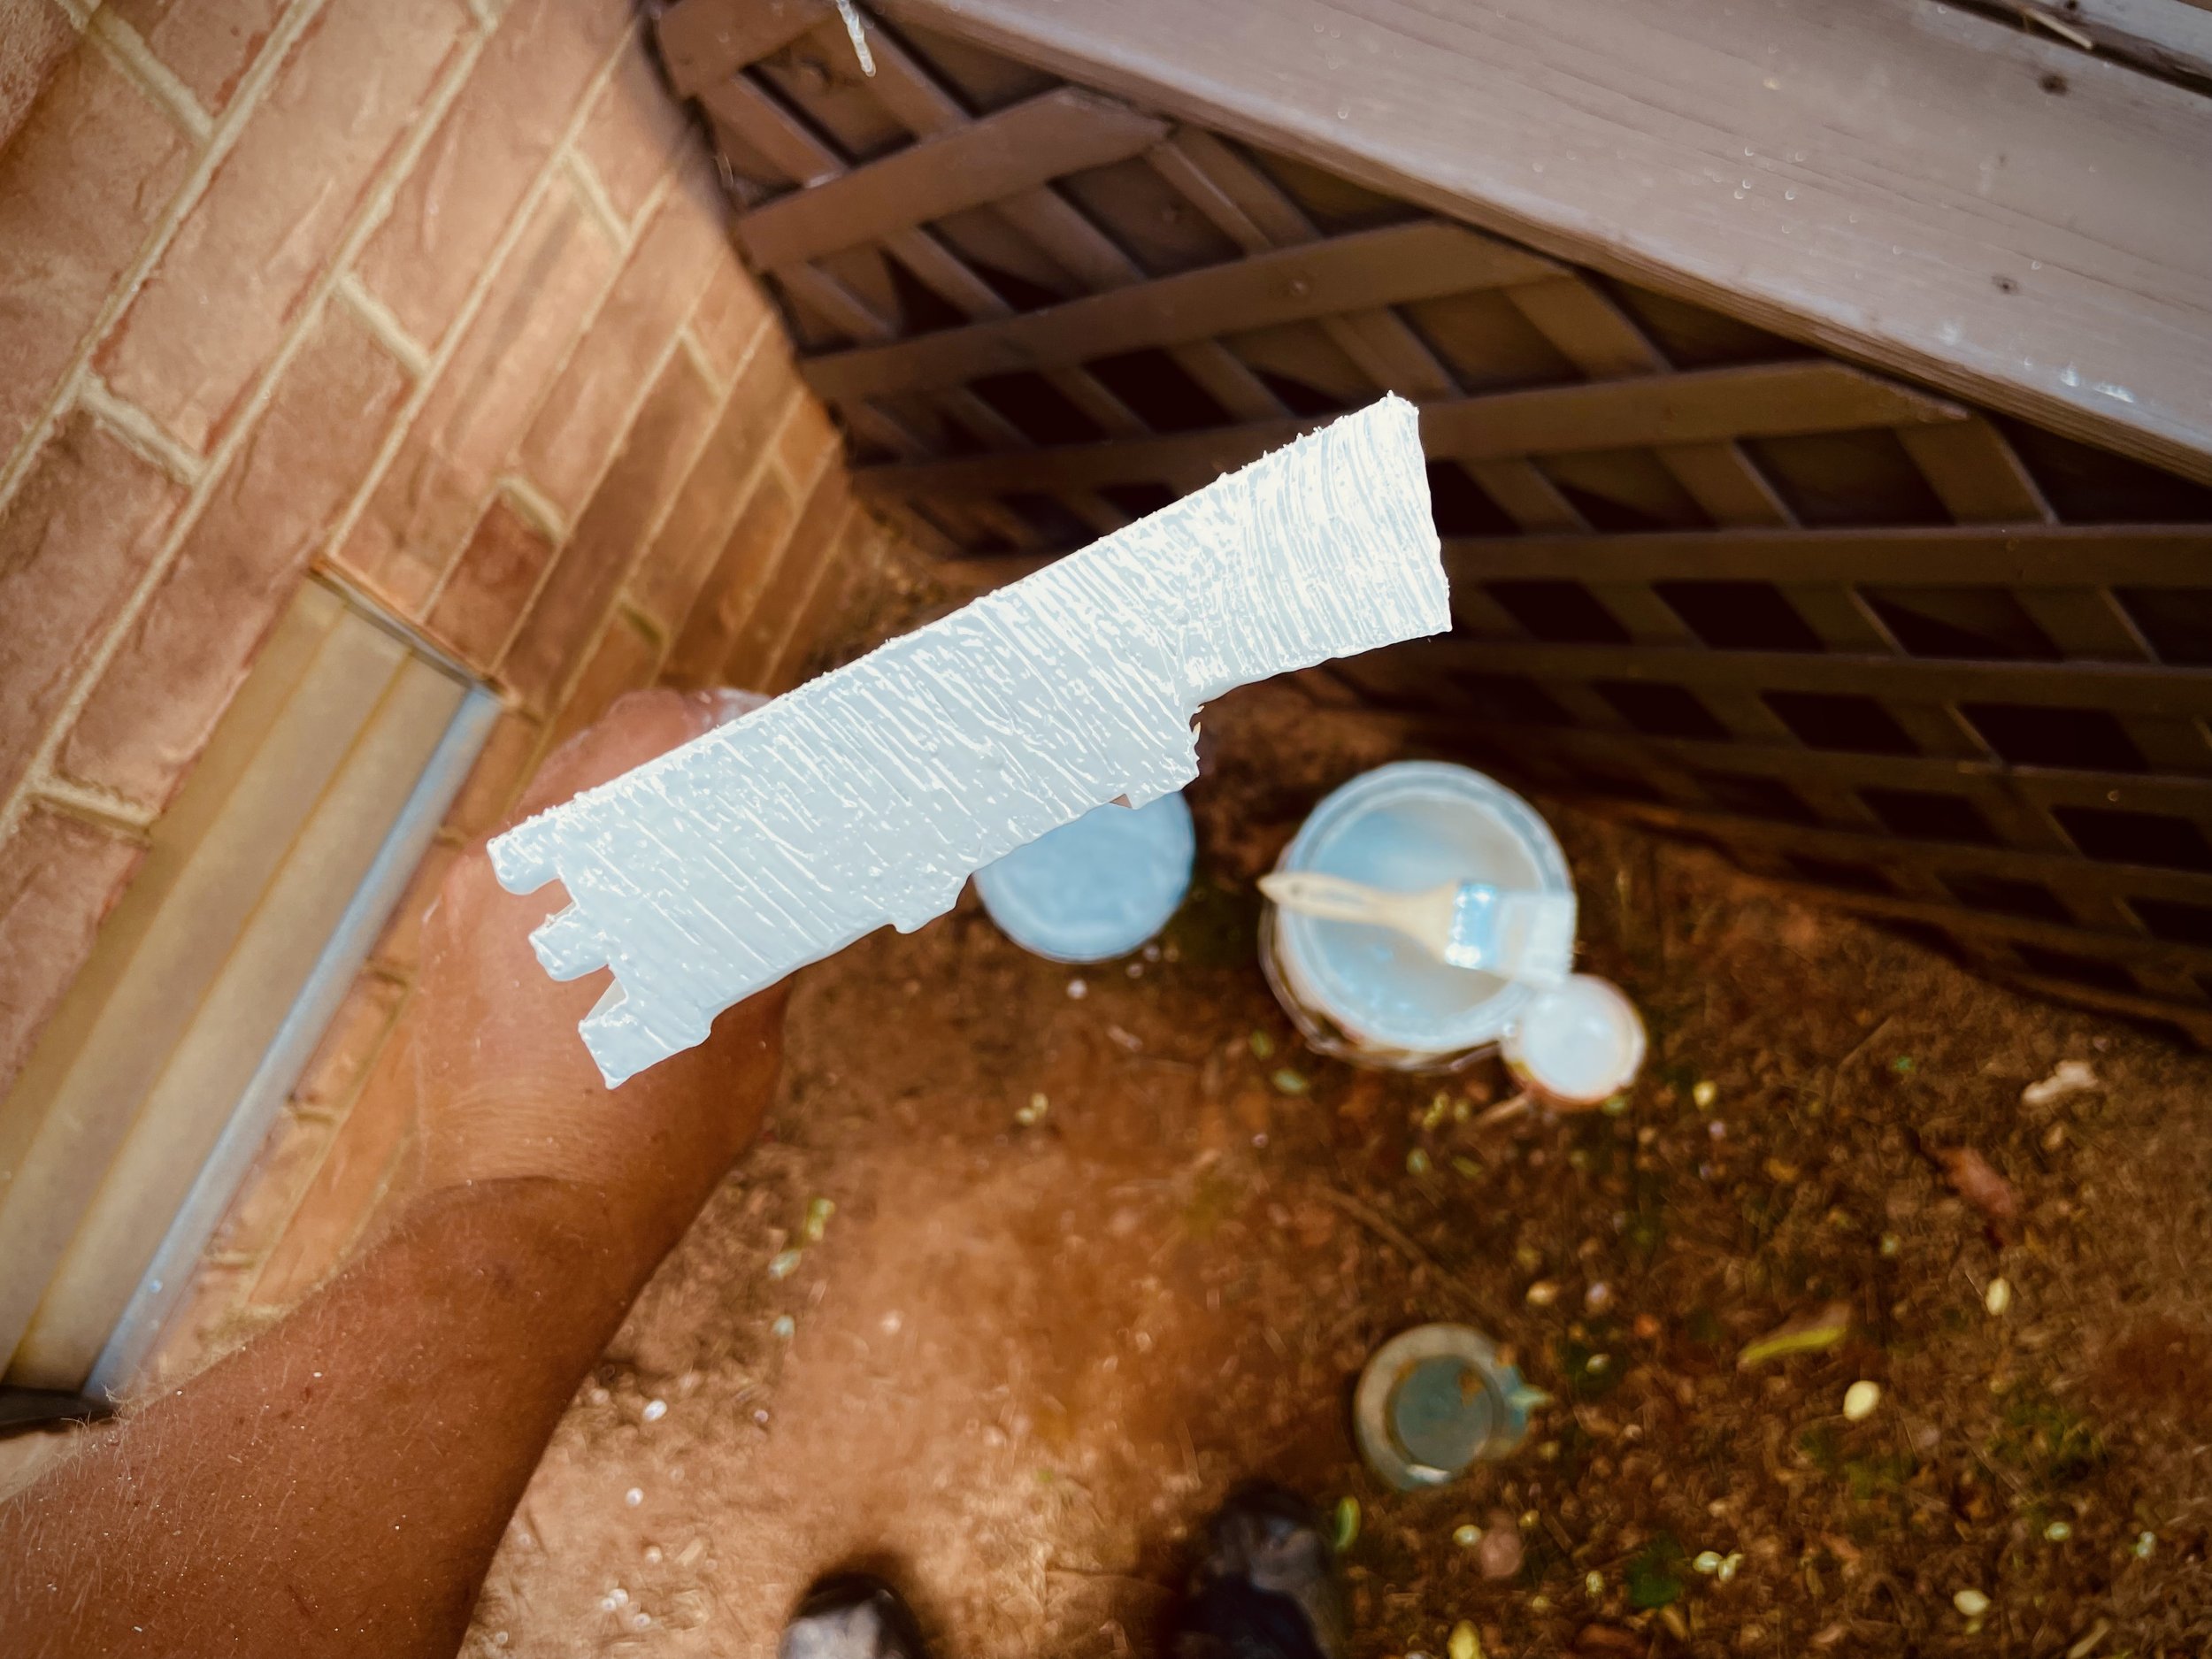
Oil primer is applied to the endgrain. Because oil will resist water, this adds a layer of protection. Additionally, organic materials have a more difficult time growing due to the oil. Rot is the process of various molds, breaking the wood fibers down. By making the process more difficult, we can protect our structures.
Before adding the sill, nosing, or any other pieces back, is to protect the end grain.
This is where water will absorb into the wood the easiest. For my preferred method, I will use an exterior oil primer. The oil helps to repeal water, but also the organisms that assist in the degradation of wood are not attracted to this material.
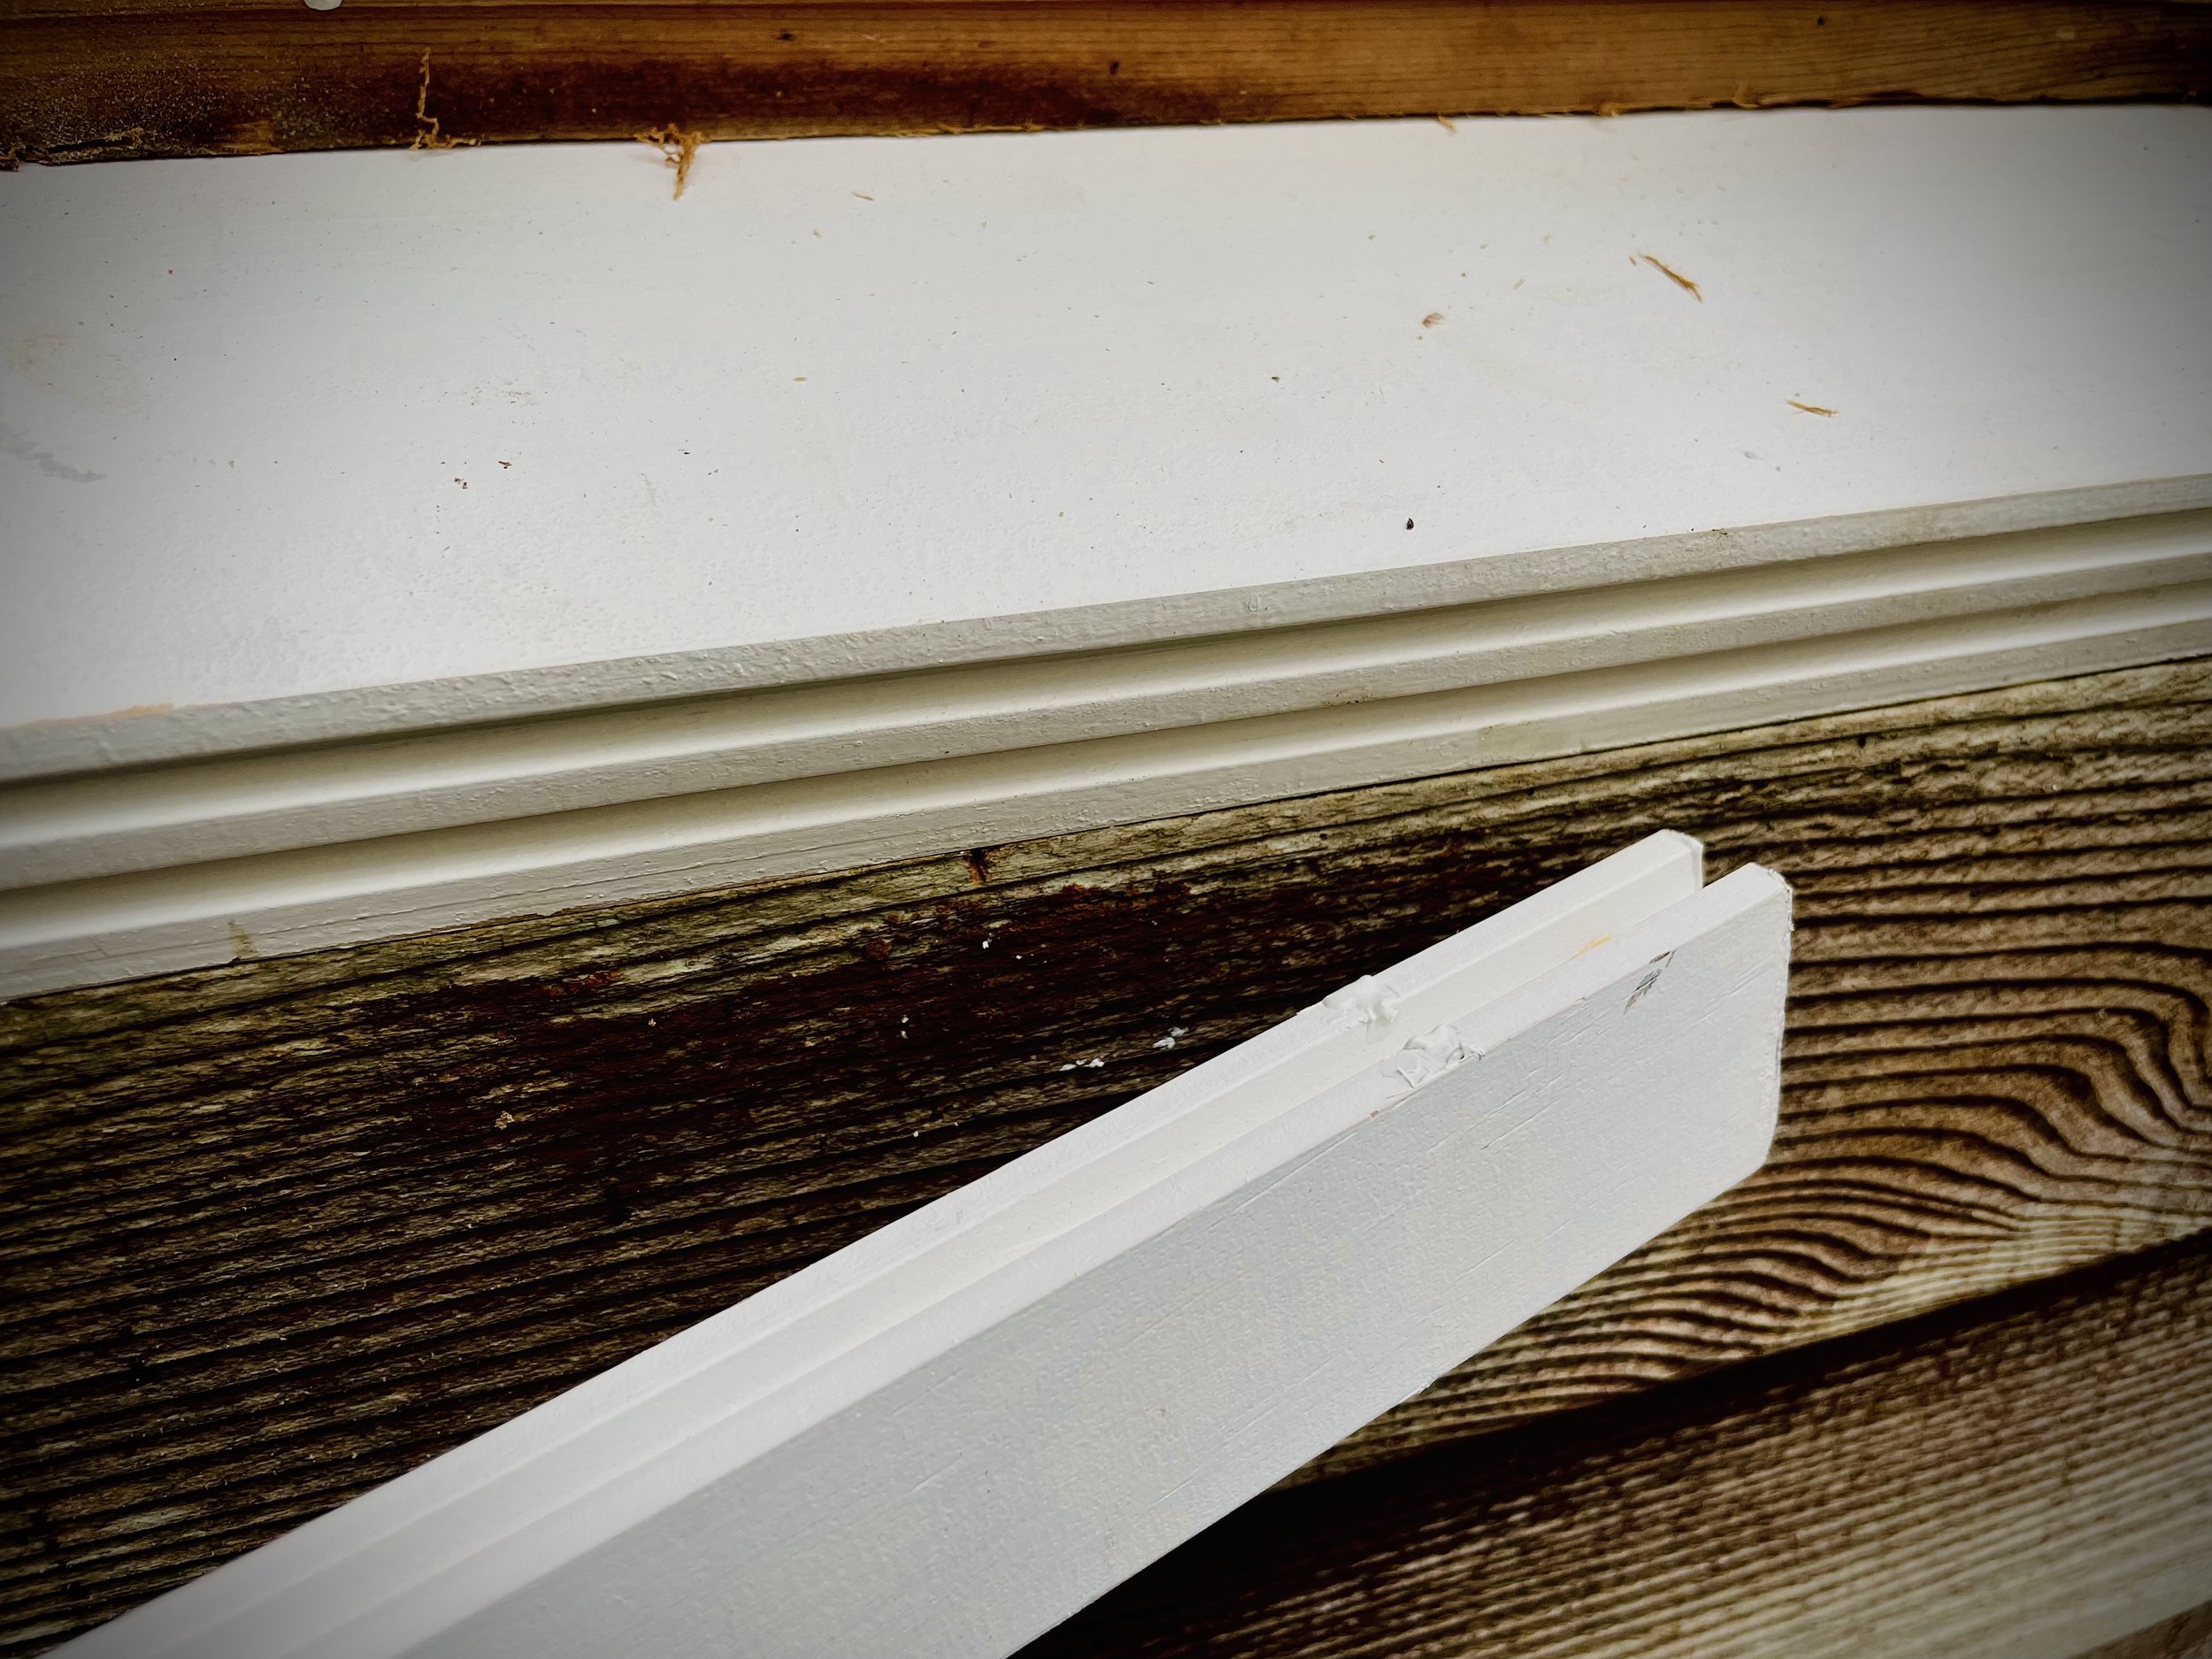
The grooves in the windowsill and nosing, allow for the two to lock together. Creating a more solid assembly.
On installation, if you look at the old window jambs, you will see a groove that the sill will follow. It is ideal to match the pitch created by this groove, as the pitch gives shed to any water that may land on it.
If installation is tight, you can use a ‘beater block’ from a scrap piece of wood or nosing, to help tap into place.
Just keep in mind, the groves on the front of the sill area for setting the nosing in place, and need to be undisturbed.
Try not to go to far with the sill, as it is possible to damage the drywall on the interior side of the house. The sill should sit with the interior window stool covering the upper edge, and the nosing being able to look into the sill grooves, and rest against the exterior sheathing.
Once the sill is set underneath the window stool, you can toenail couple nails into either jamb.
Along with a couple nails along the interior stool and apron.
With the brick mould removed, spray foam was applied in the cavities for insulation. This can also be applied with the nosing removed underneath the sill.
Make sure to remove any old bat insulation, so that the spray foam can form a proper adhesion to the structure. and window window.
Before attaching the nosing, this is the point to reinstall any bat insulation removed.
Or use a spray foam insulation to fill the cavity. The same runs true for brickmould repairs.
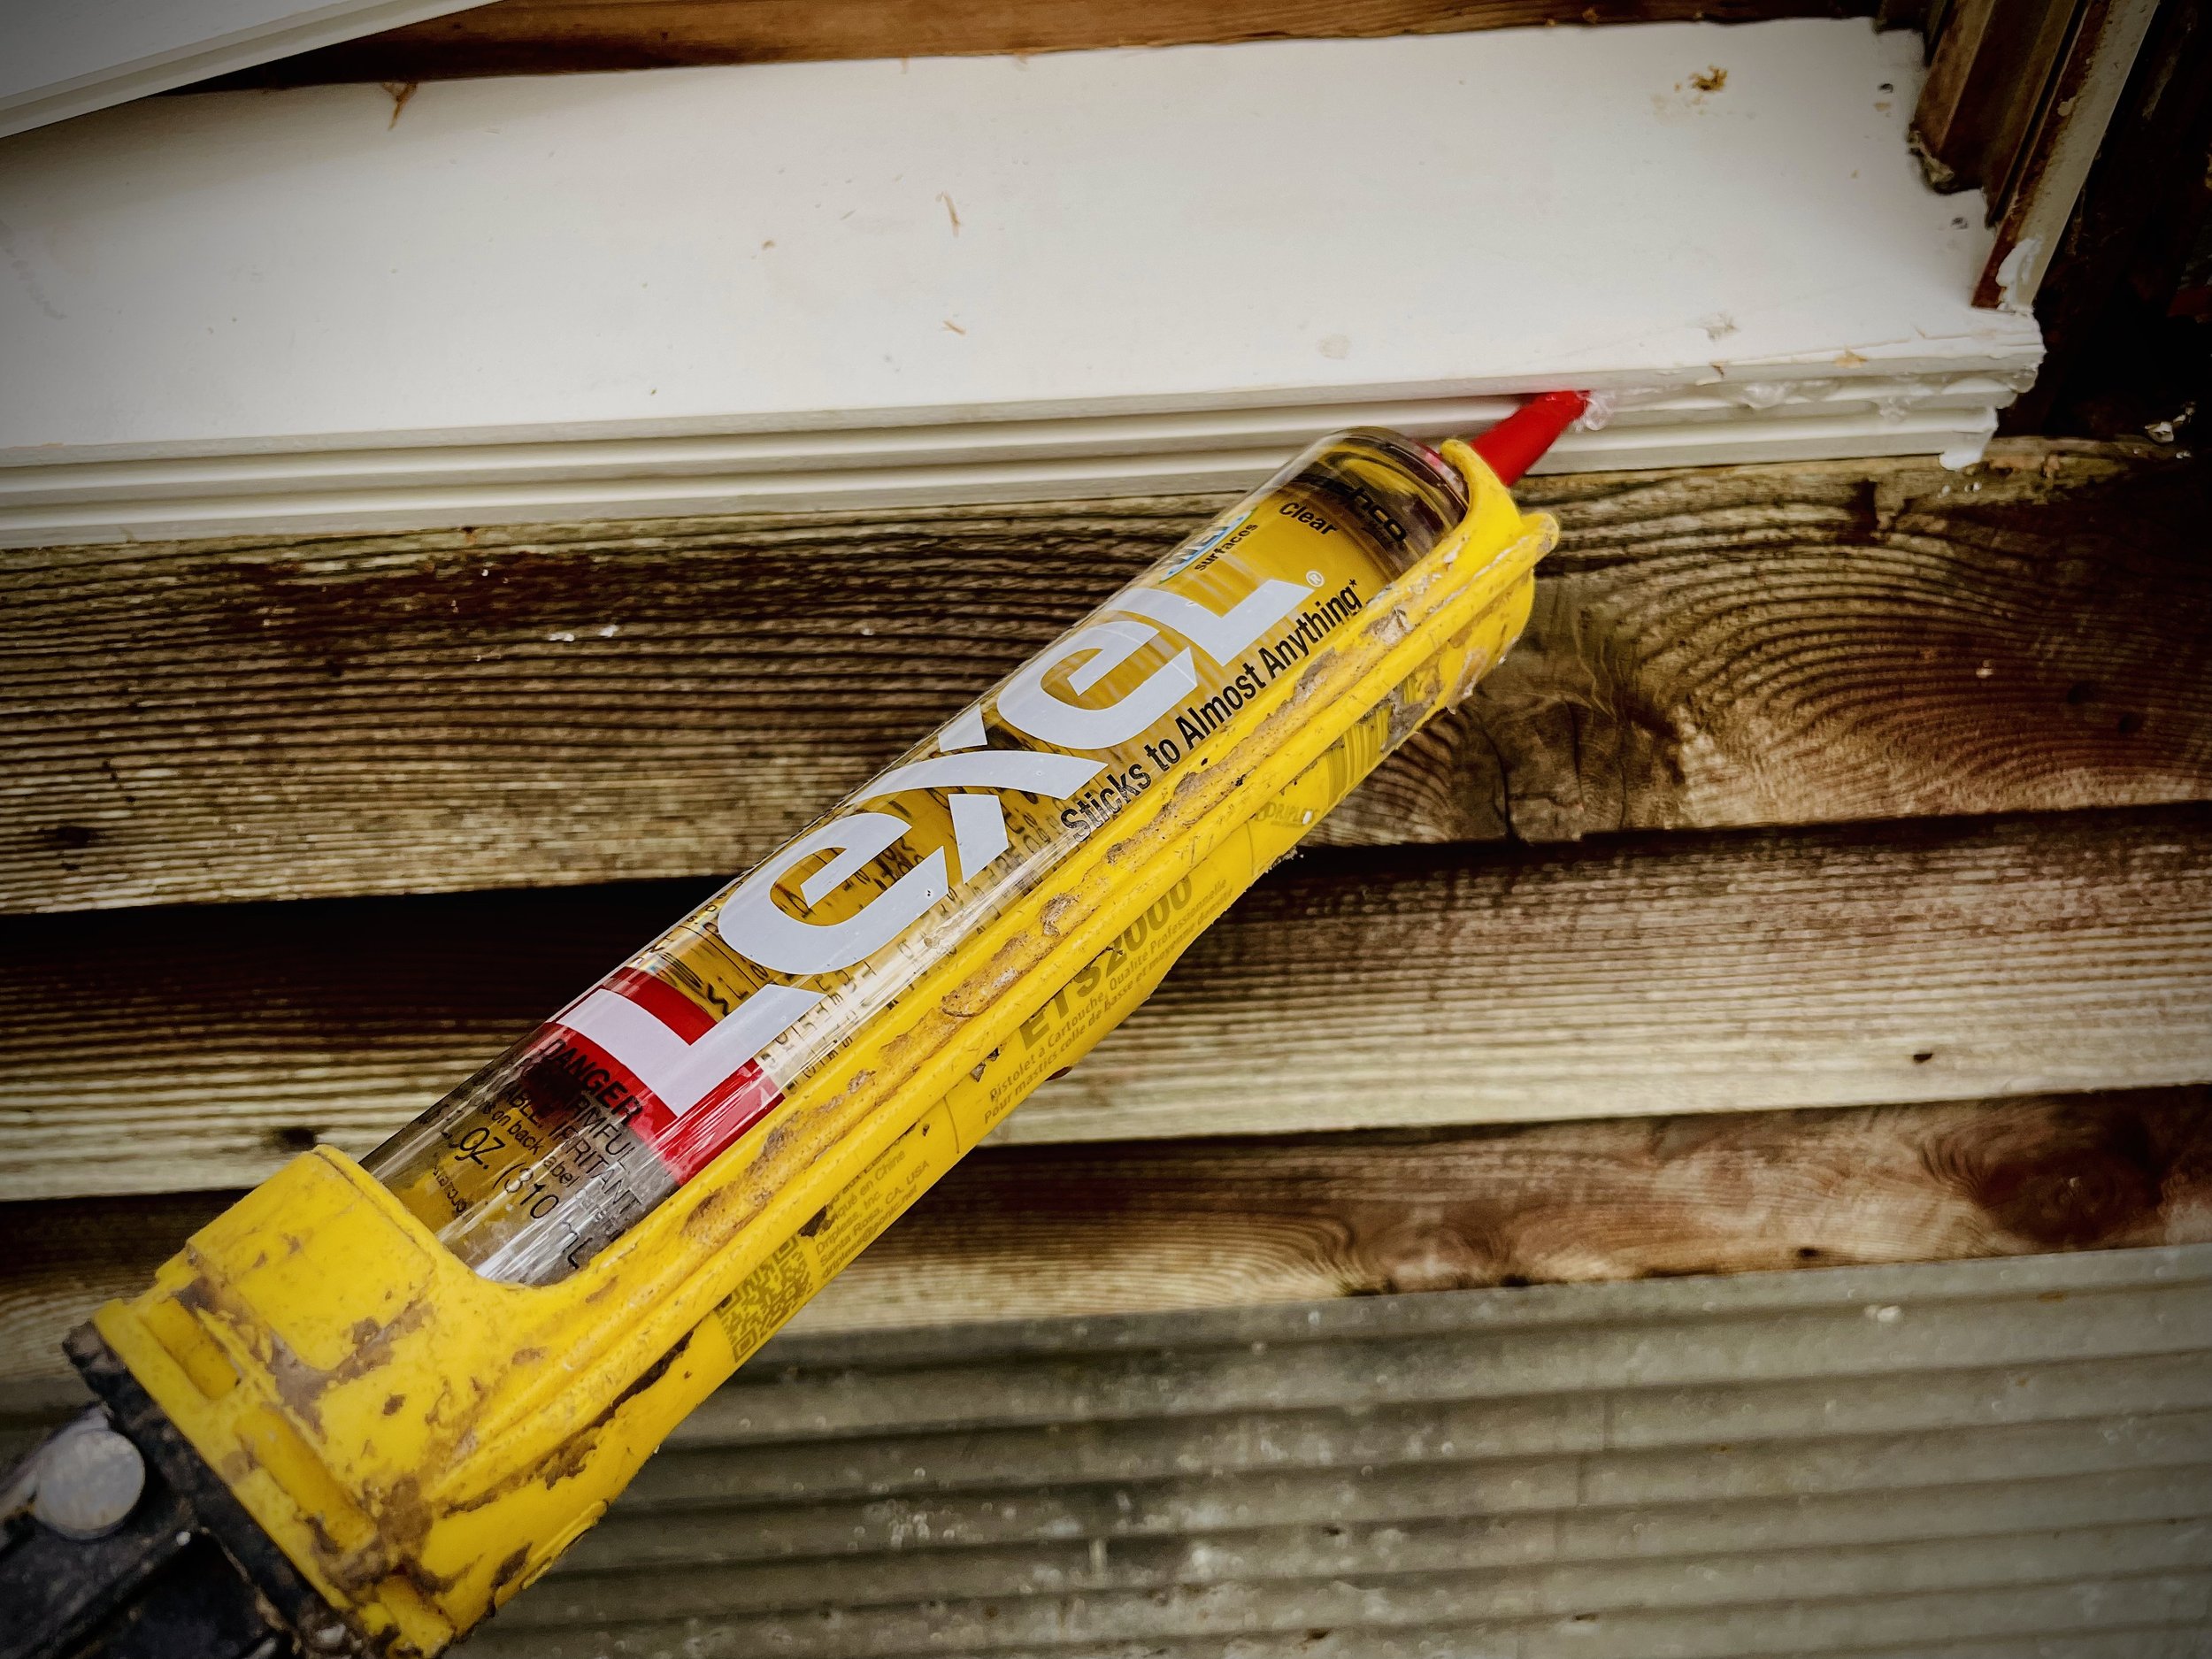
Lexel is applied to the grooves of the window sill. Once the window nosing is placed, this will remove any voids between two pieces where water can find the opportunity to rest.
After insulation is addressed, we can add the nosing. For this, the important part is to remove hidden cavities from being places water can sit. You will notice that the sill and nosing lock together pretty tight, but adding sealants to this area takes away any possibility for water to sit.
Before placing, I like to use an instantly weather proof sealant, such as Lexel, applied into the areas where the materials lock together.
A couple of nails will be used on installation of the nosing, which will then normally cause squeeze out of the sealant. Once the nosing is fully set, you should then smooth out the squeeze out, and apply any additional sealant along this area to completely prevent any water from entering.
Please keep in mind, that caulking is a decent sealant to apply in this situation. But I would recommend to stay away from silicone. While this is a water-proof sealant, it will not accept paint.
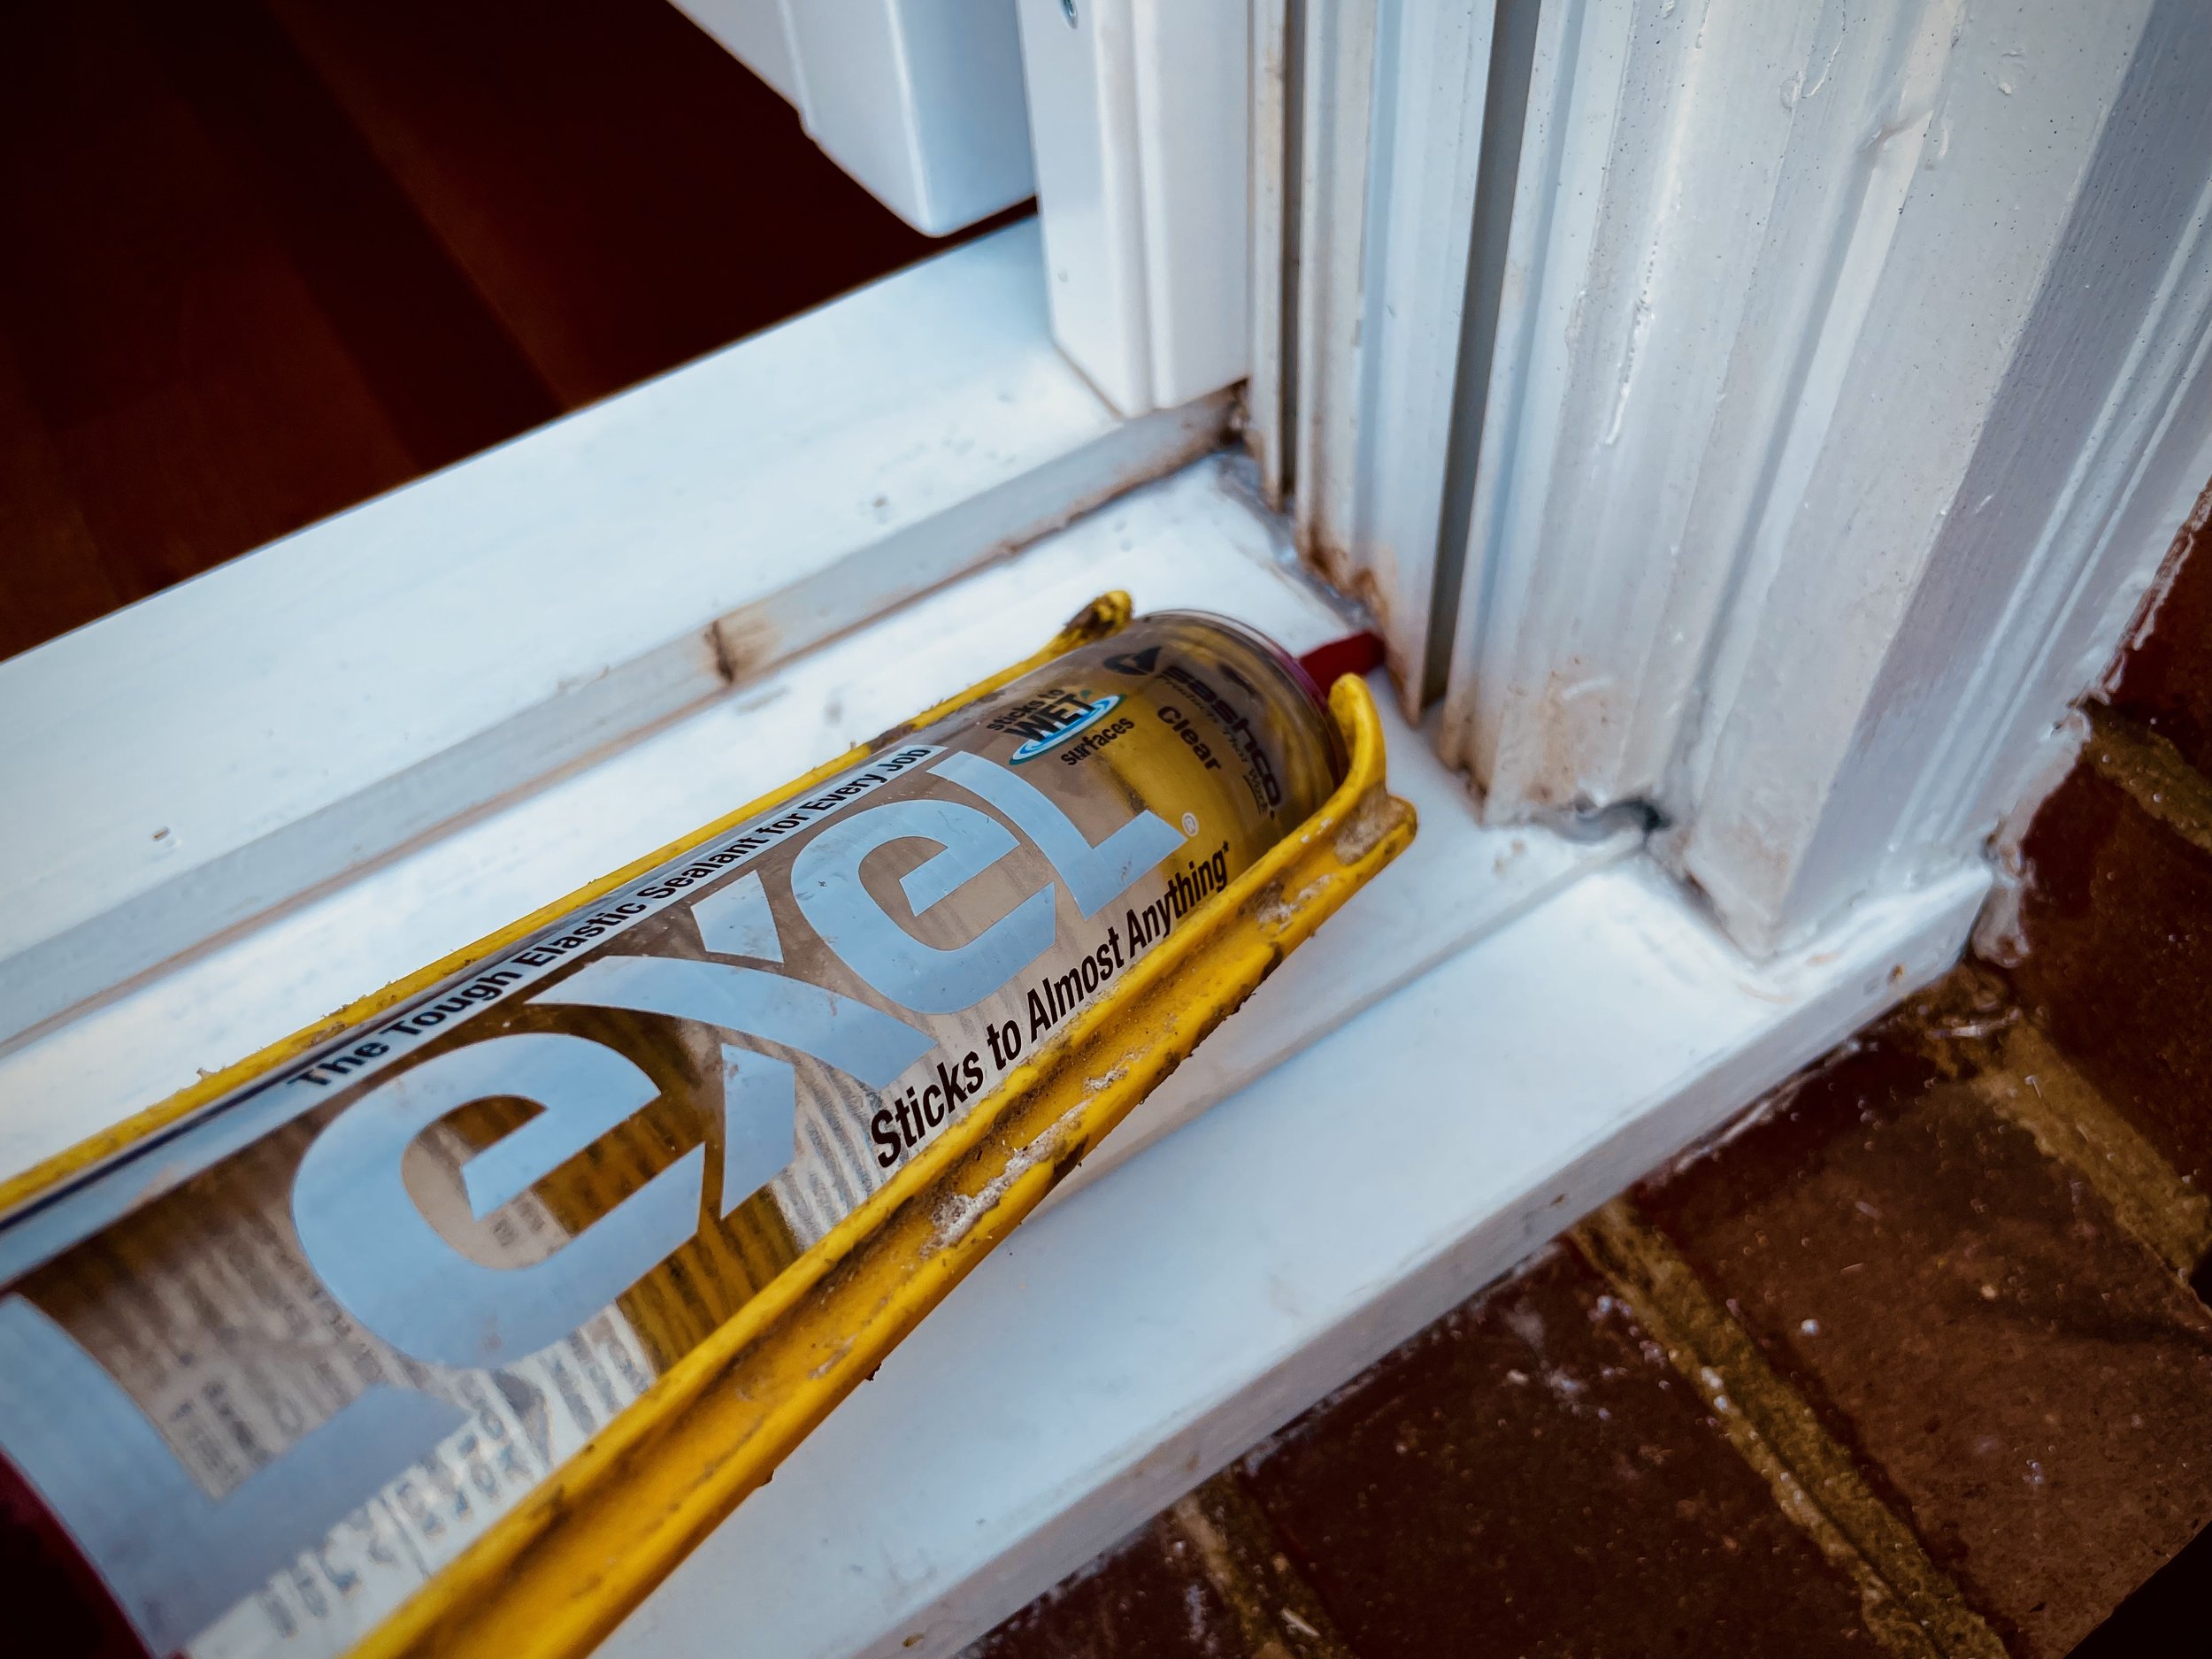
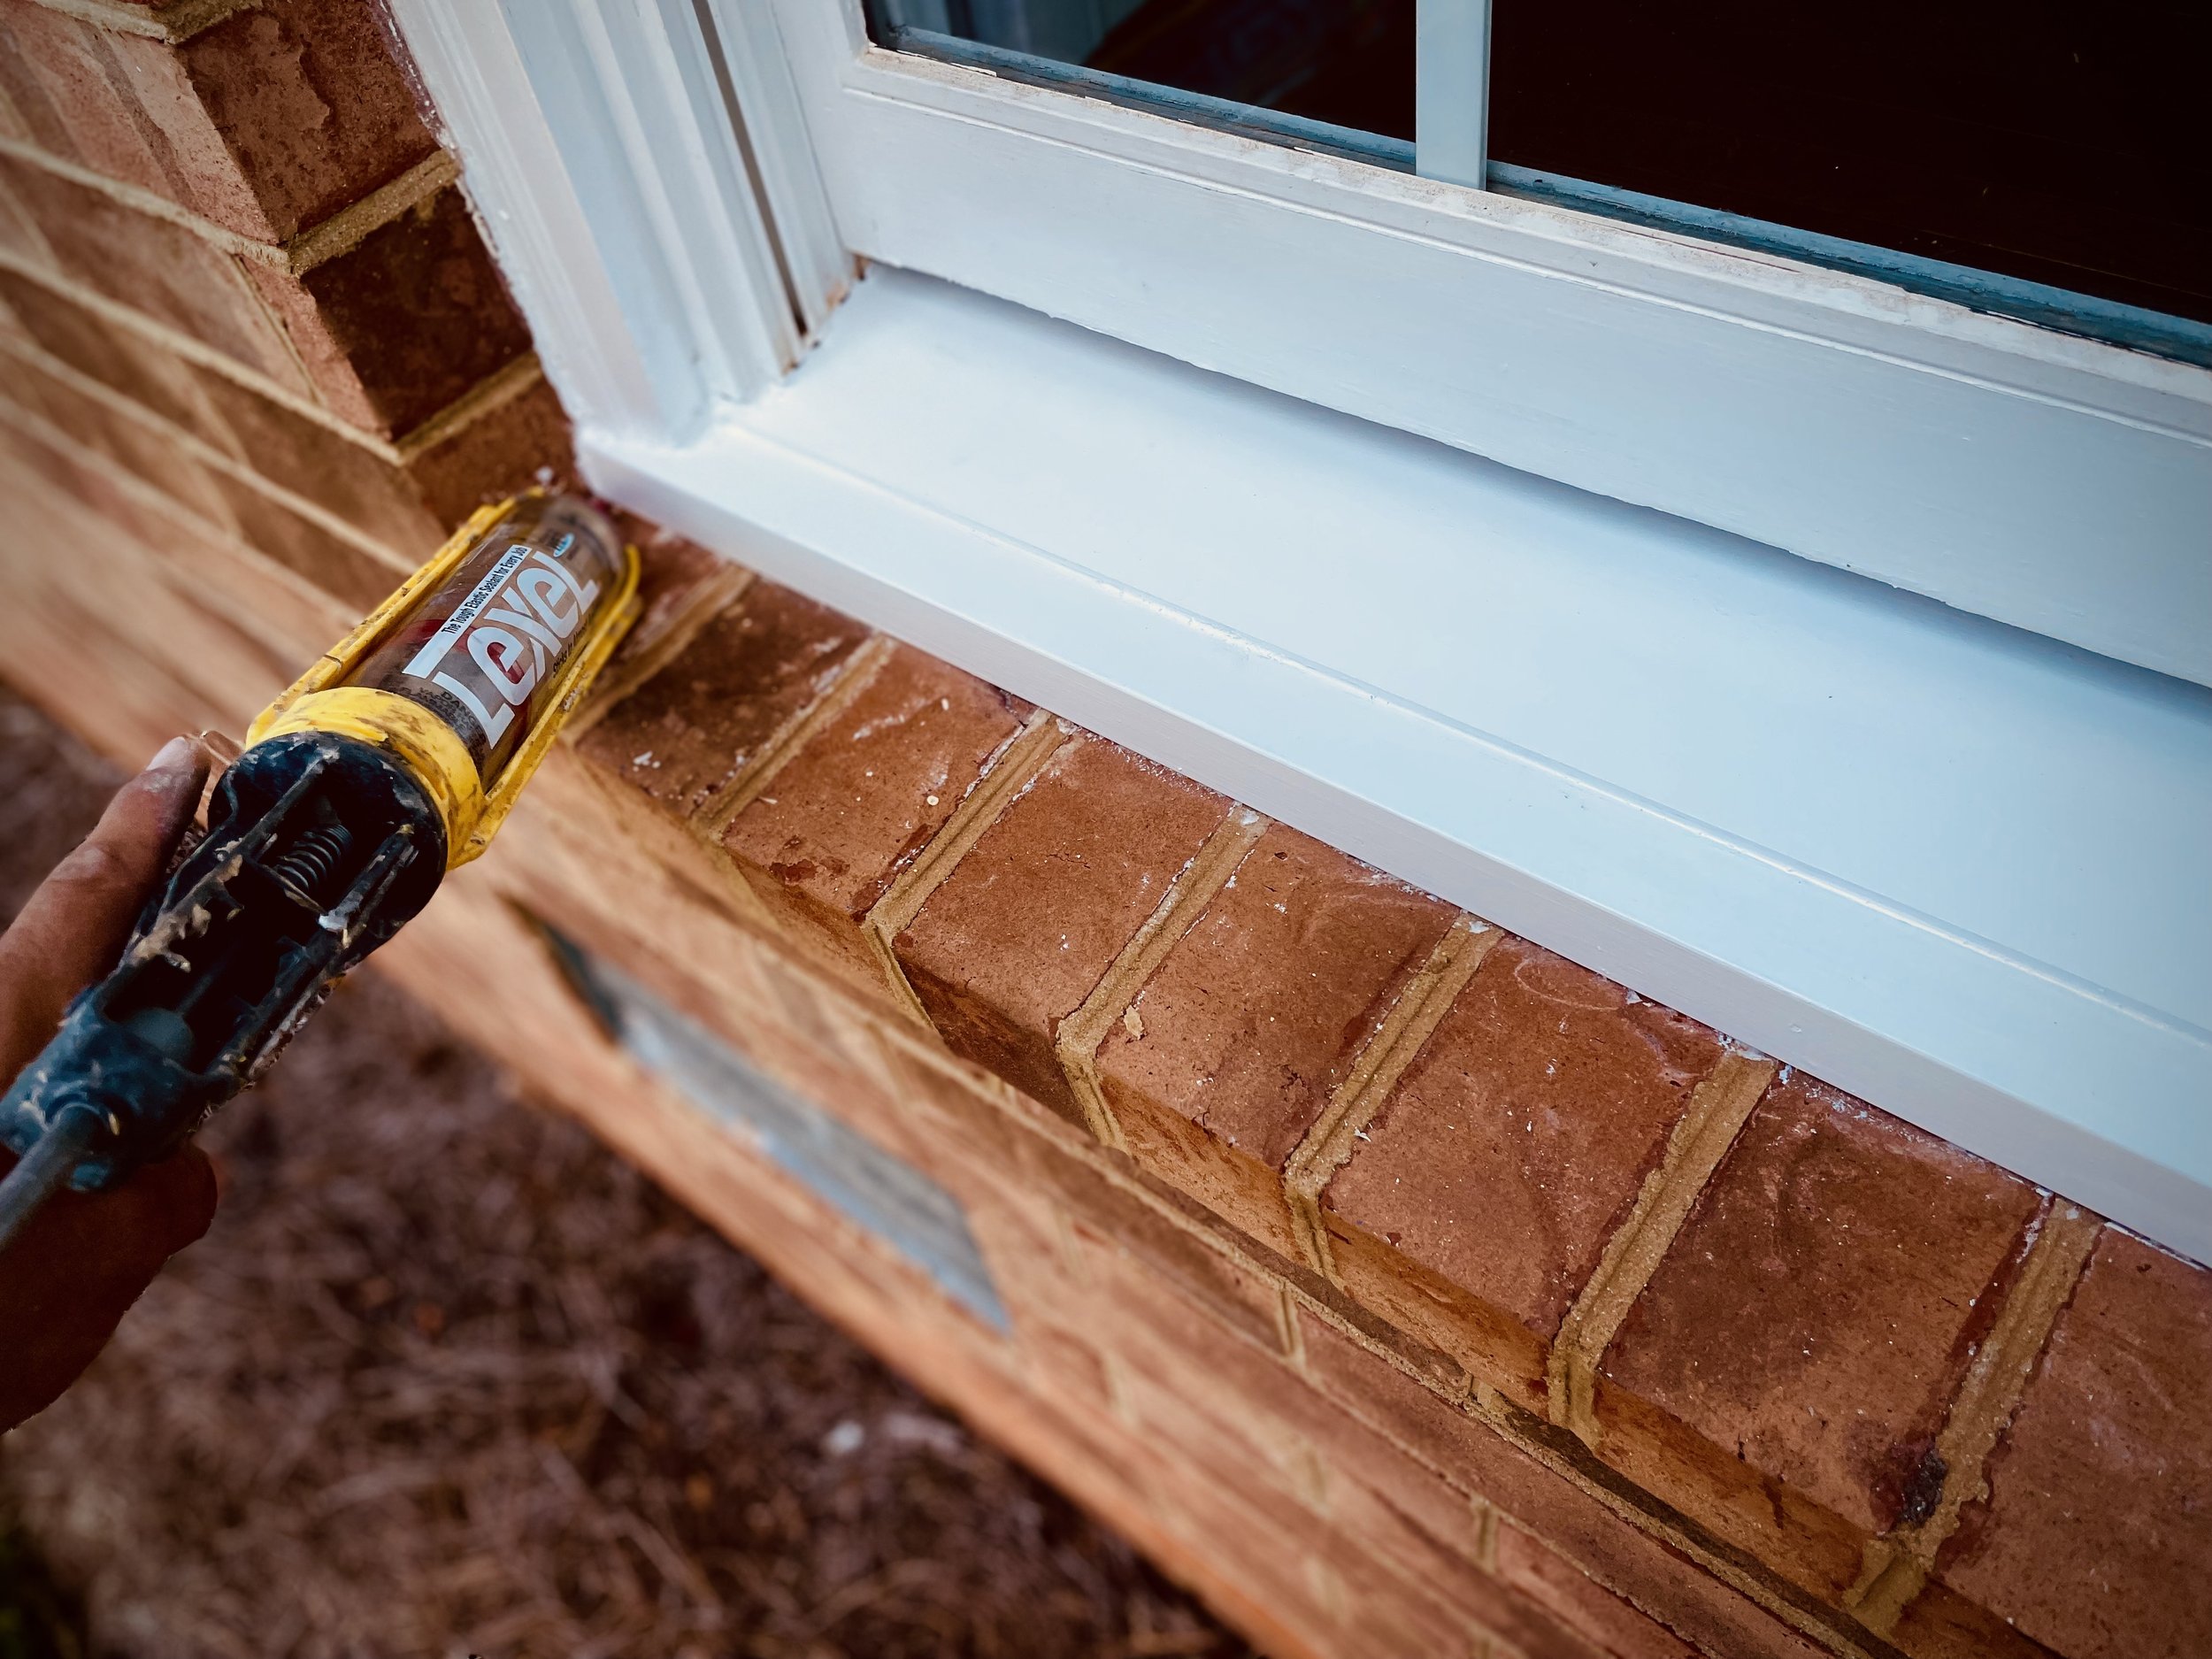
Lexel applied along the balances, the bottom of brickmould, and along the top and bottoms of the window nosing. Being an instantly water proof sealant, the goal is remove any opportunity for water to enter the areas where the problems begin.
Once the nosing and sill are in place, I will then apply additional Lexel along the bottoms of the brickmould, and along the bottom of the window balances, to help prevent water intrusion in these areas as well. Additionally, I will run the sealant along the bottom edge of the nosing, if resting on top of our materials, such as brick.
In some situations, the window nosing will rest on other materials, such as brick. The opportunity for water to trail backwards to the window nosing is a possibility. For this, I will apply Lexel to seal these areas from water intrusion.
From here, it is just waiting for the sealants to dry. Filling any exposed nail holes with a quality nail filler. Then applying two coats of an exterior paint for protection.
Complete window sill repair.

